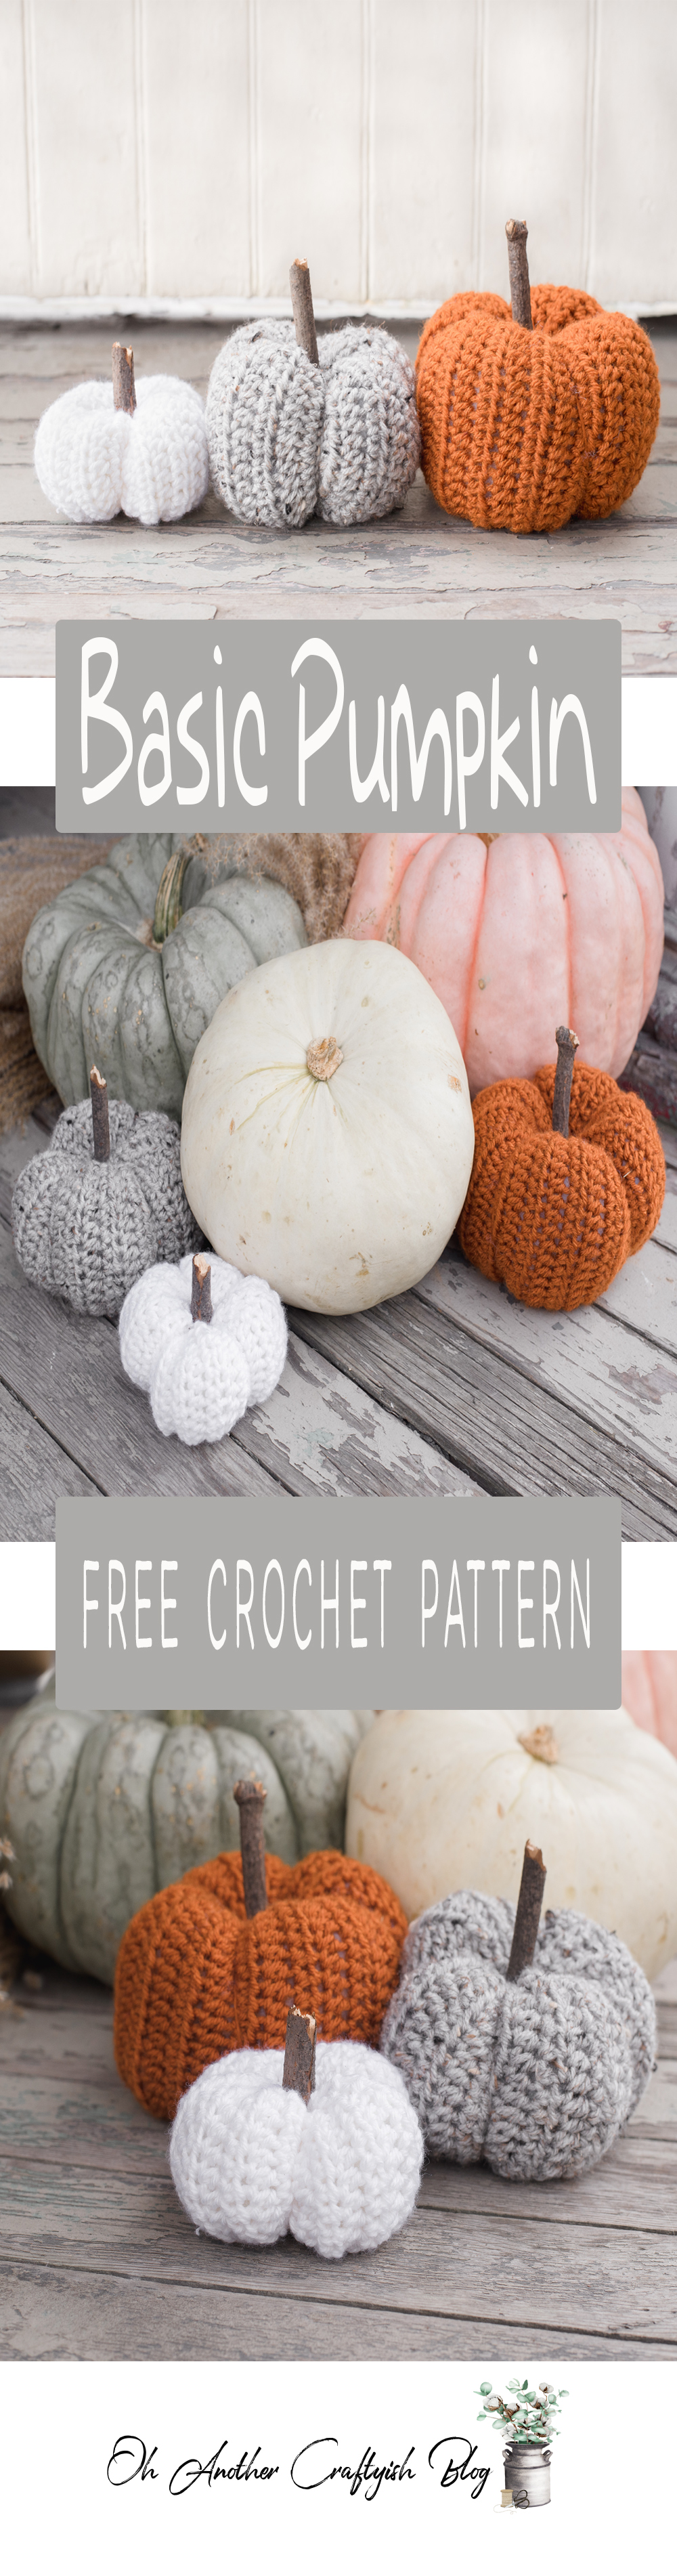
This beginner crochet basic pumpkin pattern is very simple to make. Below are simple instructions to make your own.
Pin and save it for latter

I love everything about fall. It’s my favorite season. I love the beautiful colors and the crisp, cooler air. The charming fall/Halloween decor fills the streets and shops. There’s something magical about pumpkin spice everything, from lattes to candles; it really encapsulates the essence of the season. You know, just everything about fall brings warmth and joy.
I adored creating these decorations as they gave my front porch a welcoming vibe, enhancing the overall ambiance. I used a delightful mixture of real pumpkins alongside my handmade crochet ones, which added a personal touch. There’s just something about different textures that seems to pull everything together beautifully. I had some other rustic decor pieces.
These included burlap and twine. They complemented the entire setup and made it truly fantastic in my eyes. They are so simple to craft yet have such a significant impact on the overall autumn aesthetic. I also added a few sturdy rocks. This gave them some weight. This ensured they would not blow away on those blustery days. I really hope you enjoy making them. I would absolutely love to see each of your creative interpretations shining brightly on your porches.
I truly hope you’ve loved this pattern! If you create your own crochet basic pumpkin pattern. I’d be thrilled if you shared it on my Facebook and Instagram. Don’t forget to like and follow to stay in the loop for exciting new patterns! And remember to use the hashtag #crochetbasicpumpkin when you share your lovely creations!
Create your own crochet basic pumpkin pattern below with step-by-step instructions.
Supplies
Lion Brand (Vanna’s Choice)- in, any color of your choice (Weight 4/ medium-145 yds, 85 gm) (Please see the notes section on yardage)
5.5 mm (I) Hook (or hook to obtain the gauge)
Tapestry Needle
Poly-fil
Sticks about an inch thick
Rocks optional
Gauge:
Main pattern
7 sts=2 in
4 rows =2 in
Please check your gauge and adjust your hook size suitably!
Abbreviations:
Ch(s)= Chain(s)
St(s)= Stitch(es)
Hdc = Half Double Crochet
Sk= Skip
Notes:
Please read before you start.
Finished pumpkin measures
Small: 4″x 12″
Medium: 5 1/2″ x 12″
Large: 7 1/2 x 12″
Pattern:
Small Pumpkin:
Ch 15
Row 1: Hdc in the 2nd ch from the hook. Hdc in the remaining ch(s). Ch 1 turn. (14)
Row 2-30: Hdc in each st across. Ch 1 turn. (14)
(See instruction below on how to assemble.)
Medium Pumpkin:
Ch 21
Row 1: Hdc in the 2nd ch from the hook. Hdc in the remaining ch(s). Ch 1 turn. (20)
Row 2-30: Hdc in each st across. Ch 1 turn. (20)
(See instruction below on how to assemble.)
Large Pumpkin:
Ch 28
Row 1: Hdc in the 2nd ch from the hook. Hdc in the remaining ch(s). Ch 1 turn. (27)
Row 2-30: Hdc in each st across. Ch 1 turn. (27)
(See instruction below on how to assemble.)
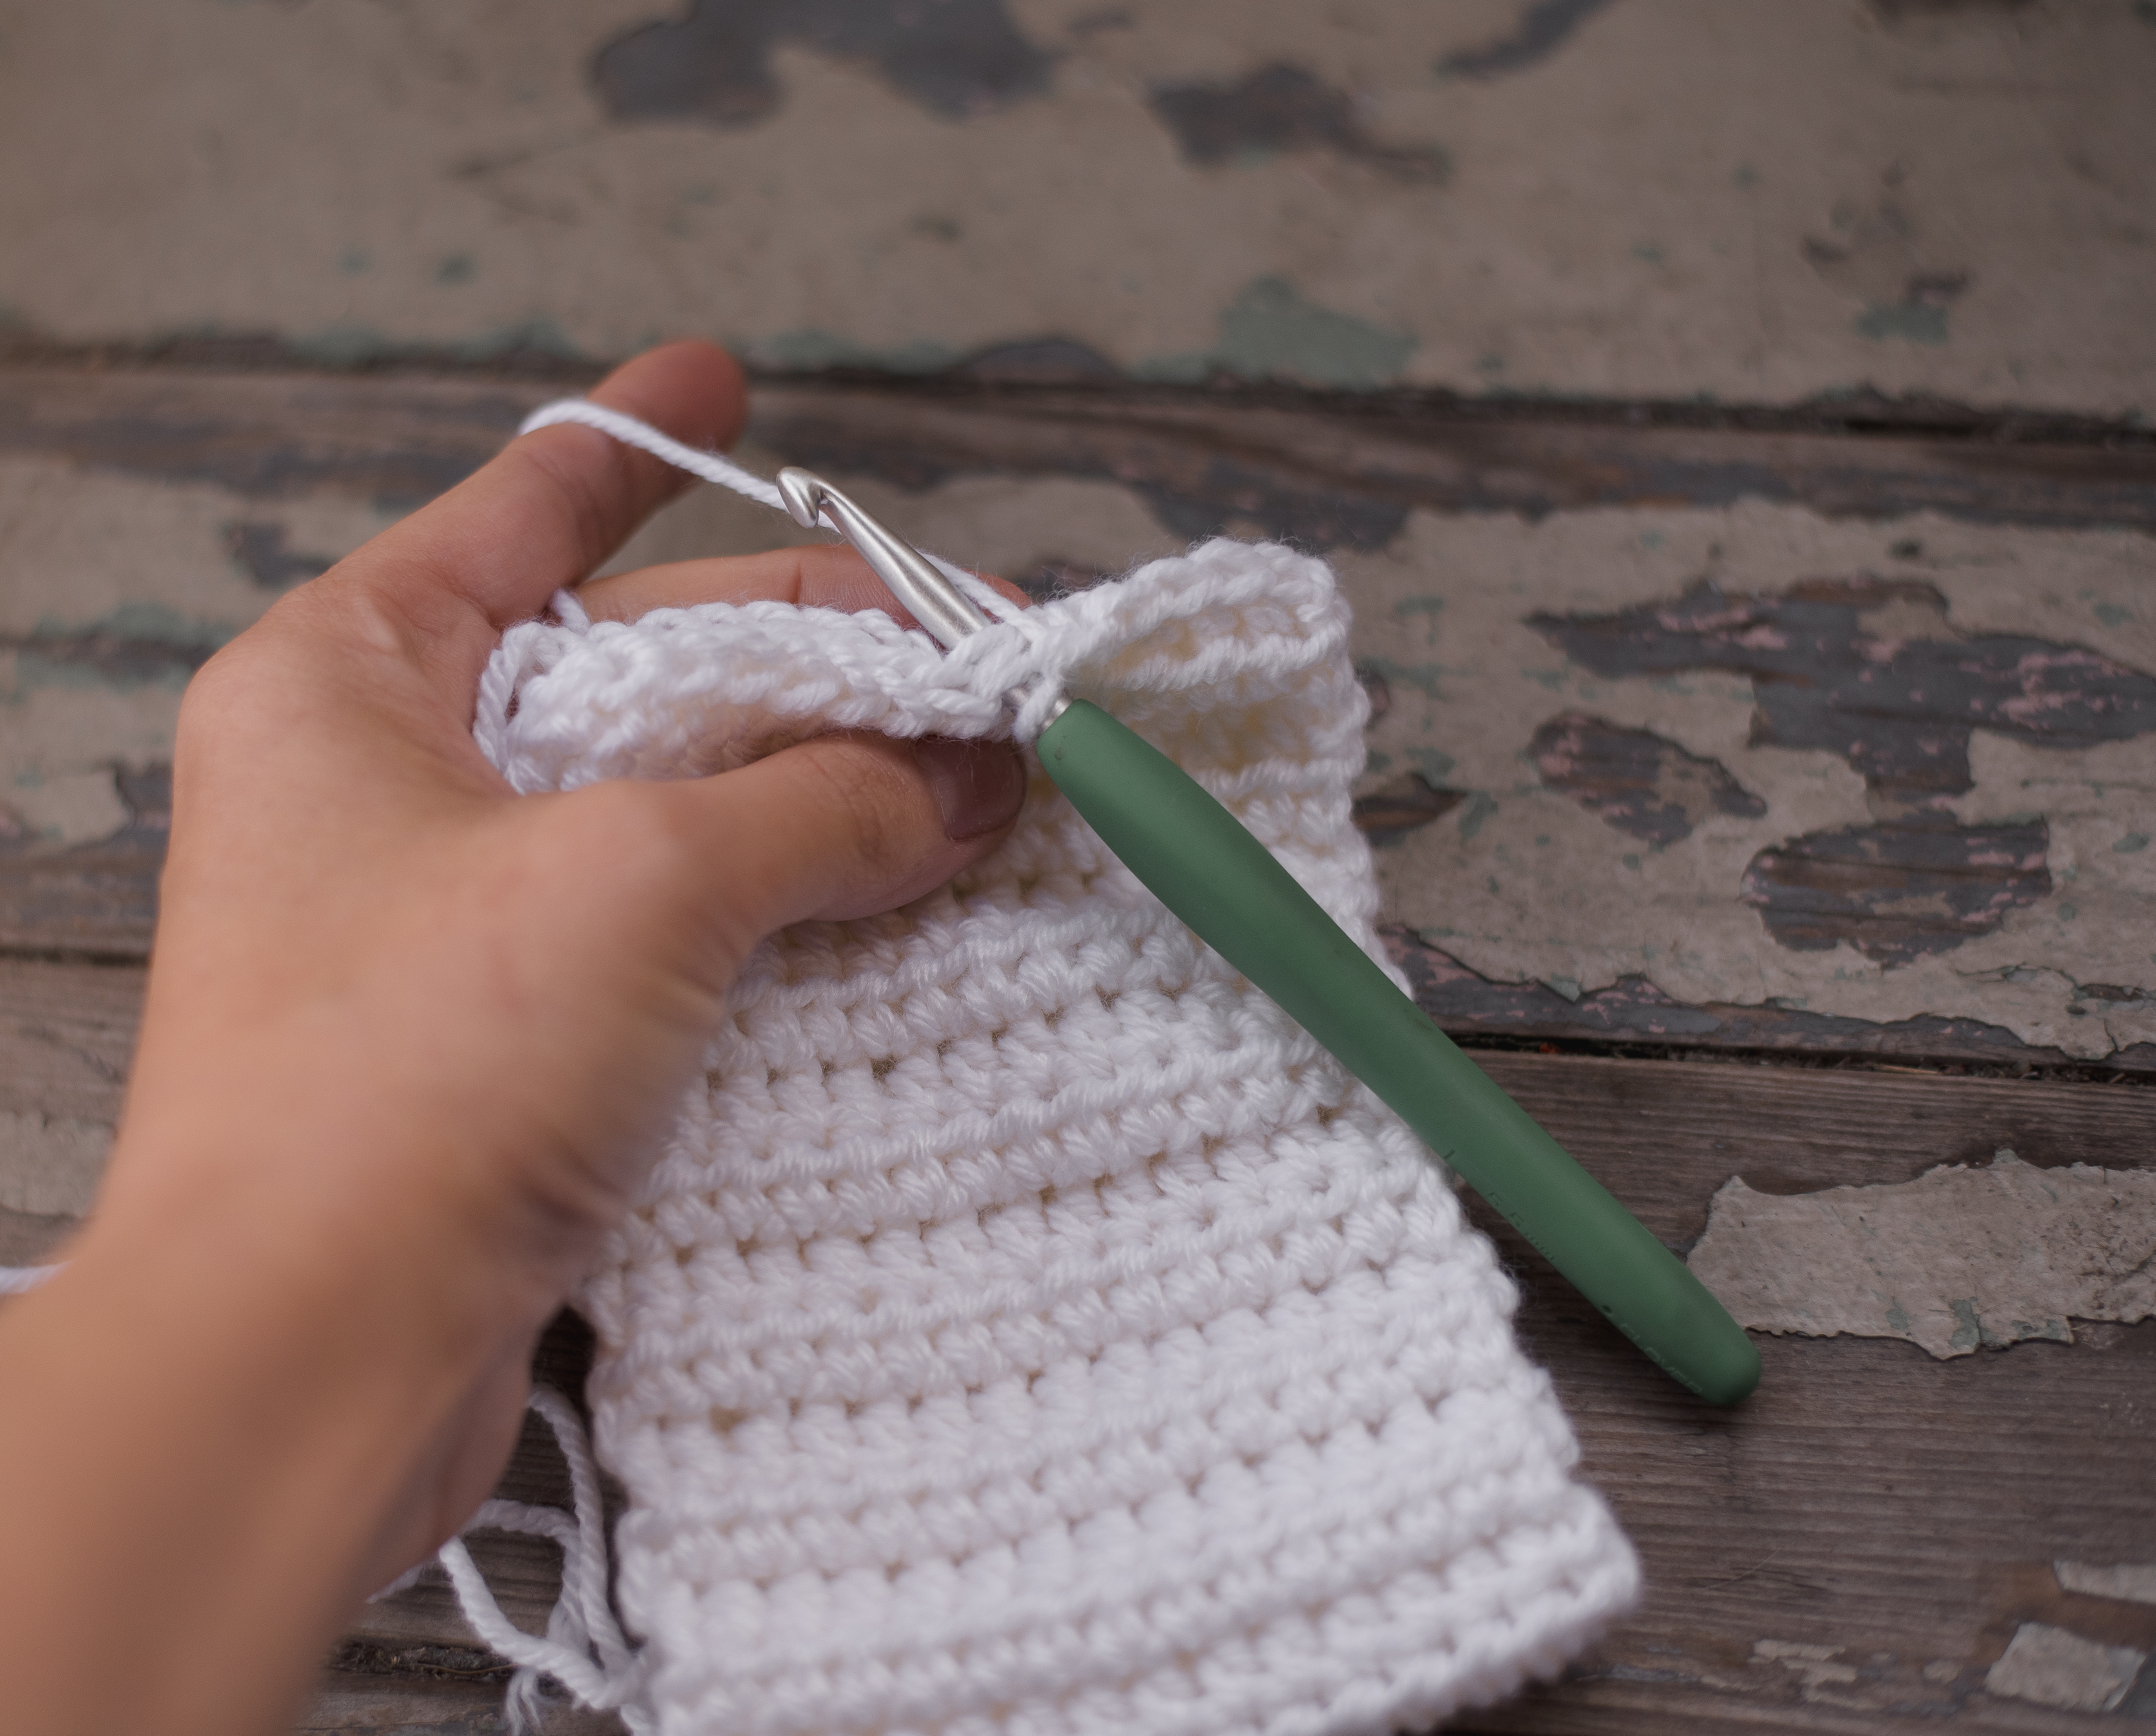
Assemble Instructions:
See Notes section on the sizes. 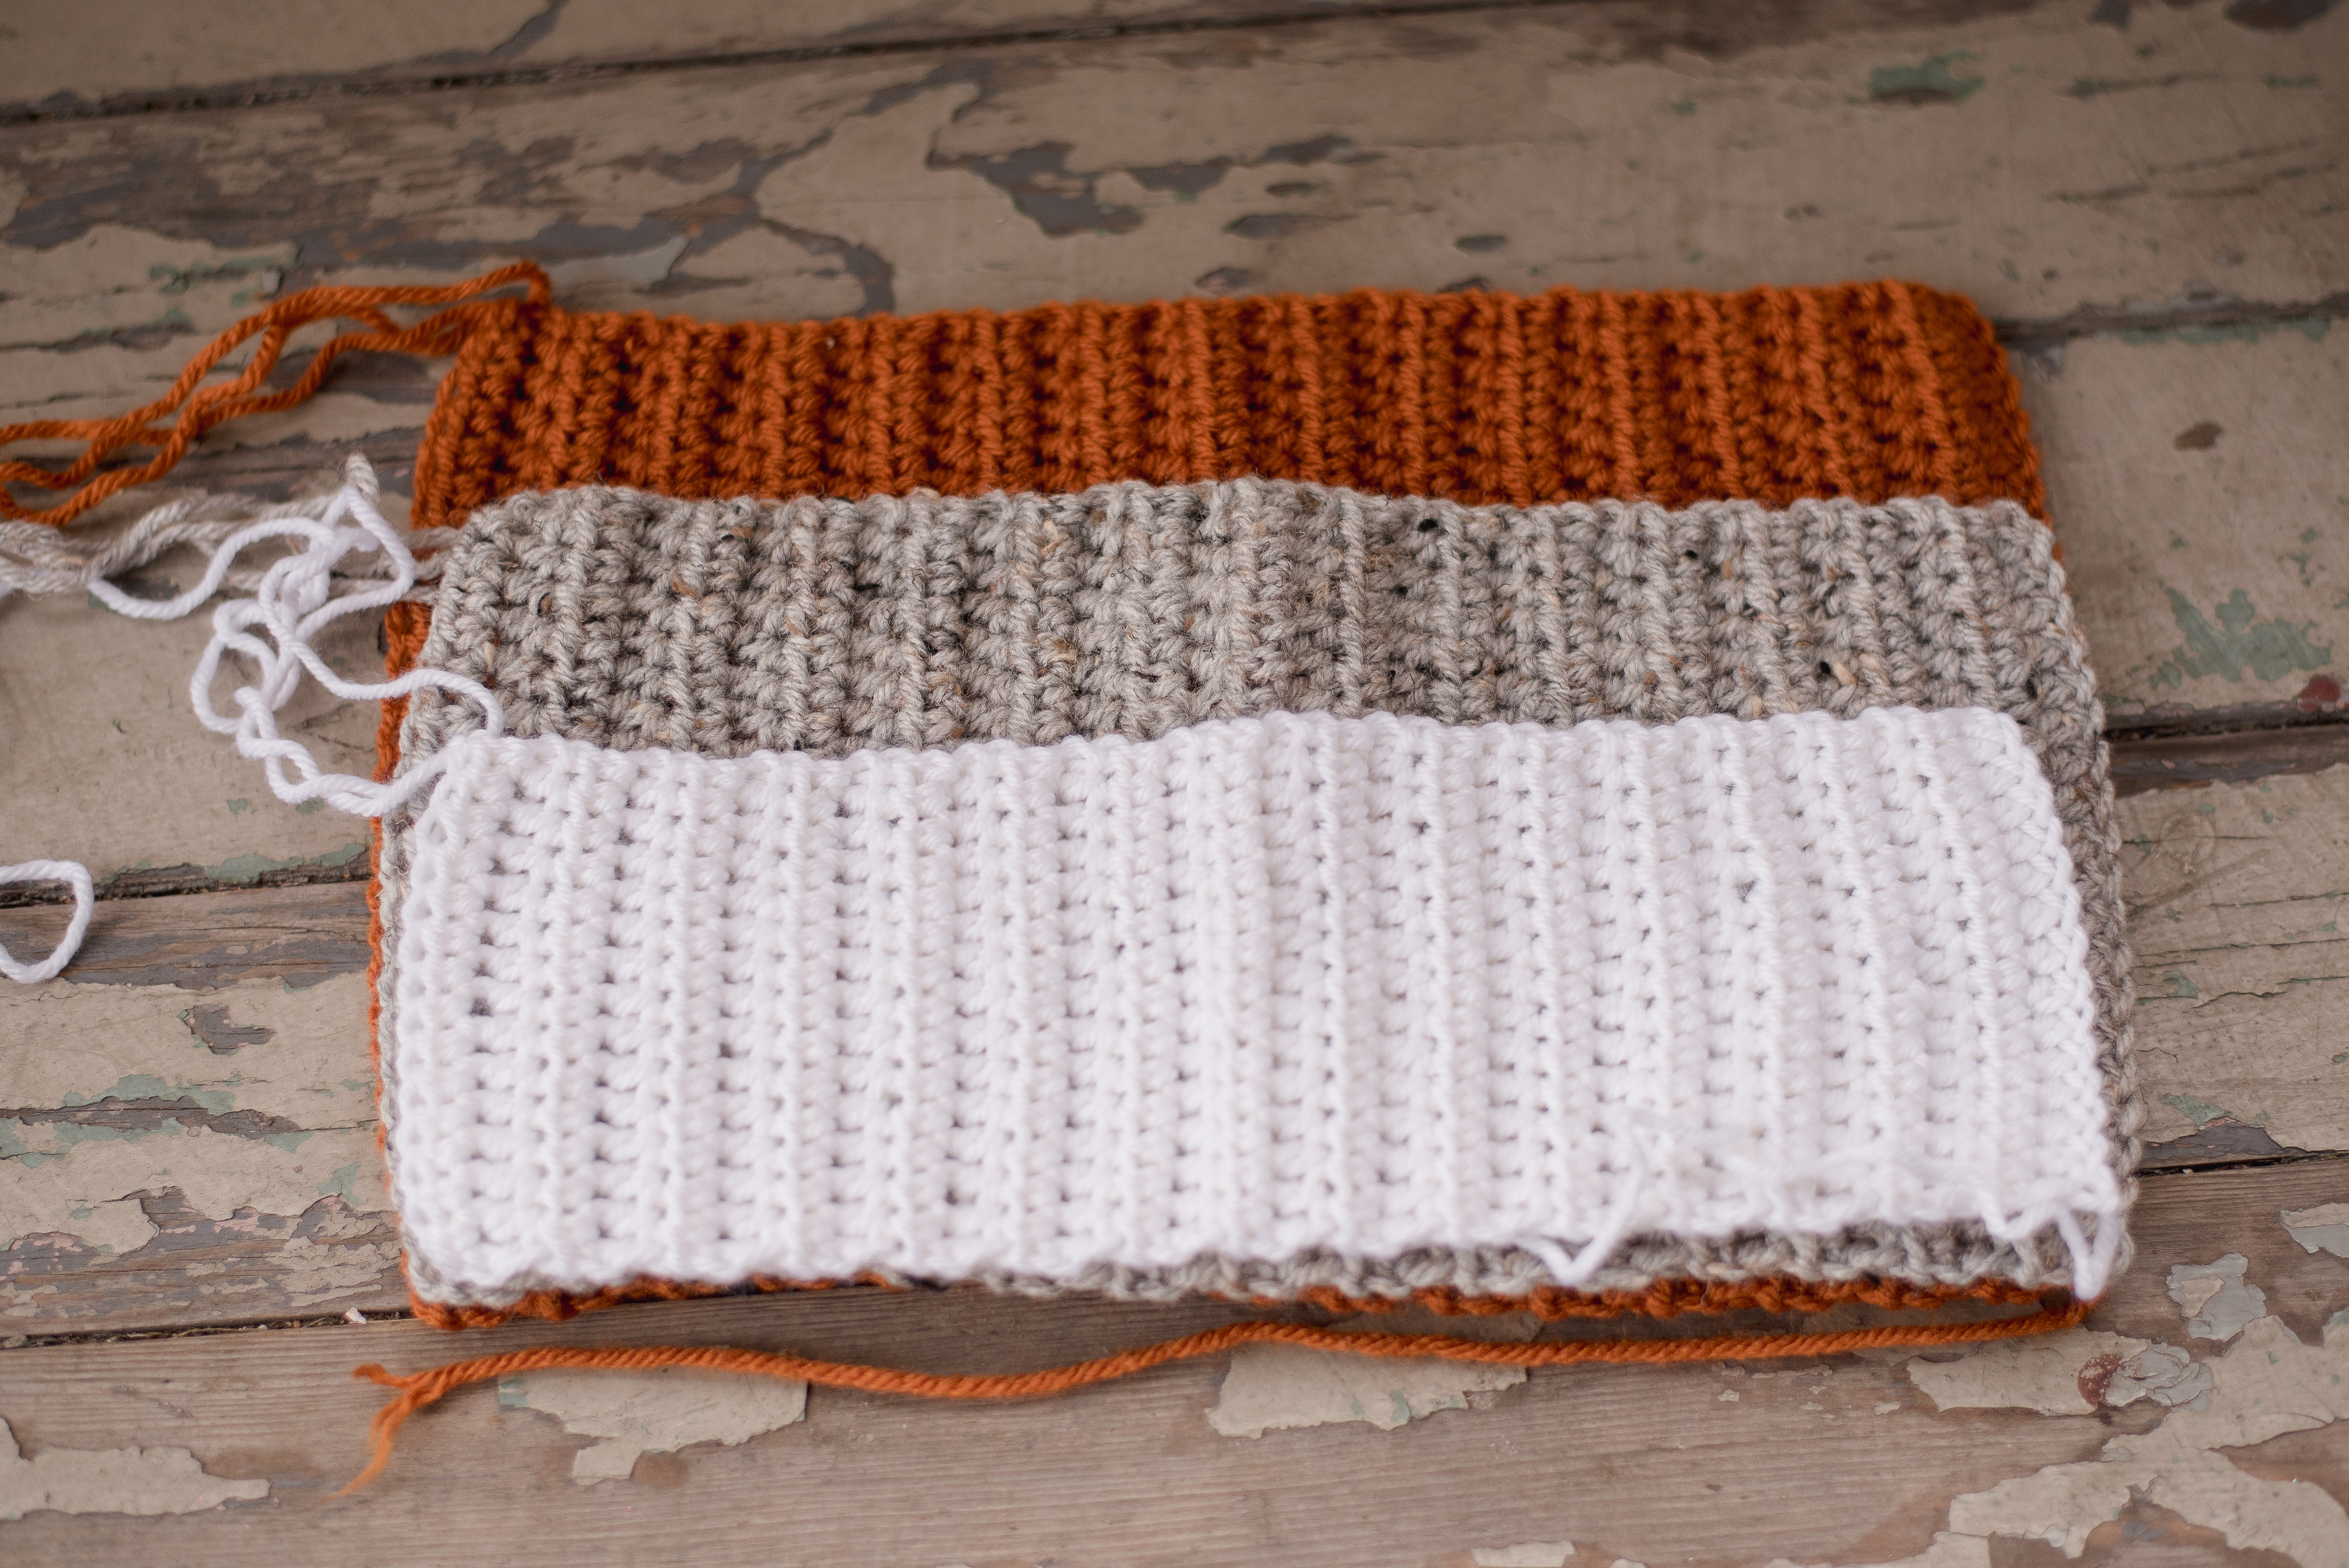 After you finish Fold it in half. You can sew, I prefer to crochet up the side. Be sure to leave a long enough tail for sewing and to create the ridges in the pumpkins.
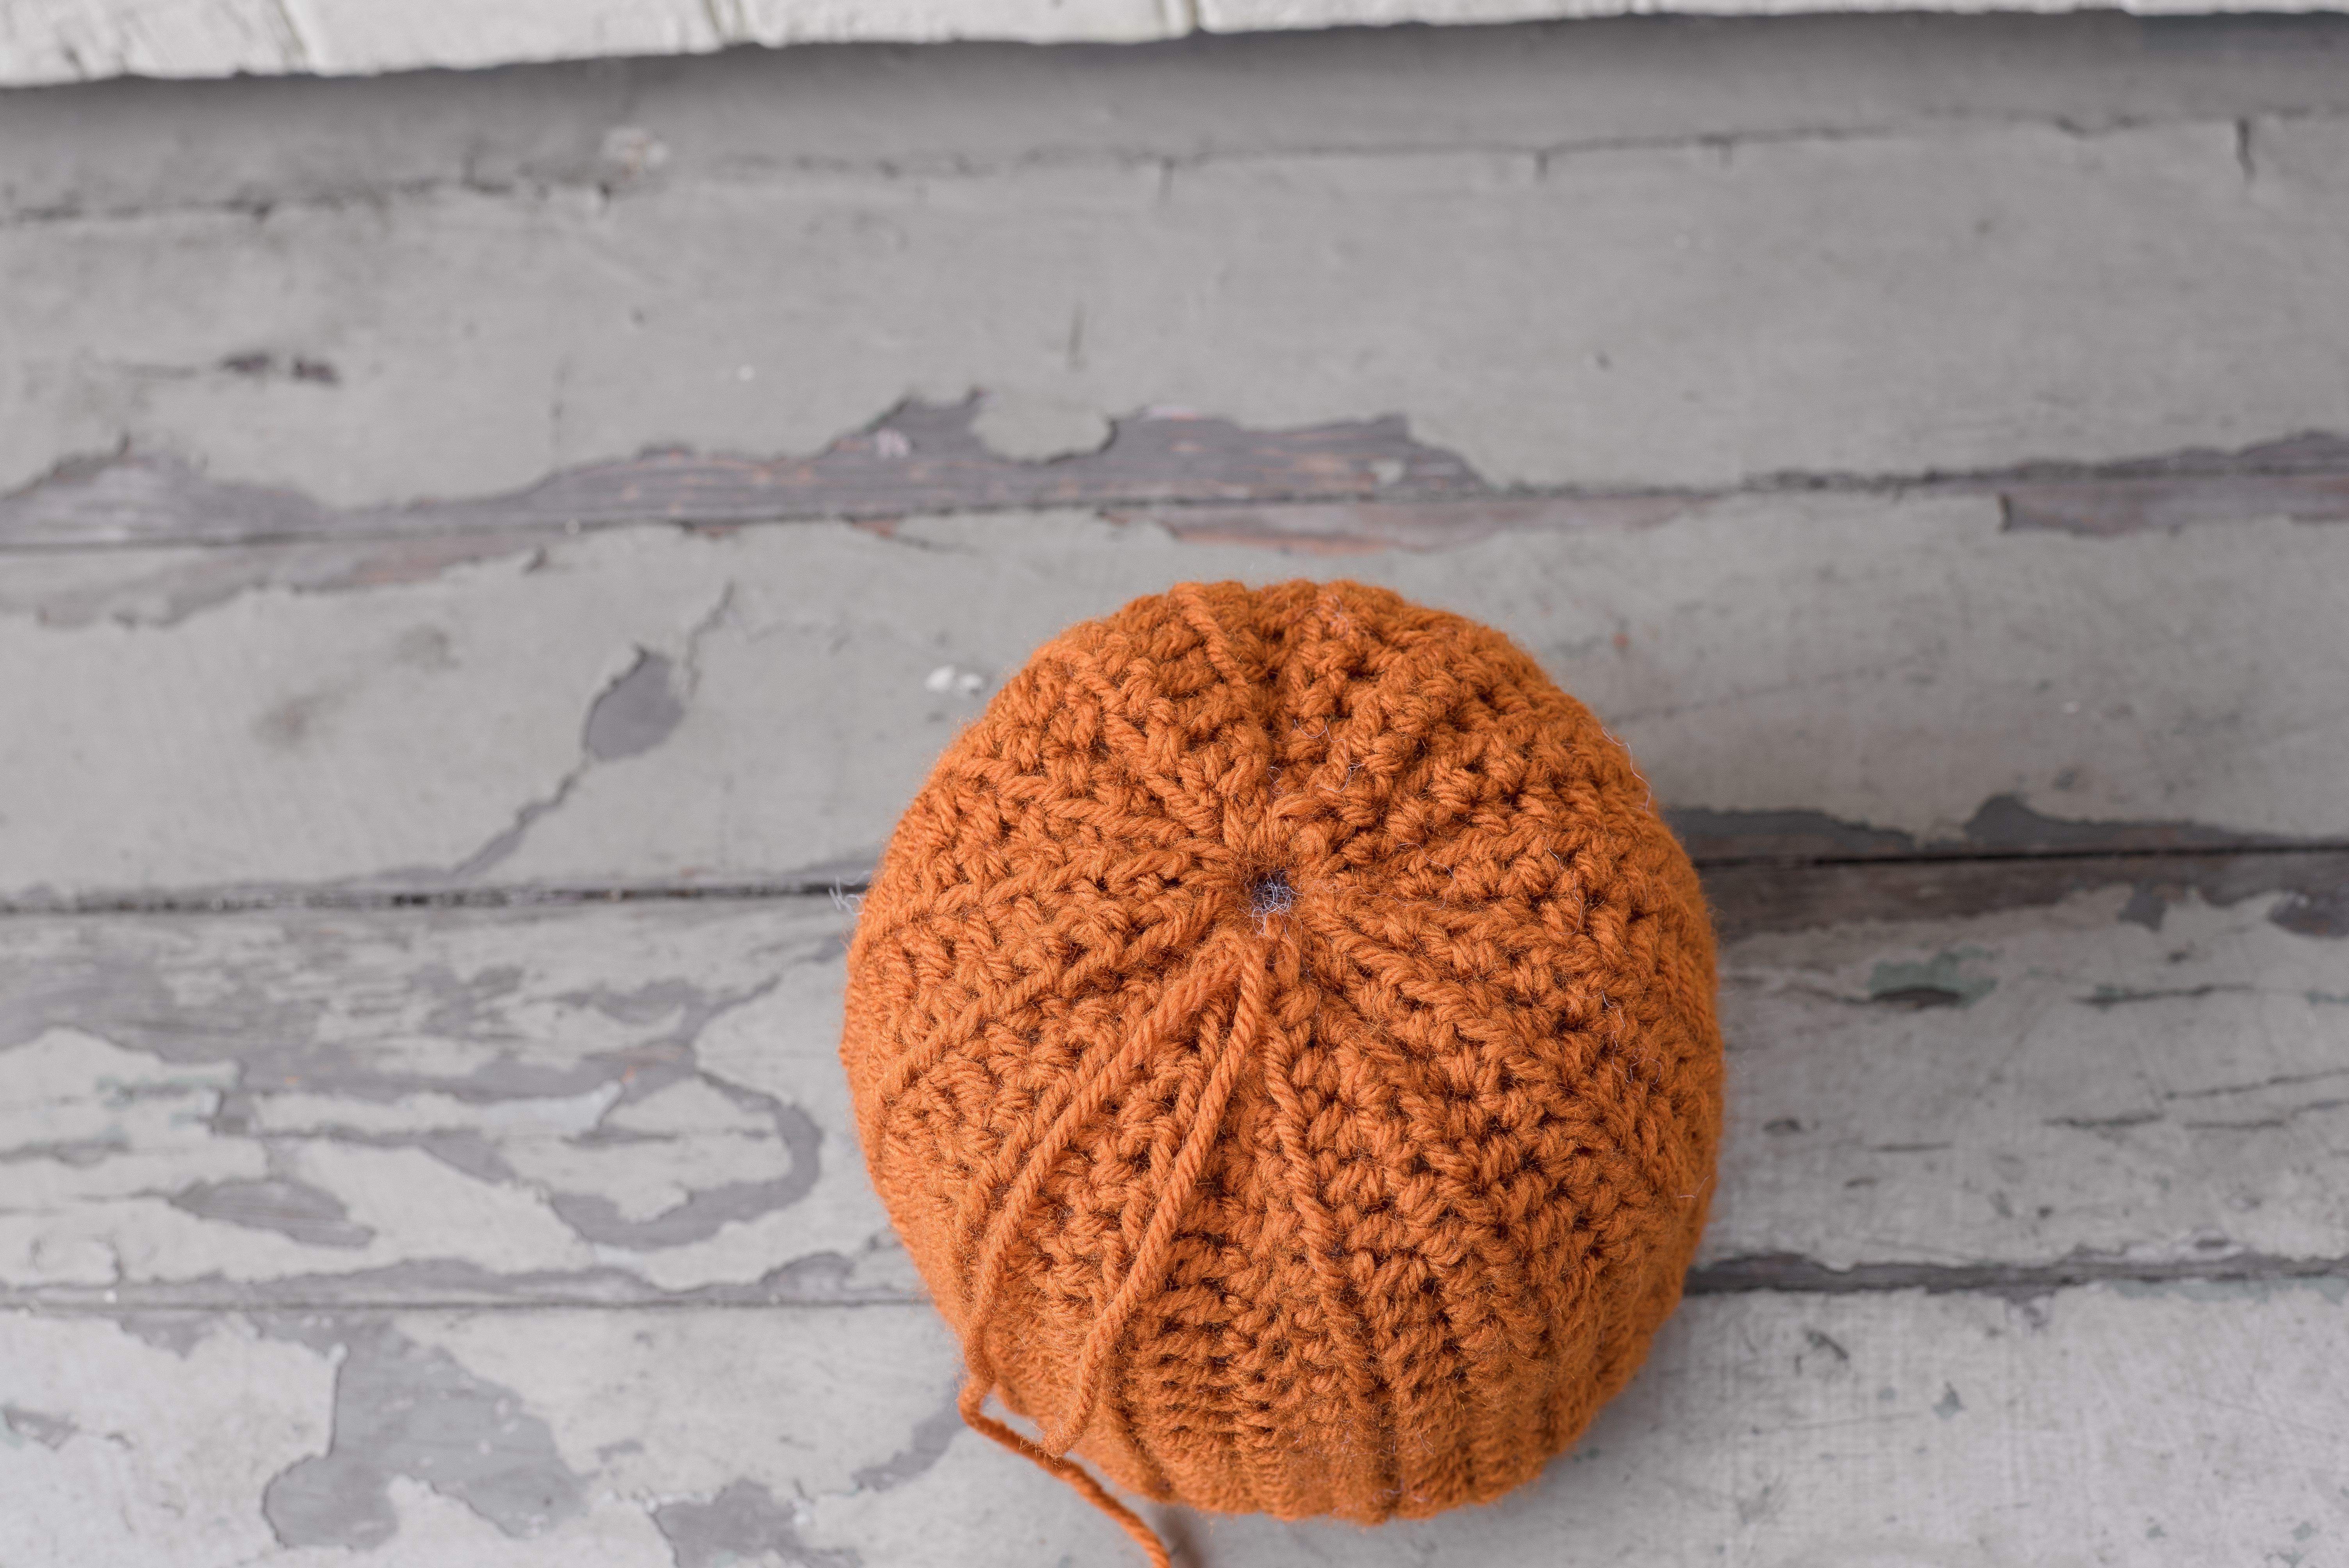
 Once you have seamed up the sides, take your tapestry needle. Weave it back and forth through the stitches. Then cinch together. I also sewed the bottom shut to have it more secure after cinching. Fasten your Yarn off. Be sure to still keep the extra yarn to cinch the top after stuffed.
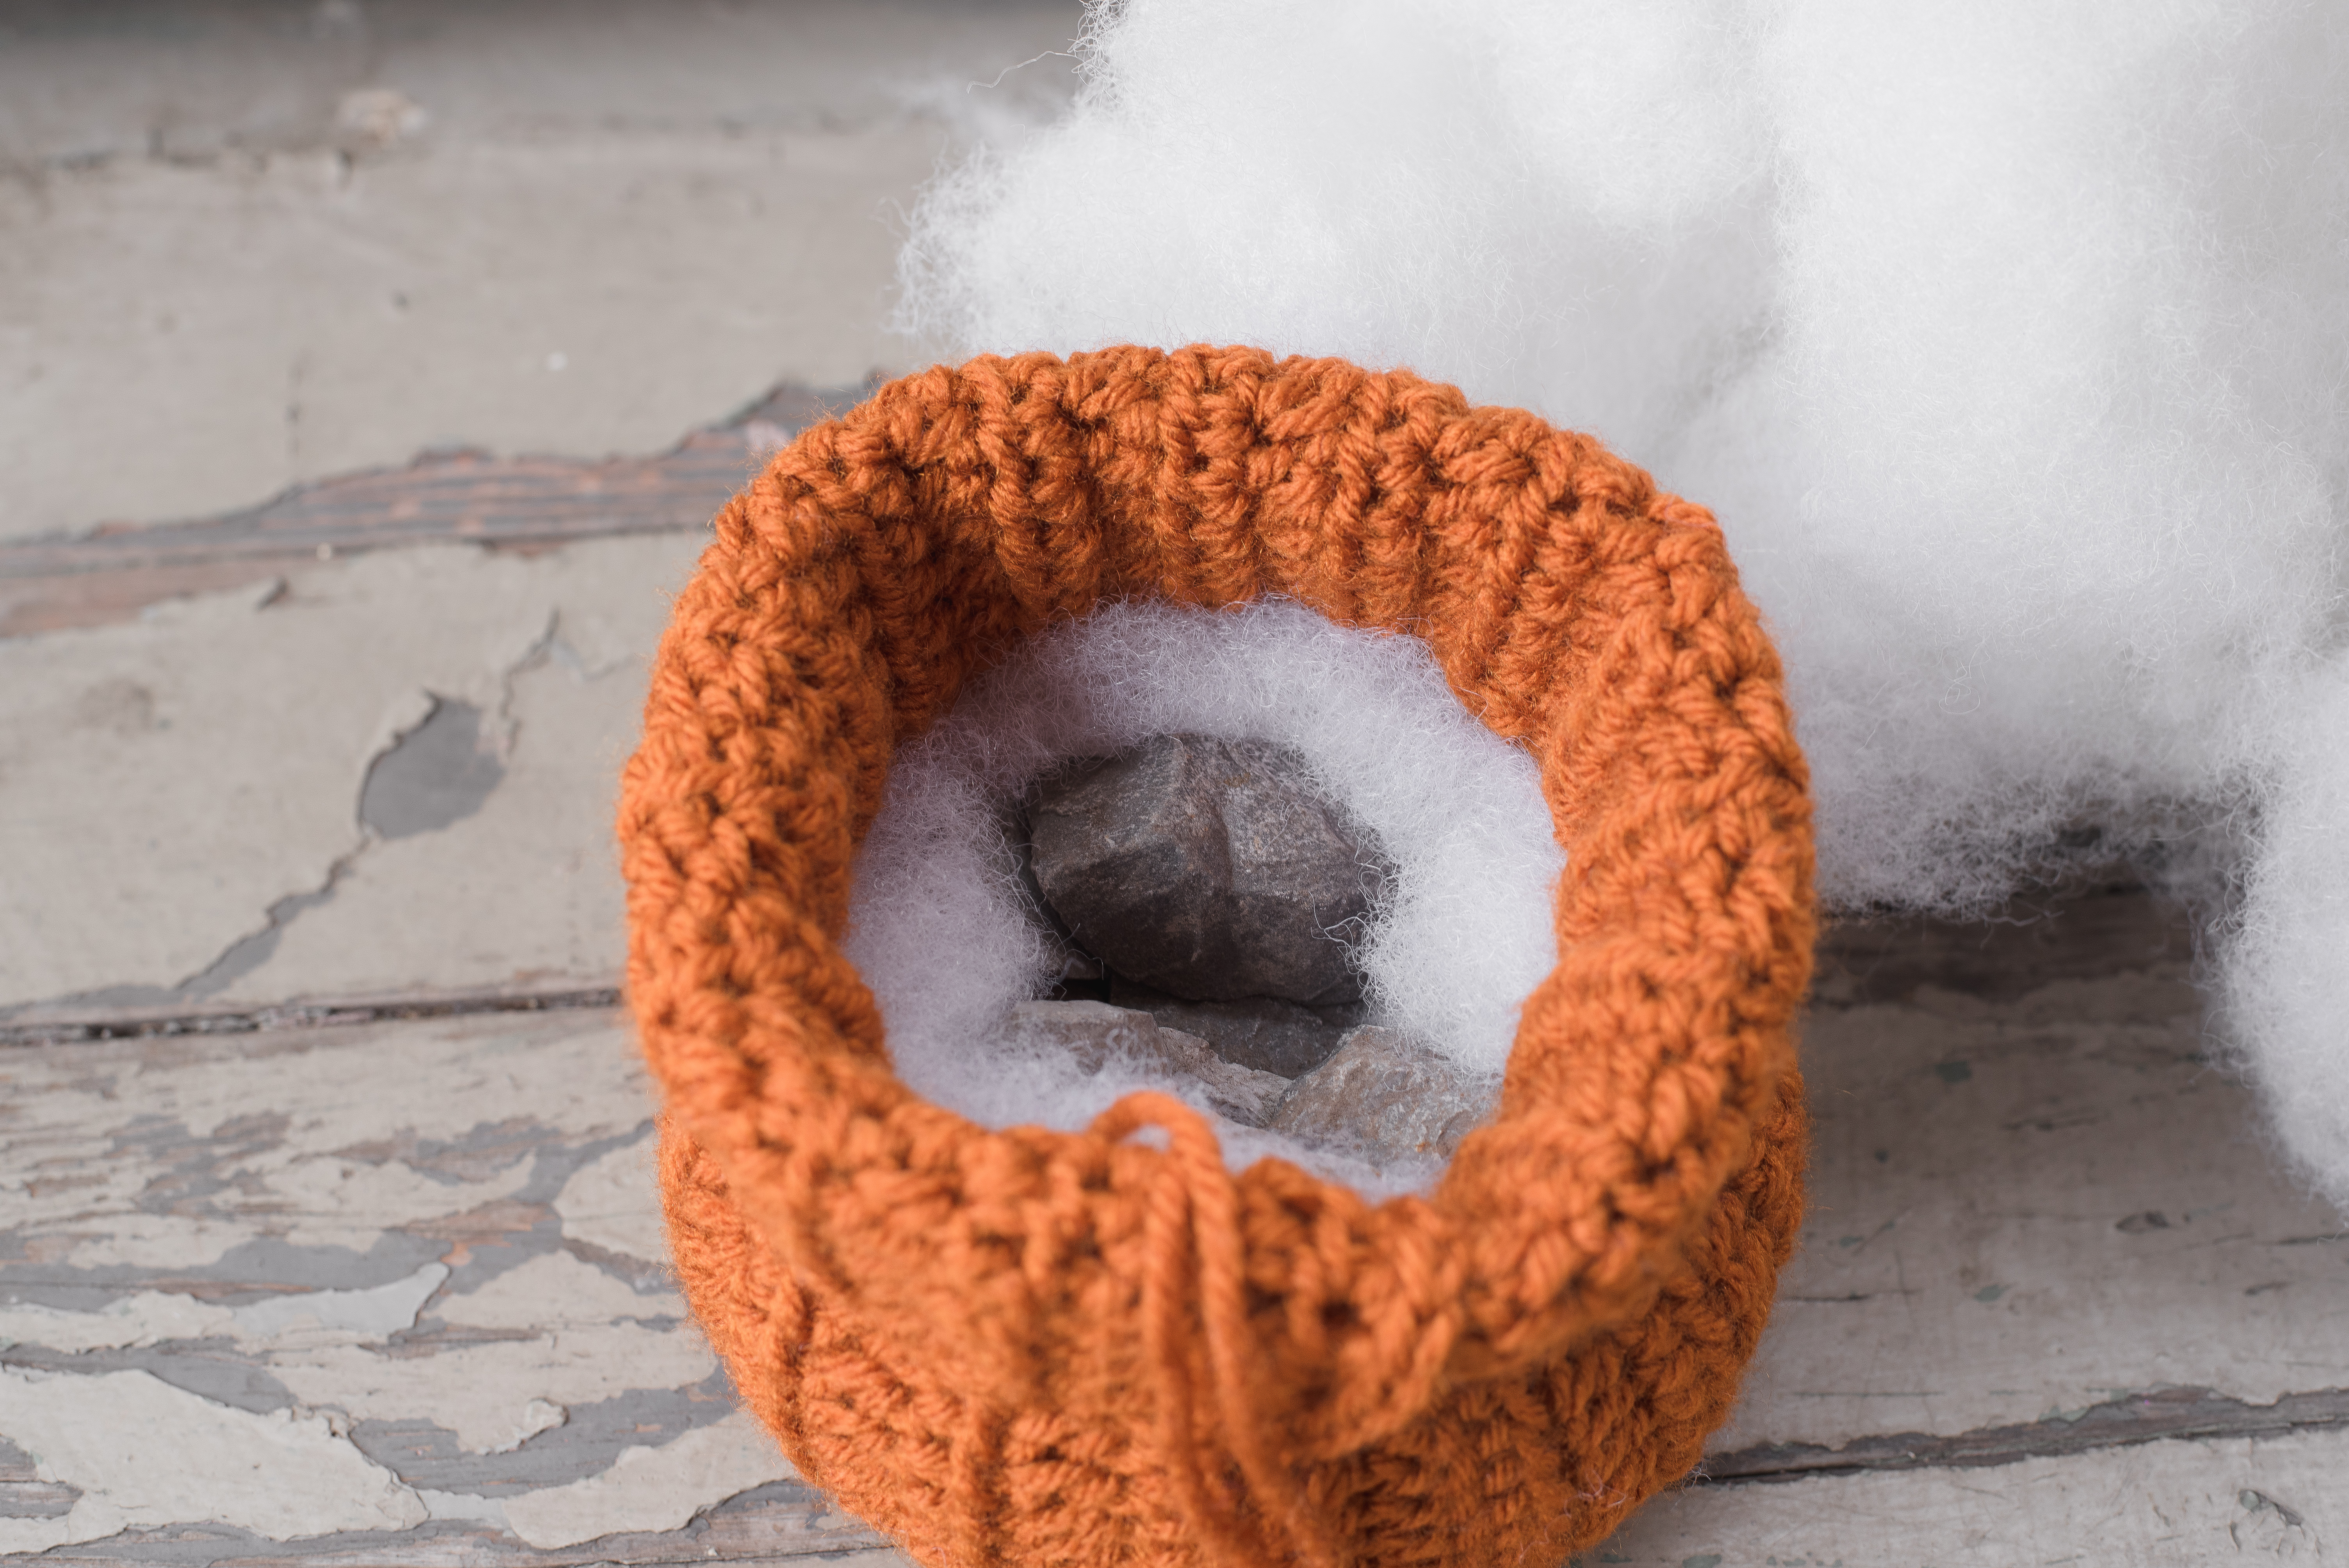
 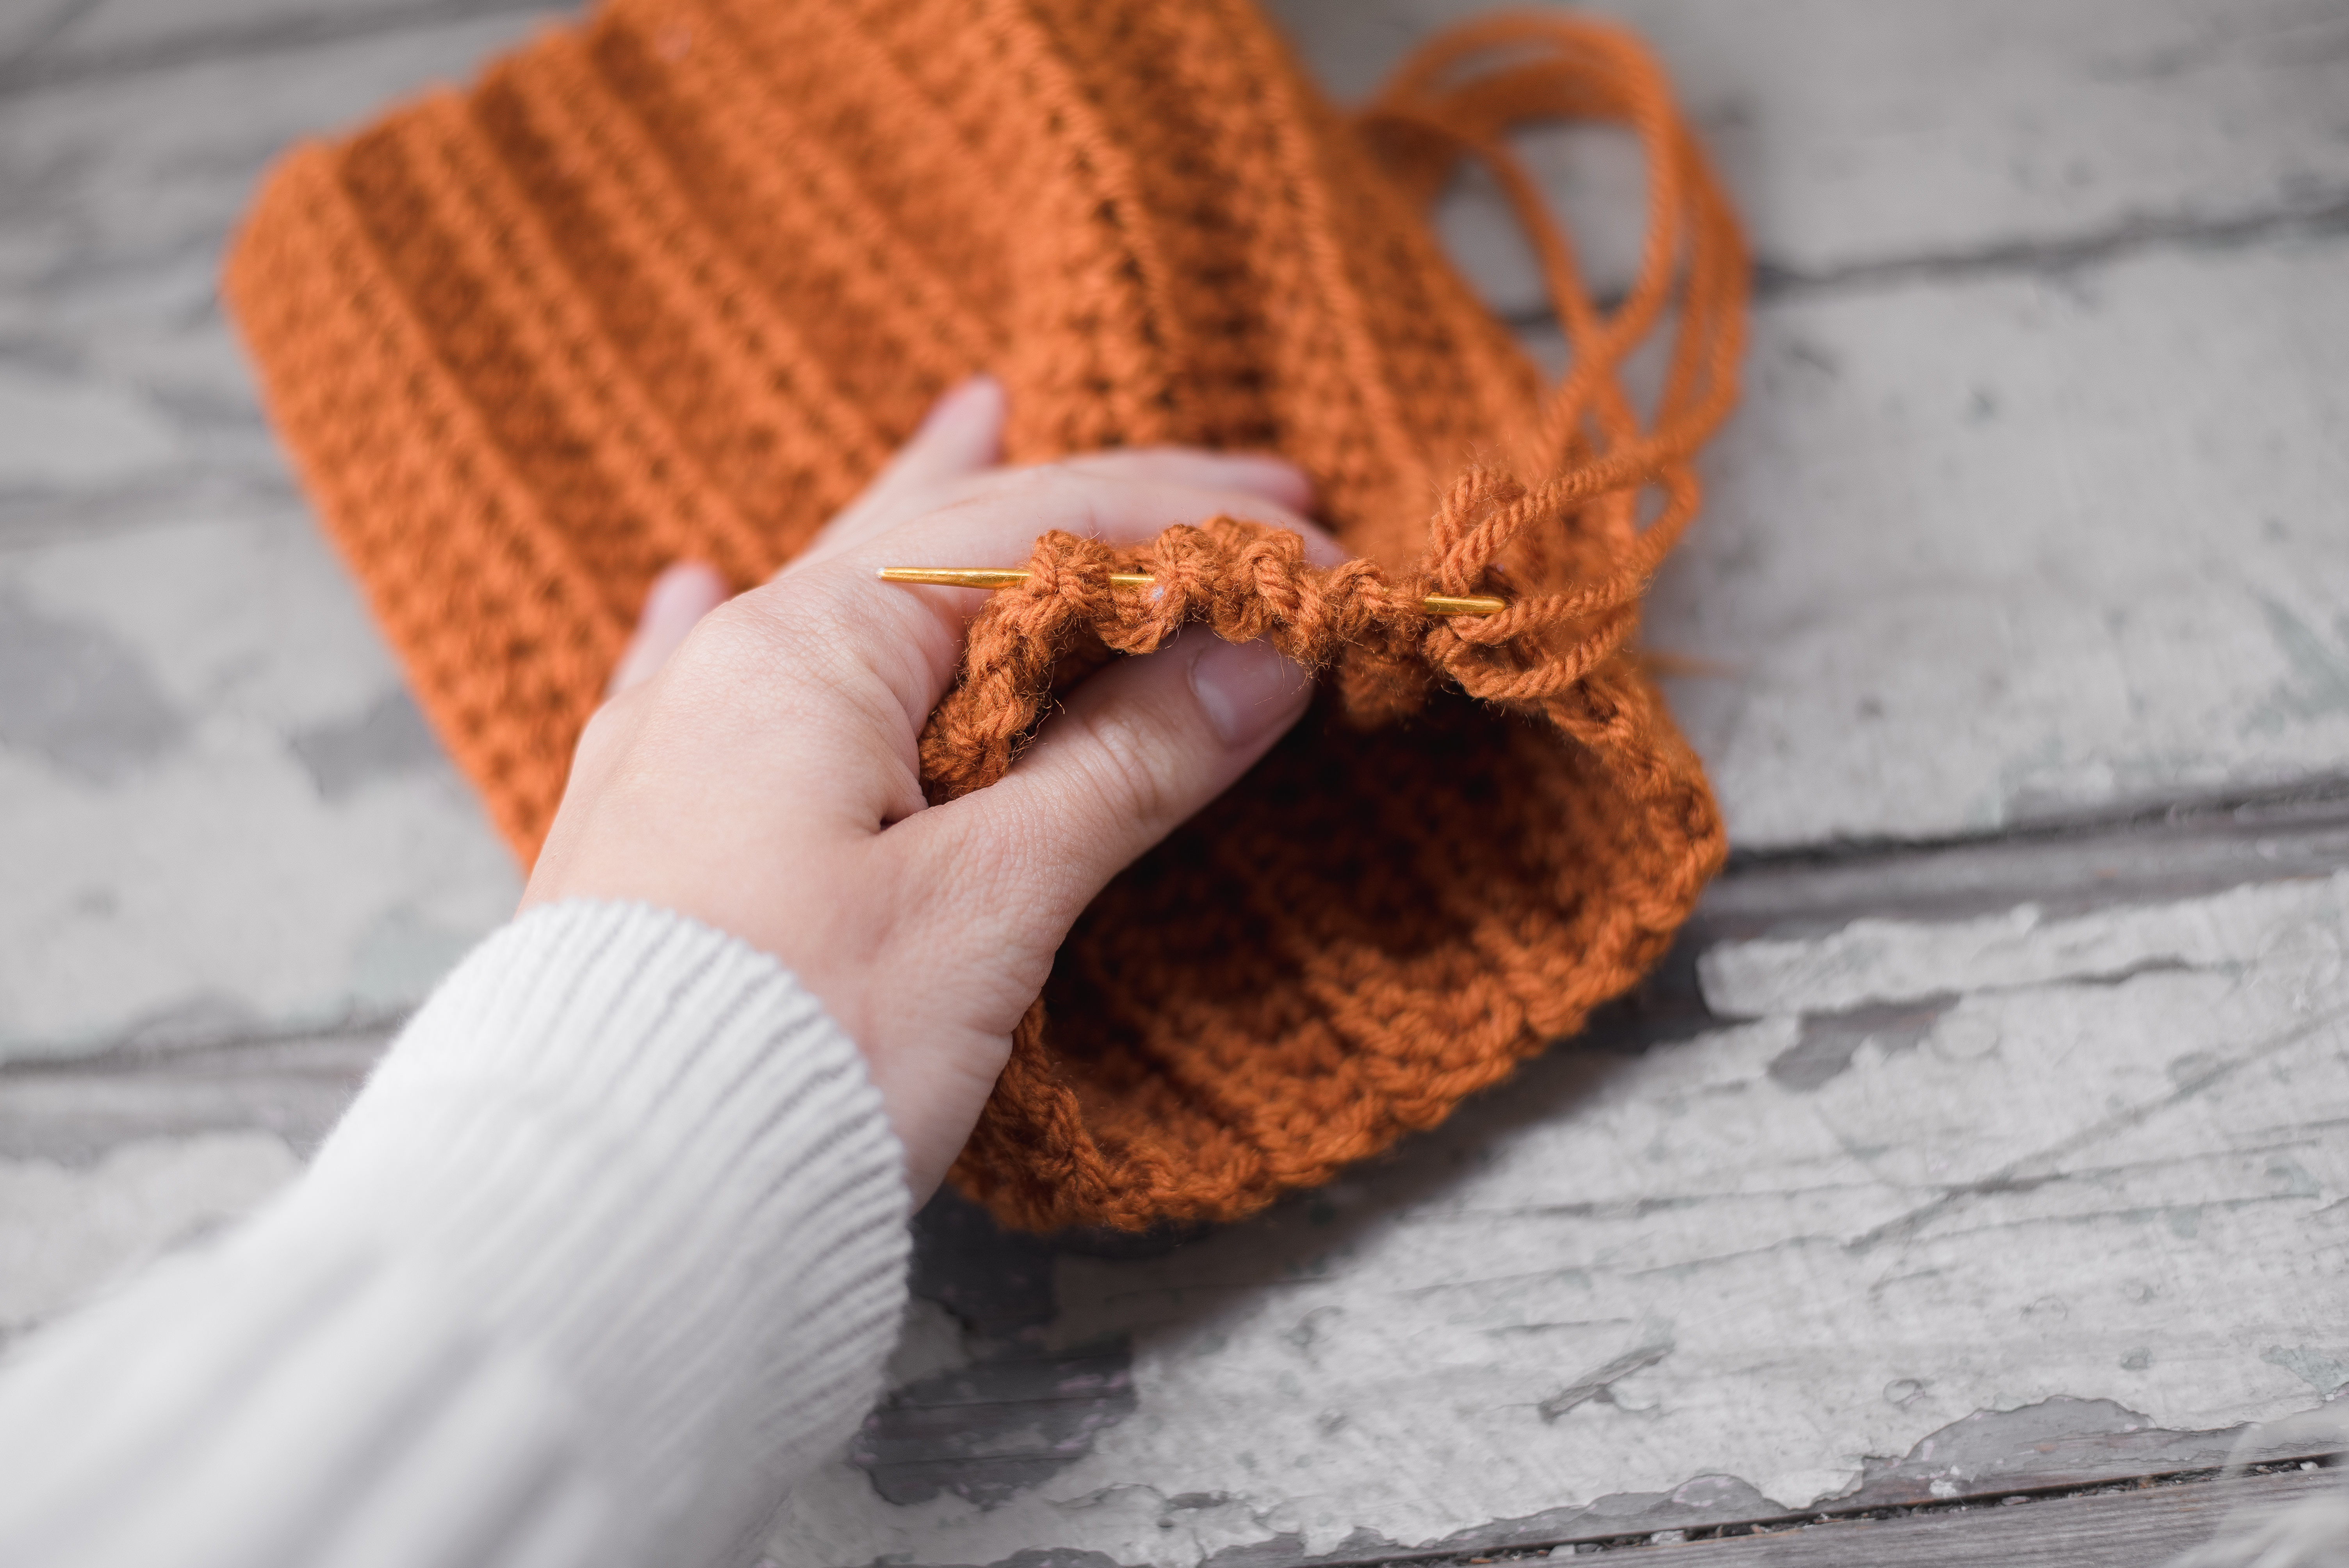 Now added your polyfil to the bottom. (Cool tip and it’s free. Add rocks to the center to add a bit of weight if using it outside. In Pa, it’s been very windy. I didn’t want my pumpkins to blow away, and they have held up greatly.
Add the rest of your Polyfil to the top.

Now Repeat the same cinching technic as shown above. Do not sew shut as to we want room to add the stem.
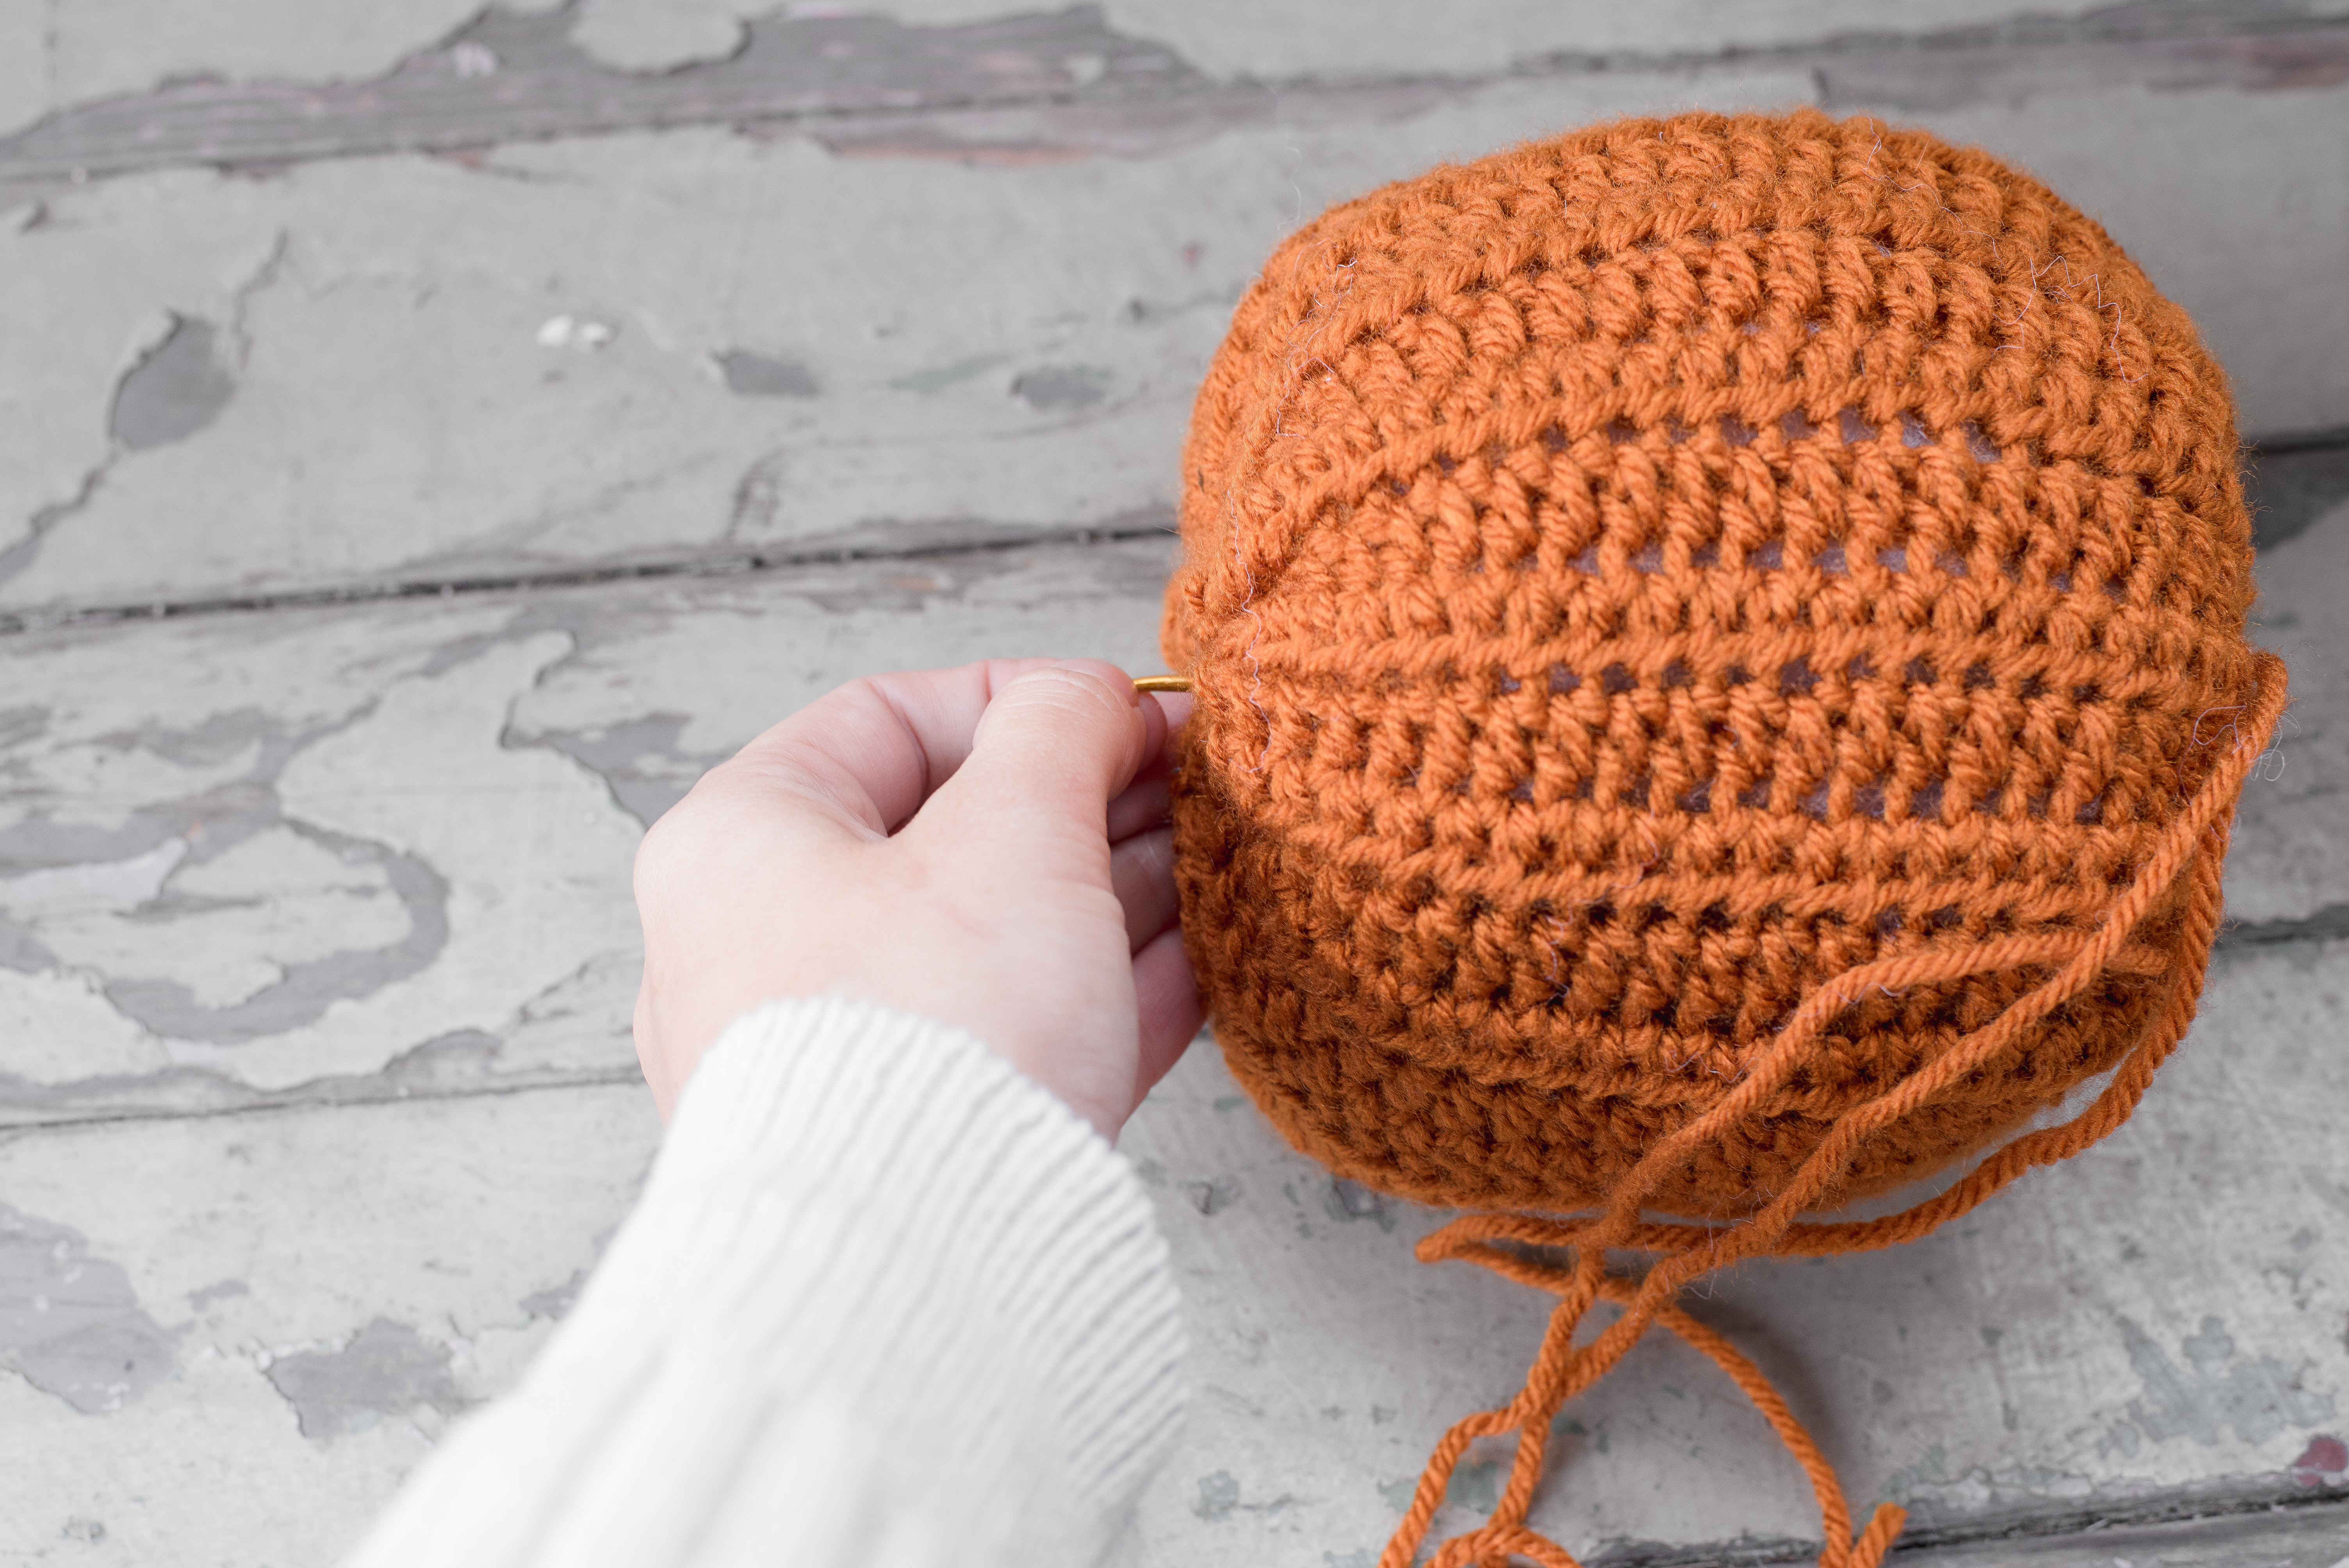
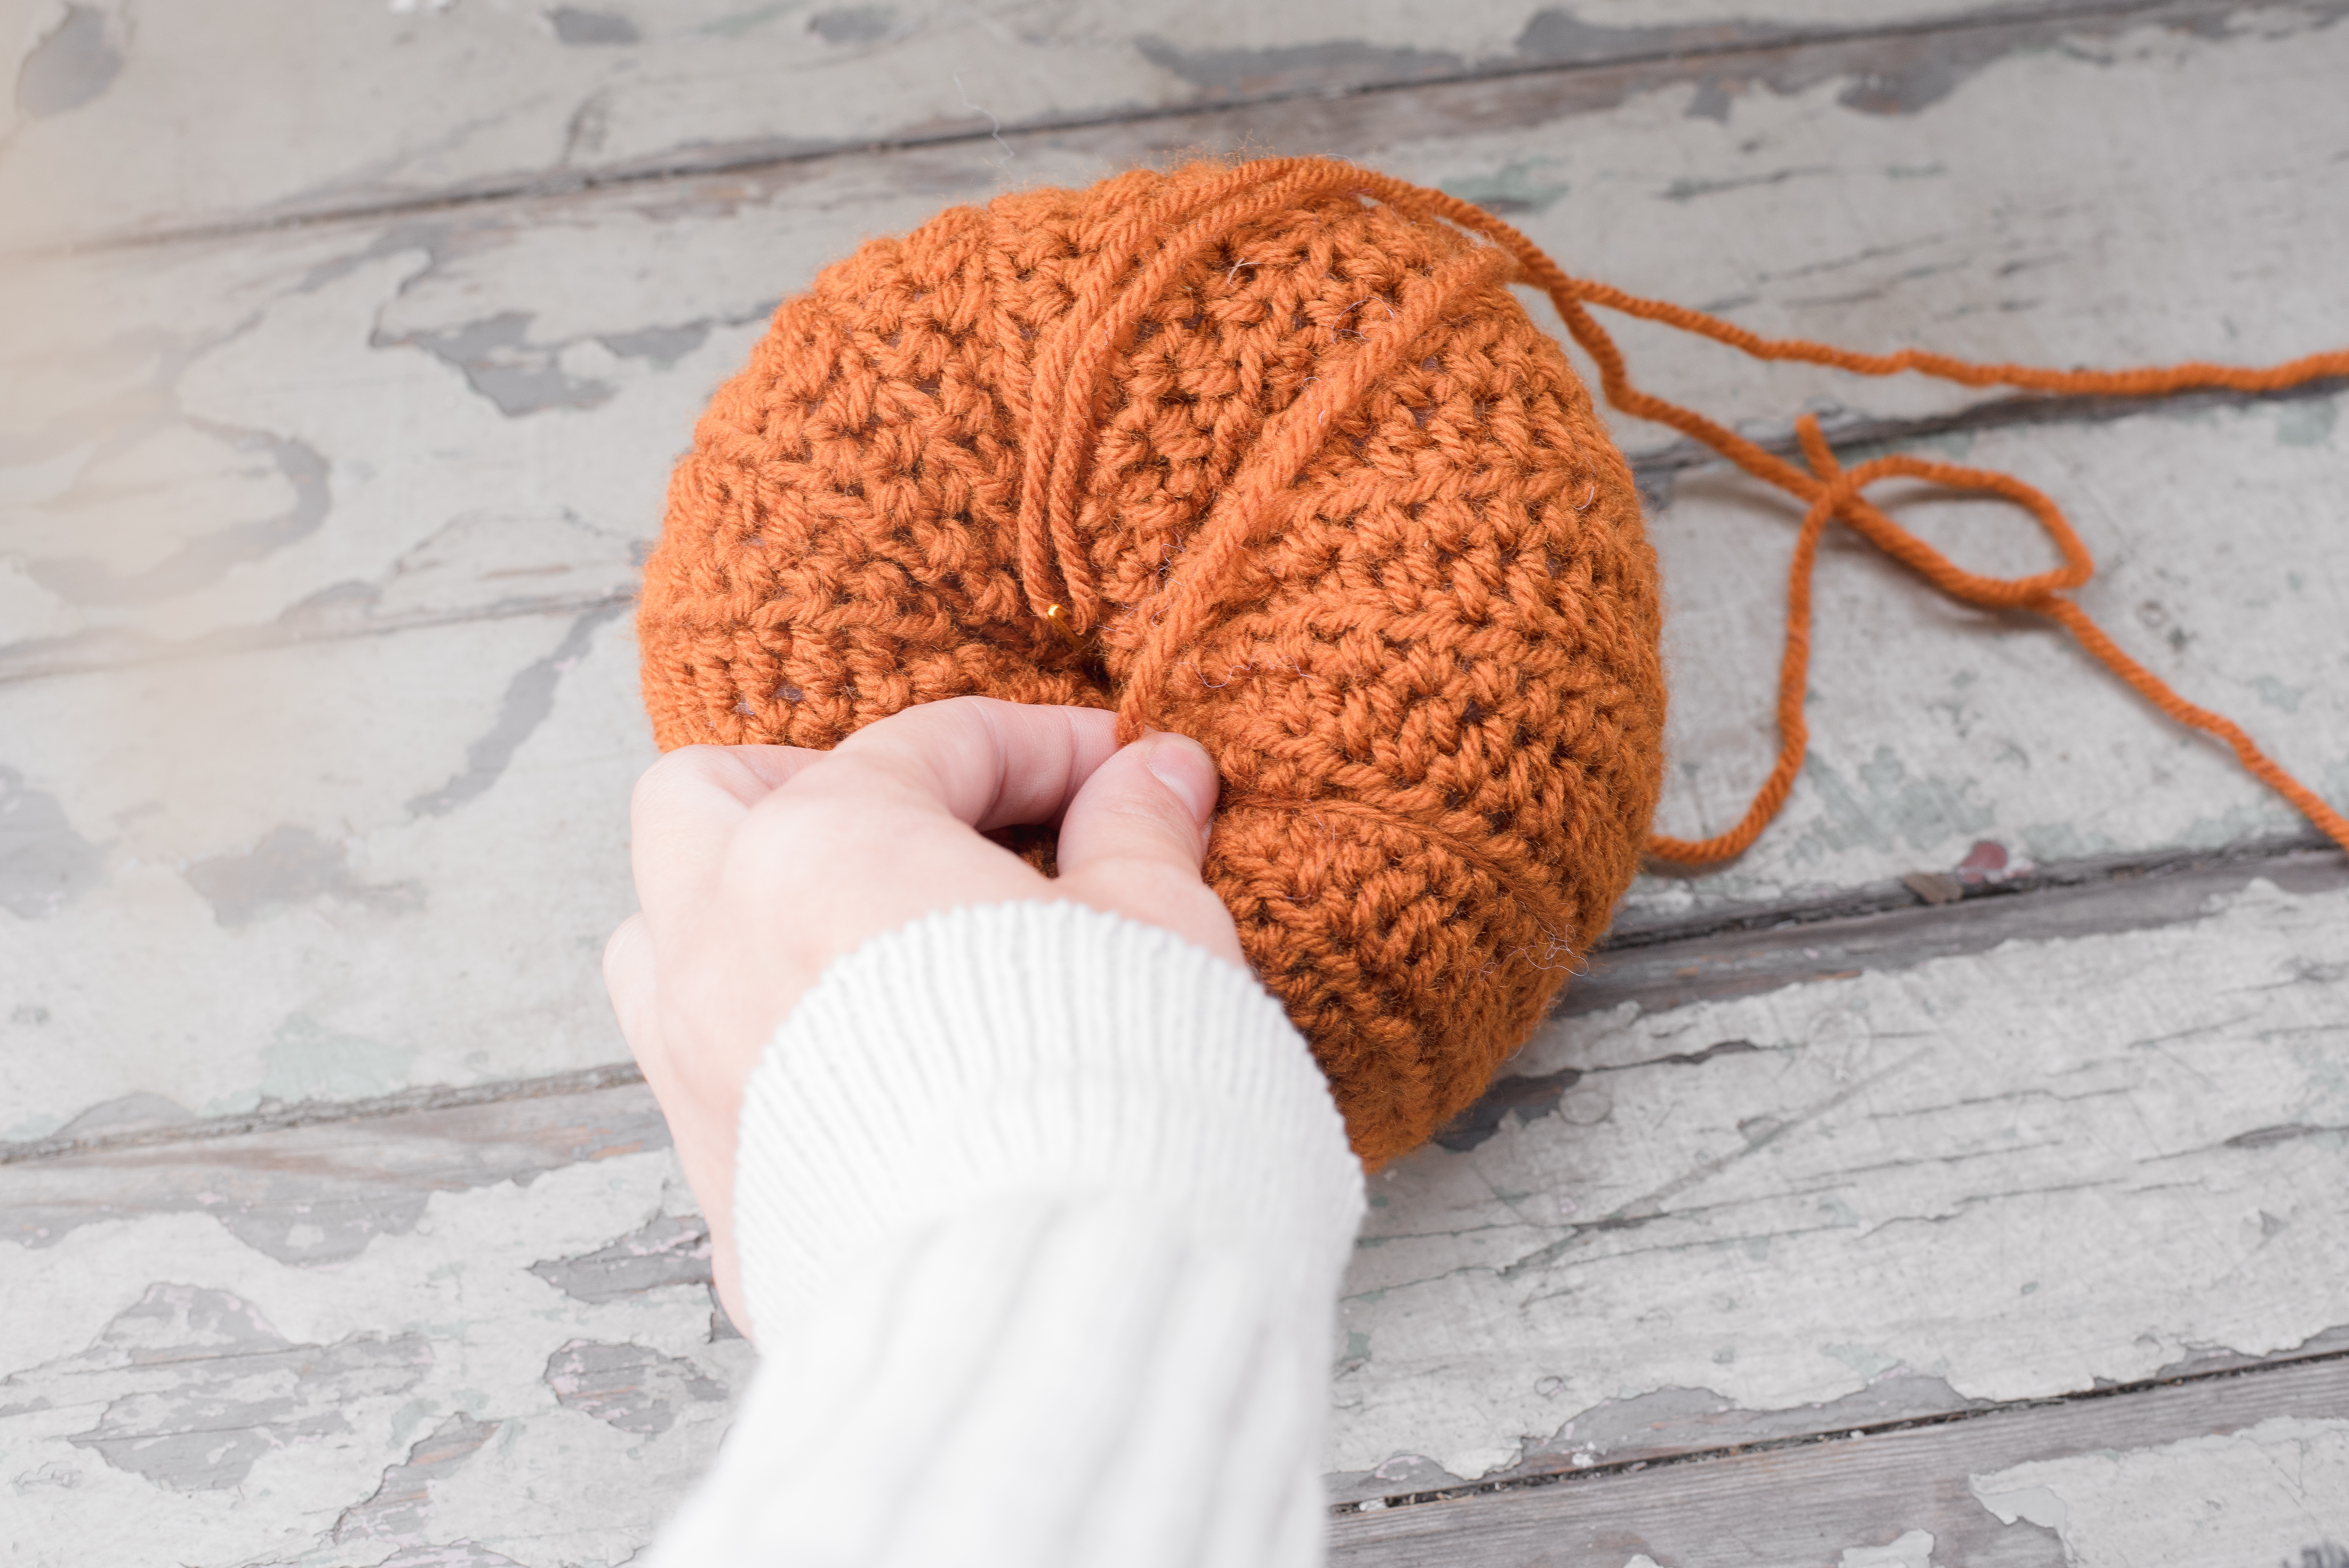
Now to create the ridges of the pumpkin. I took my yarn around the outside of the pumpkin and inserted the tapestry needle through the bottom. Repeat a total of 4 times. Then fasten your yarn off and added your steam and your Pumpkin is finished.
Hope you enjoy creating your own crochet basic pumpkin.
Copyright © 2018 Oh Another Craftyish Blog by Tawnya Myers, All rights reserved
Hey there! Just a heads up, I own all the copyrights to this pattern and the photos. Feel free to sell whatever you make with it! If you do sell it, I’d really appreciate it if you drop a link back to my post. Just remember, this is totally my work—I’ve put a ton of effort into creating these patterns. Happy Crocheting!