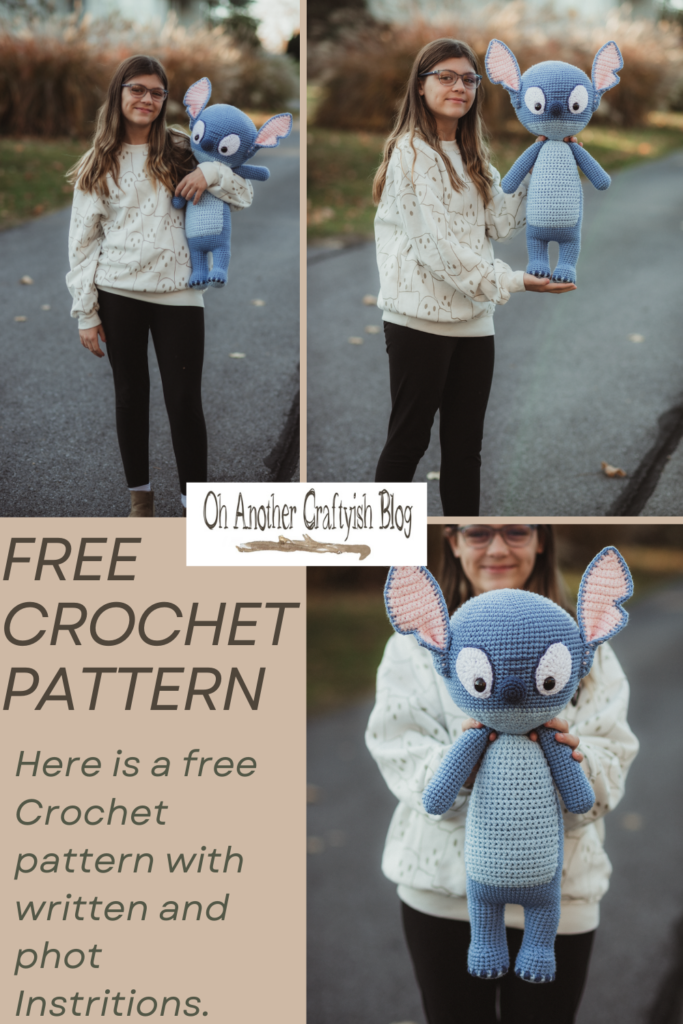
Blue Alien Free Crochet Pattern
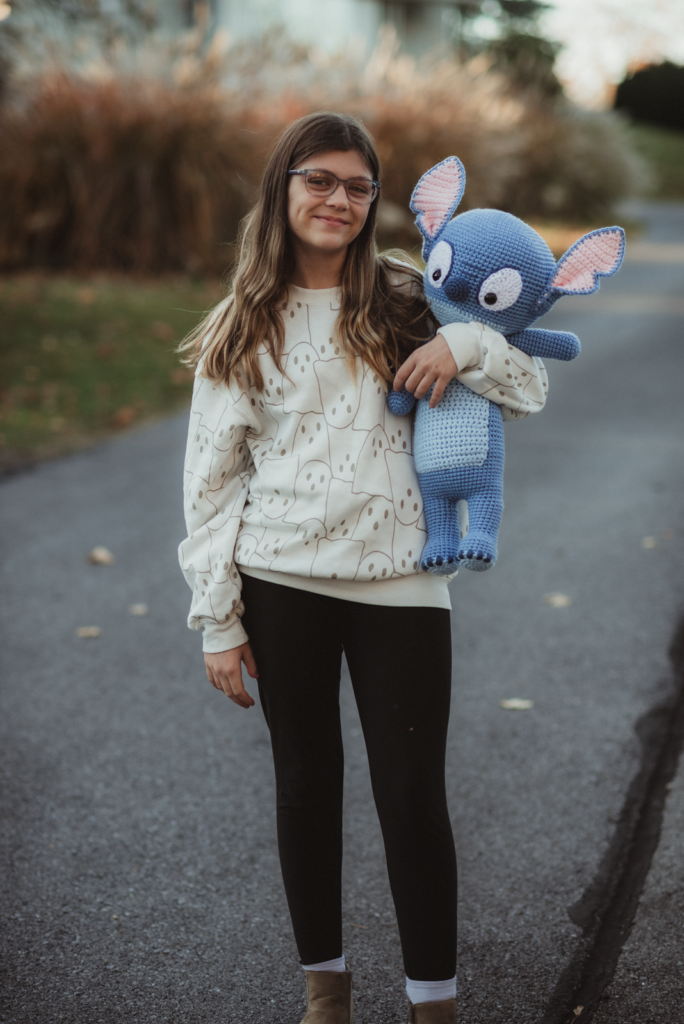
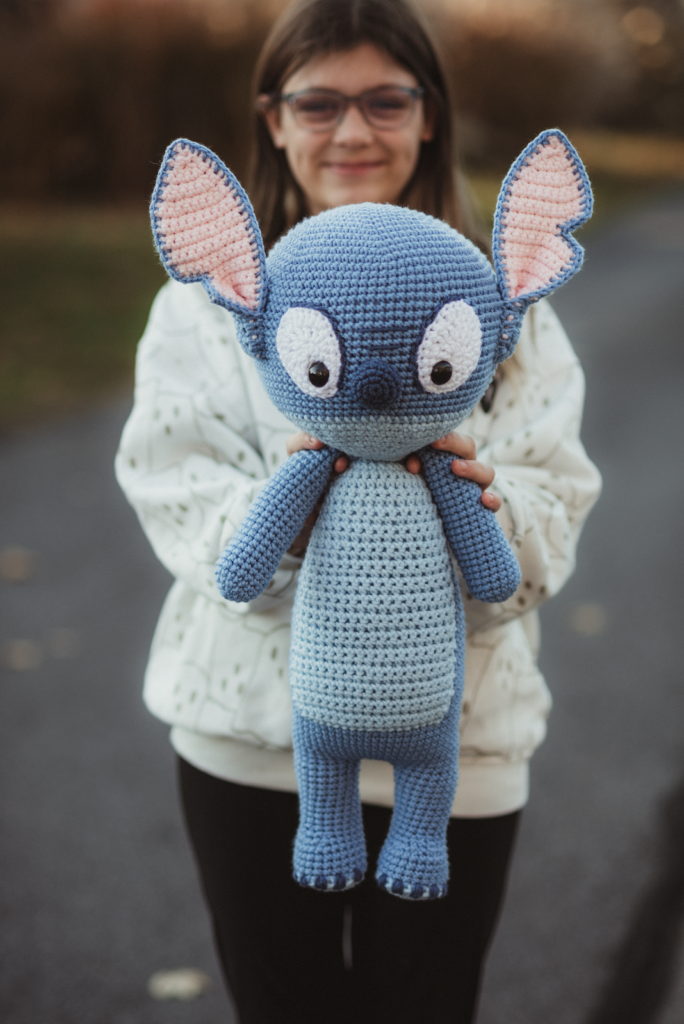
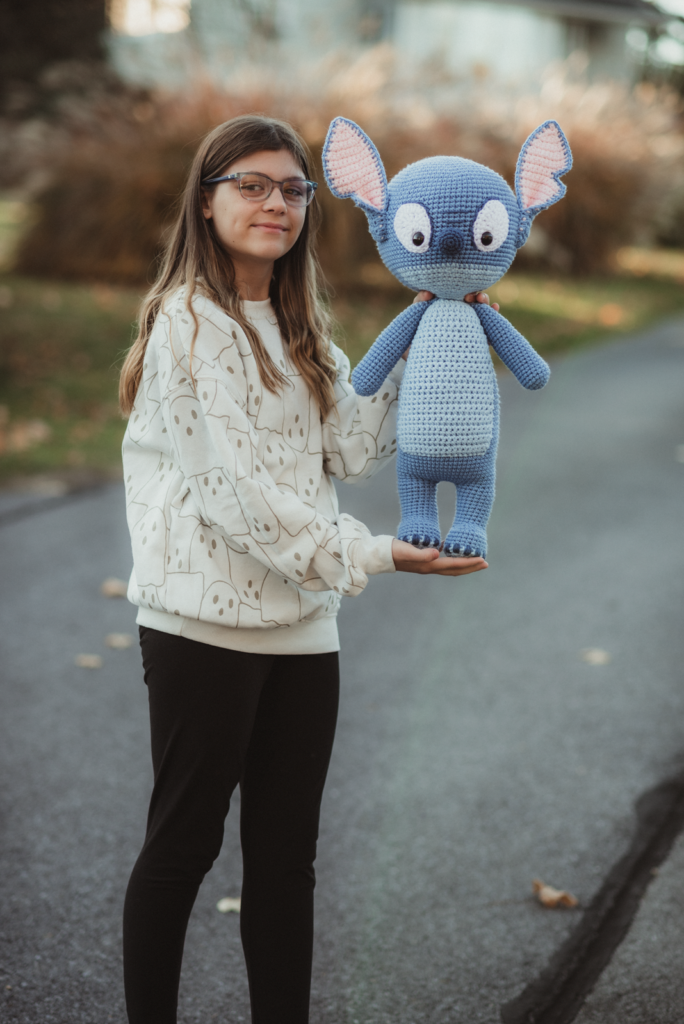
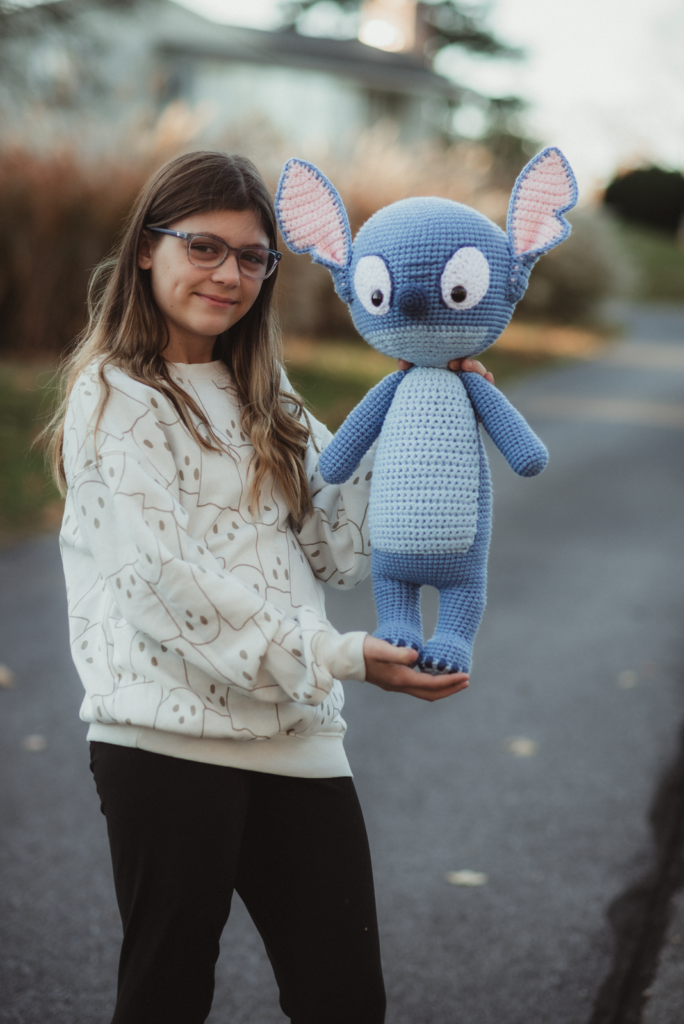
Create an adorable Crochet Blue Alien toy with written and photo instructions provided below.
This blue alien pattern has so much character to it. The special touches make it so unique, with vibrant colors and playful designs that catch the eye and spark imagination. I am certain any little one would love it. It can transform a simple space into a magical world. This world is filled with adventures and creativity. It provides endless opportunities for play and exploration.
I loved creating this blue alien pattern, which turned out to be a delightful project for me. I originally designed it for my daughter Emma. Emma has loved the color blue since she first began to recognize the spectrum of colors around her. Over the past several years, her fascination with aliens has blossomed. This fascination inspired me to mix her two favorite themes into one captivating design.
When she unwrapped the blue alien on her birthday, her eyes sparkled with joy. She couldn’t contain her excitement as she hugged it tightly. Shortly after, we attended my best friend’s daughter’s birthday party, which had an adorable alien theme of its own. I saw the joy my creation brought to my daughter. This inspired me to create another special piece for my friend’s little girl. It was a thoughtful gift. It warmed my heart to see the joy my unique creations bring to my friend’s kids. It’s special to give them with one-of-a-kind gifts they truly cherish. They get so excited, and their reactions make all the effort worthwhile, reinforcing my passion for crafting these delightful designs.

My kids all started a new school this year. It was quite scary having to make new friends. This was especially true considering the challenges that come with adjusting to a new environment. I am happy to report that they have all successfully made a lot of new friends. This is a huge relief for me. My youngest, Addy, was particularly excited. She received her very first birthday party invitation. It was from one of her new friend’s special celebrations. She looked at me with bright eyes. With an eager smile, she requested I create a blue alien as a gift for her friend. She believed that it would be the perfect gift to celebrate this occasion.
I don’t usually enjoy making gifts for people I don’t know well. Handmade crafts can sometimes miss the mark. Nonetheless, Addy’s sheer joy and enthusiasm made it hard to refuse. So, I decided to go ahead and craft the blue alien. I poured my heart into it, wanting to make it special. I am genuinely glad I took the time and effort. It turned out to be a huge hit at the party. It became the favorite gift that little girl received. Seeing my daughter’s face when she observed her friend’s joy was more rewarding than I had imagined. Her happiness increased knowing that her friend adored the blue alien. In that moment, I realized the impact of contributing something unique and heartfelt. It fosters connections and happiness among children.
The blue alien has a vibrant hue and captivating design. I am sure it will be a huge hit for you too. It embodies a charm and uniqueness that draws people in. Its playful nature and friendly demeanor resonate with audiences of all ages. This makes it not just a character but a beloved companion that sparks joy and imagination in every interaction.
I truly hope you’ve loved this blue alien pattern! If you create your own crochet blue alien. I’d be thrilled if you shared it on my Facebook and Instagram. Don’t forget to like and follow to stay in the loop for exciting new patterns! And remember to use the hashtag #crochetbluealien when you share your lovely creations!
I would really appreciate your support if you enjoy all my free crochet patterns. Your help allows me to continue providing them. By following my platforms, you’ll stay updated on the latest patterns. You will also join a community of fellow crochet enthusiasts who share your passion. Your engagement means the world to me. It motivates me to keep creating and sharing new designs for everyone to enjoy. Thank you for your encouragement and support!
Create your own crochet blue alien below with step-by-step instructions.
Supplies:
- Hobby Lobby (I love this Yarn) weight 4/ Medium.
- Light pink,
- Light blue
- Medium blue
- Dark blue
- 4 mm (G) Hook (or hook to obtain the gauge.)
- Tapestry Needle
- Safety eyes 20 mm
- Polyfil
- Stitch markers
Abbreviations:
Mc= Magic Circle
Ch(s)= Chain(s)
St(s)= Stitch(es)
Slst= Slip Stitch
Sc= Single Crochet
Dec= Decrease (Two stitches together)
Dec x2= Decrease (A regular Decrease 2 times)
2 sc= Single Crochet 2 Single Crochet in the same stitch. (Increase)
Blo= Back Loop Only
Hdc= Half Double Crochet
Dc= Double Crochet
Tr= Treble Crochet
Fo= Finished Off
Notes:
(Pattern is worked in Continues Rounds unless stated otherwise. Pay attention to notes for each step.)
Invisible Decrease:
- Insert your hook through the front loop only of the next stitch.
- Insert your hook into the front loop of the next stitch.
- Yarn over and pull through both loops.
- Yarn over and pull through the final two loops on the hook.
Pattern:
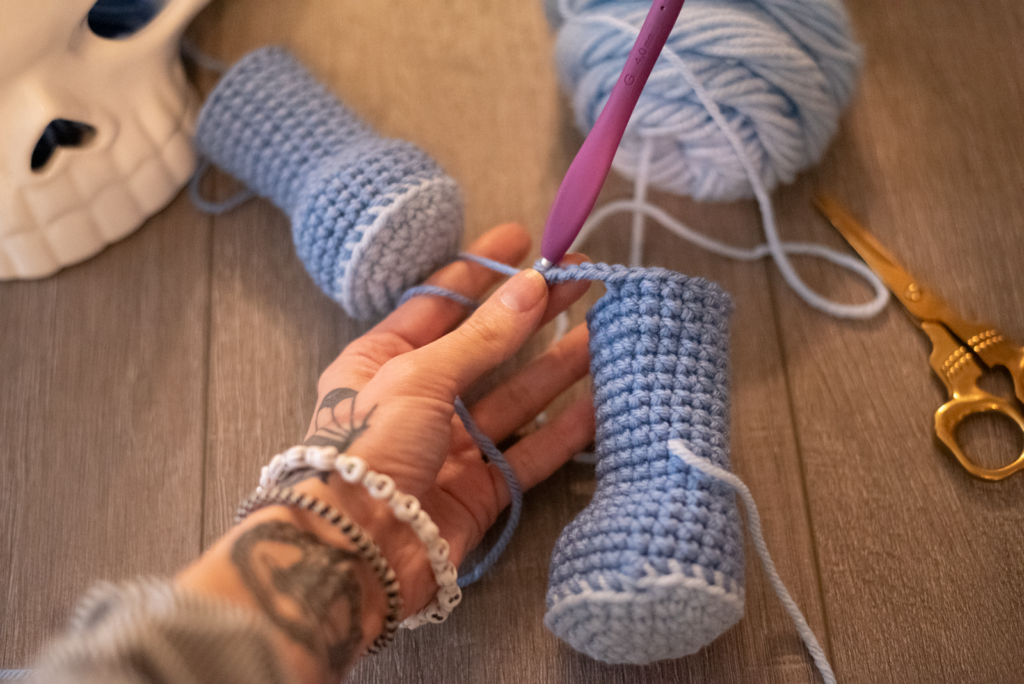
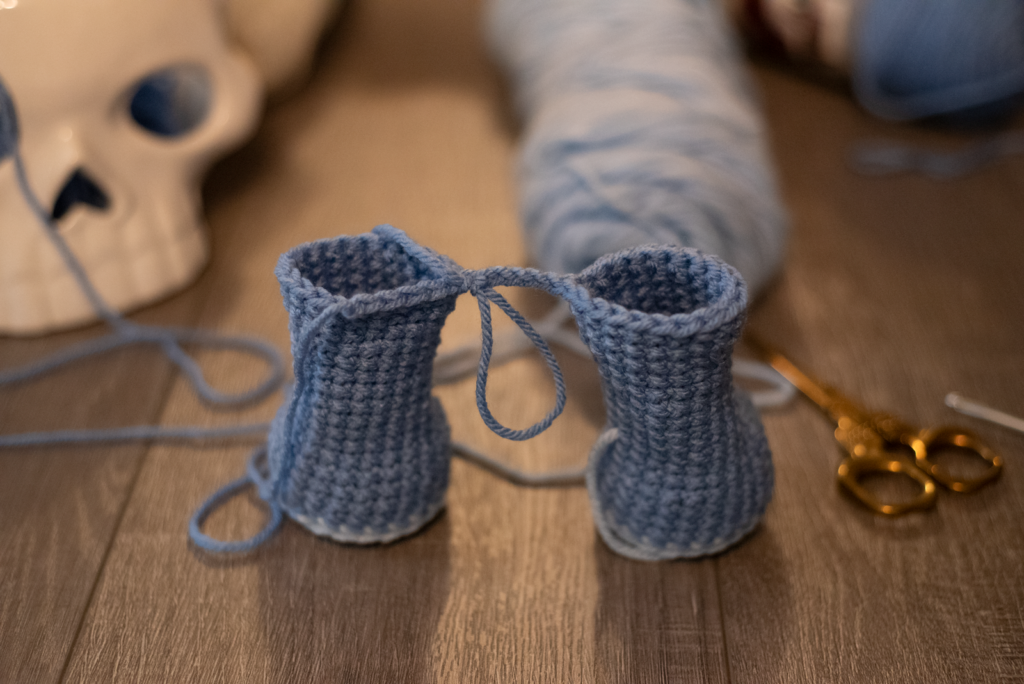
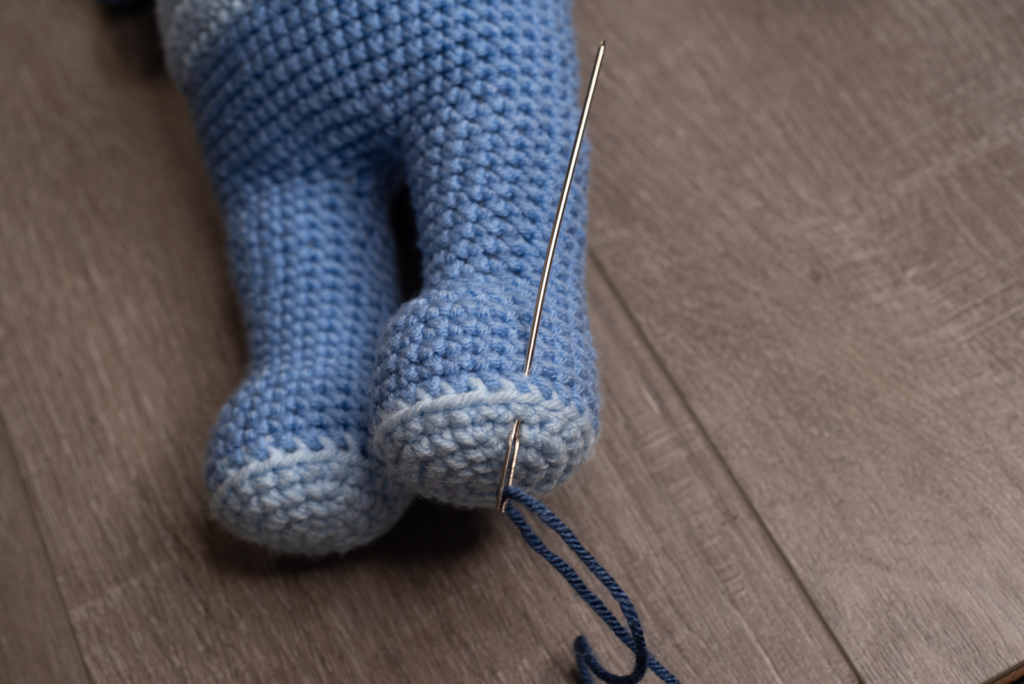
Legs:
(Make 2)
(Start with light blue then when advised switch to medium blue.)
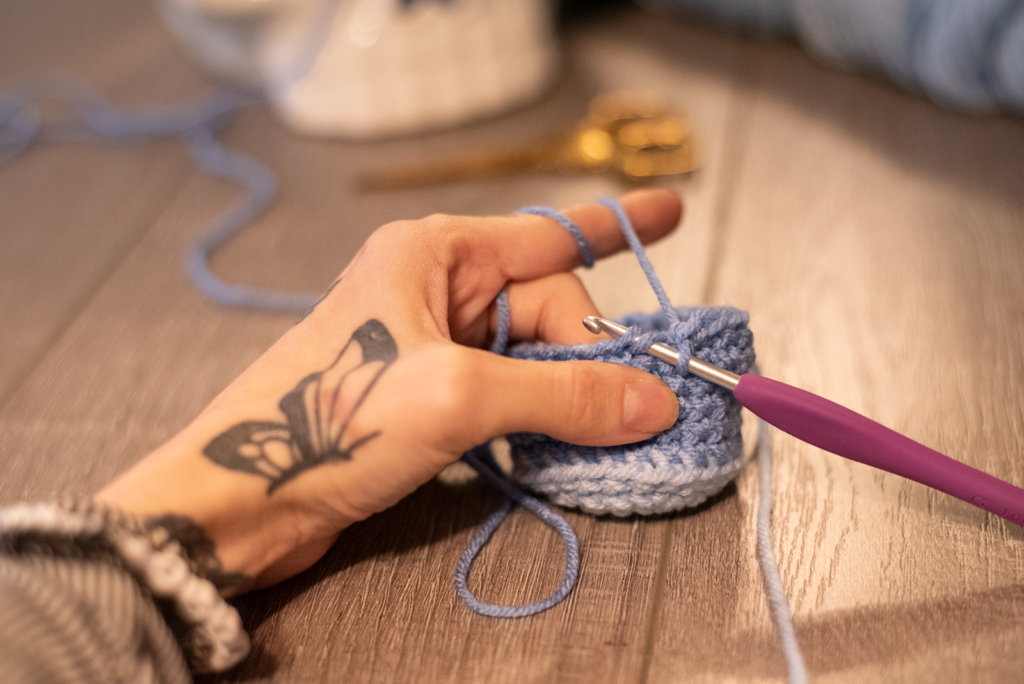
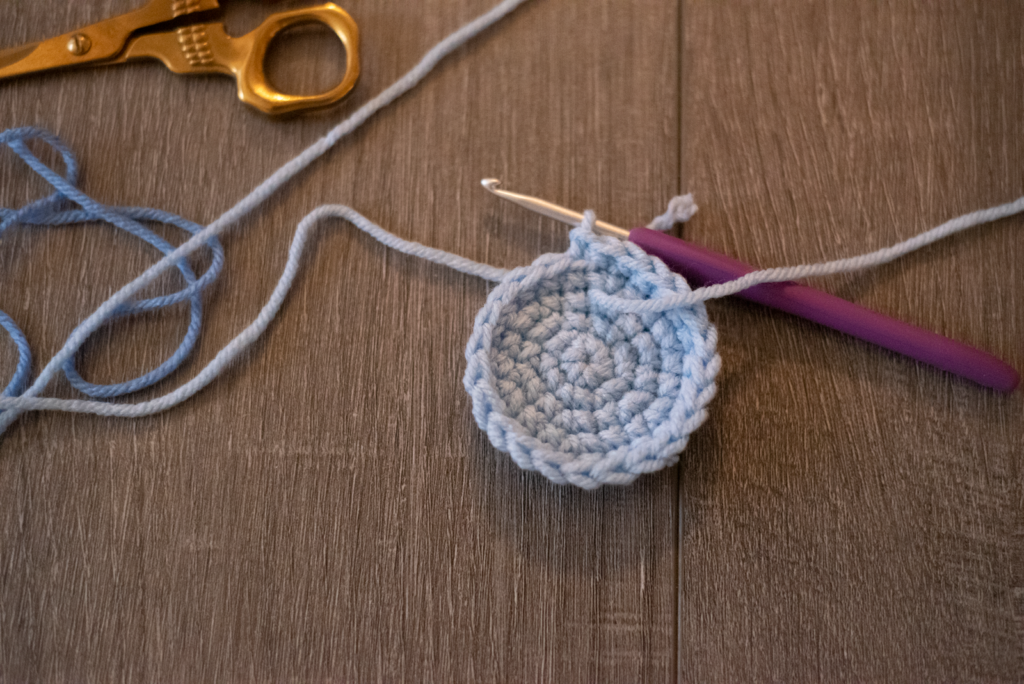
Round 1: Mc 6 sc. (6)
Round 2: 2 sc in each st around. (12)
Round 3: * Sc, 2 sc. Repeat from* around. (18)
Round 4: * Sc in the next 2 sts, 2 sc. Repeat from * around. (24)
Round 5: Sc in each st around. Slst and Fo. (24)
Round 6: (Switch to medium blue and attach yarn.) Sc in the Blo around. (Start to stuff the foot.) (24)
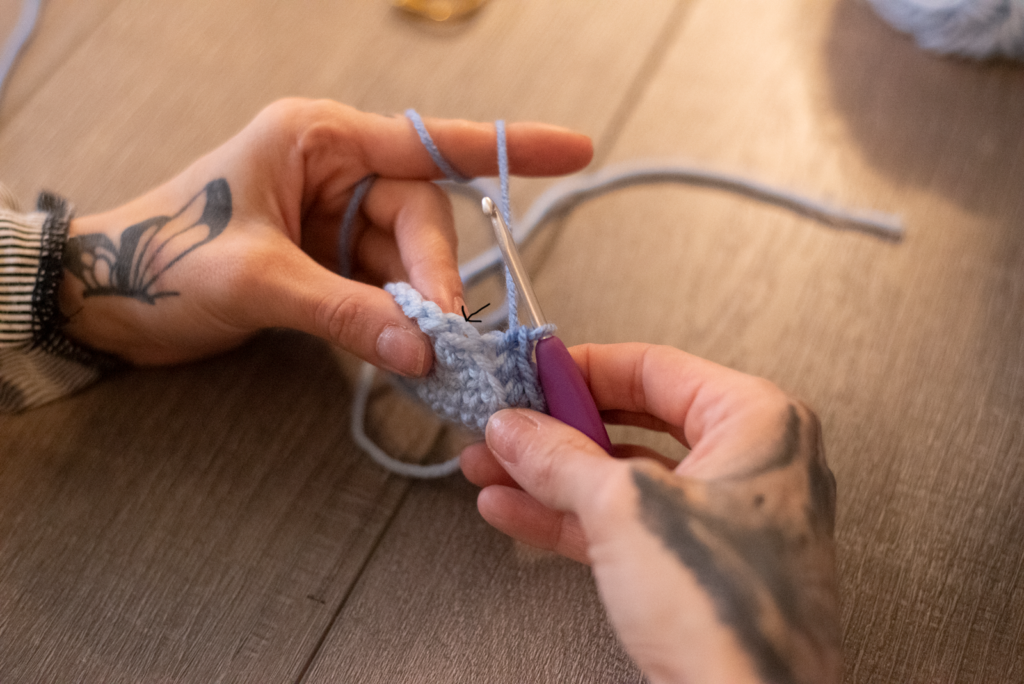
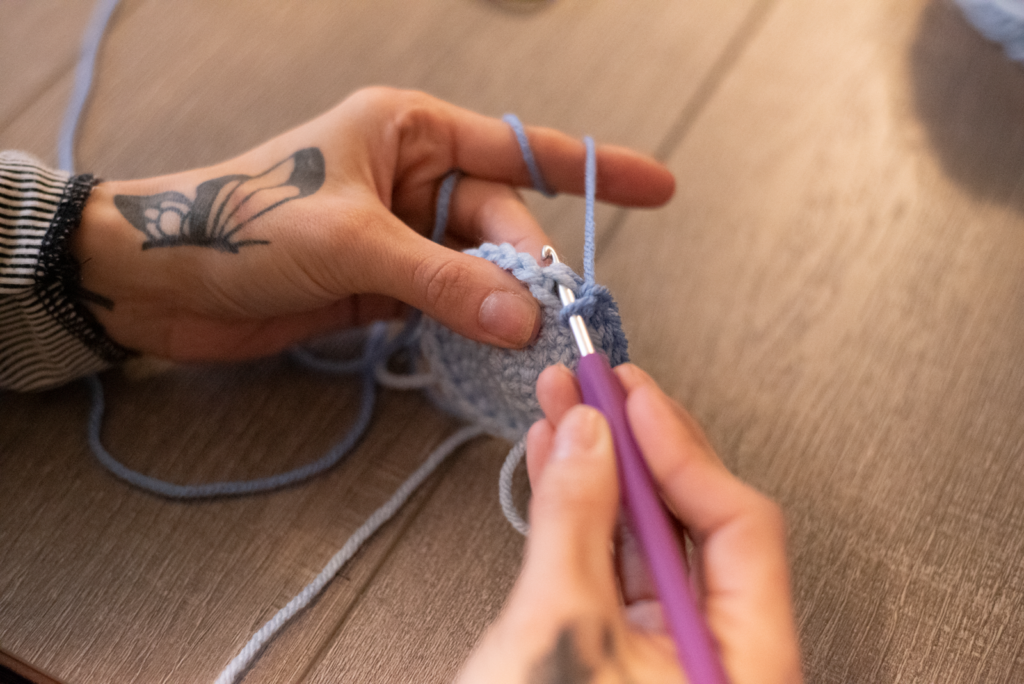
Round 7-10: Sc in each st around. (24) (4 rounds)
Round 11: Sc 7, dec, sc, dec, sc, dec, sc 9. (21)
Round 12: Sc 6, dec, sc, dec, sc 10. (19)
Round 13: Sc 7, dec, sc 10. (18)
Round 14-19: Sc each st around. (18) 6 (6 rounds)
Round 20: Sc 2, 2 sc in the next st, sc 10, 2 sc in the next st, sc 4. (20)
Round 21-22: Sc each st around. (20)
(Note only slst and FO one leg.)
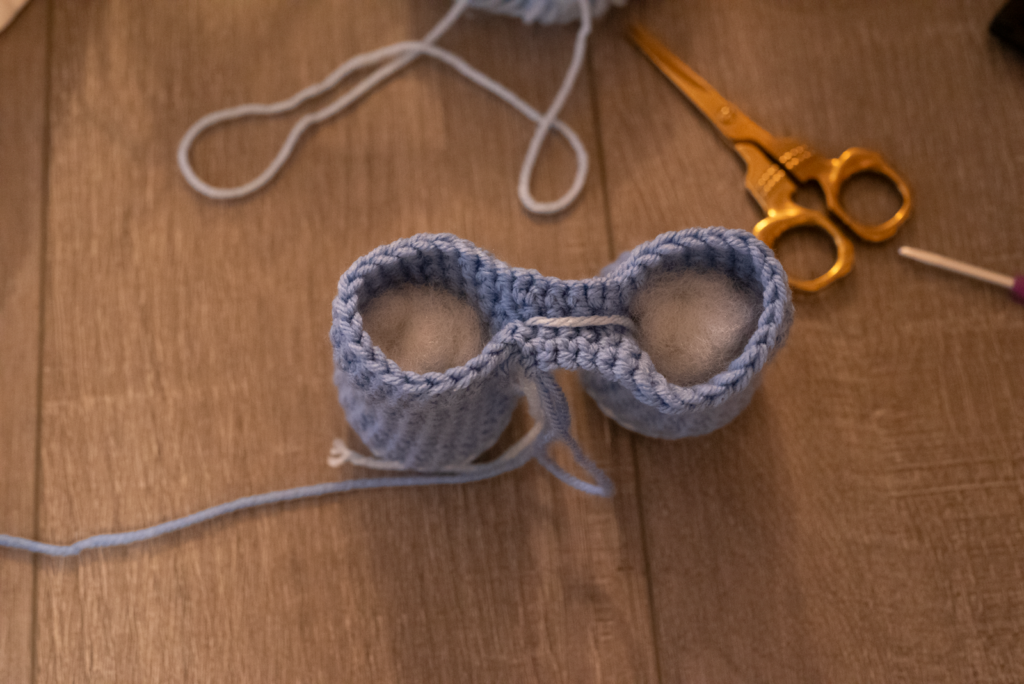
(Notes: For the second leg only sc 4 extra sts, then ch 4. This will be where you start your rounds for the body.)
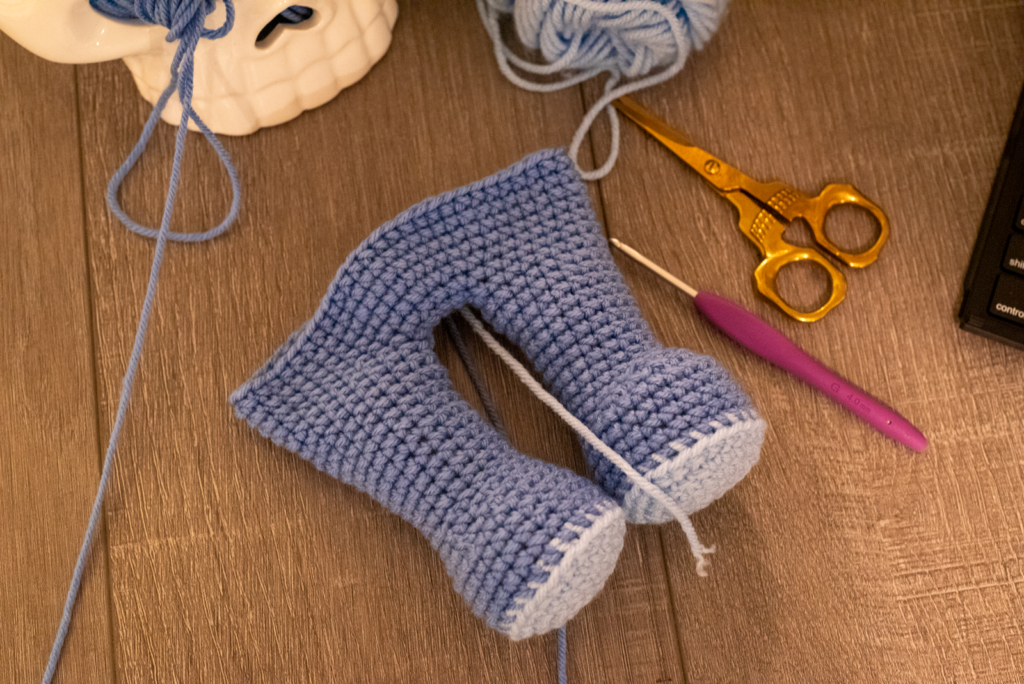
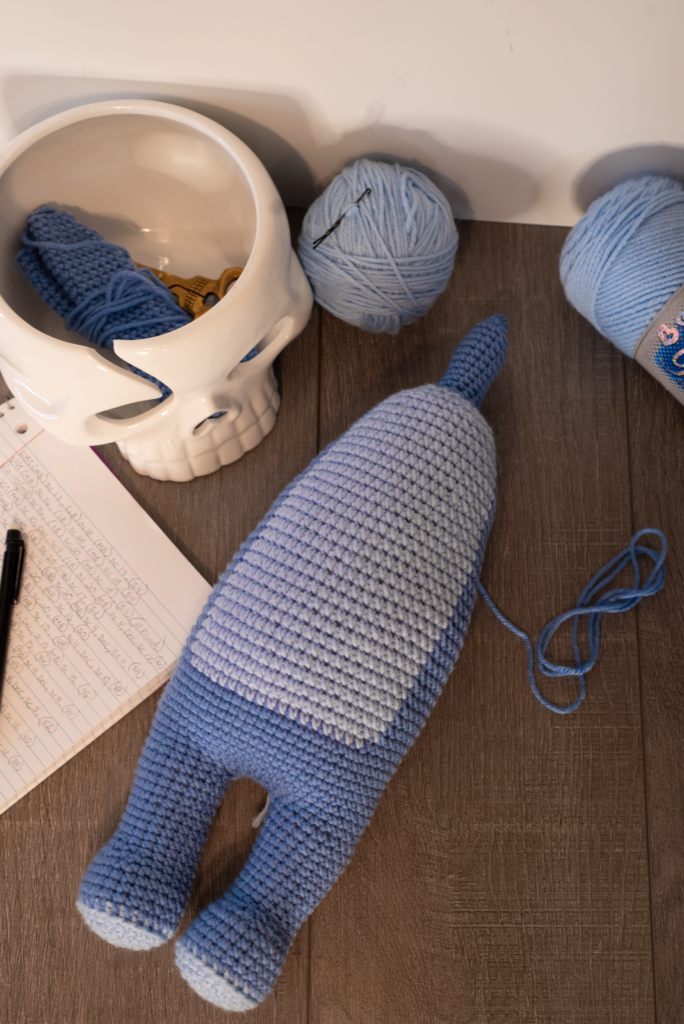
Body:
(Now working from the legs to the body still using color medium blue.)
Round 1: (Attach to the 2nd leg 6 sts back from where you Fo) Sc 20, Sc in each ch st (4 chs total) sc 20, sc in the bl of the ch sts (4 bl chs total) (48)
Round 2: sc 20, 2 sc in the next st, sc 2, 2sc in the next st, sc 24. (50)
Round 3: sc 19, 2 sc in the next st, sc 2, 2 sc in the next 2 sts, sc 2, 2 sc in the next st, sc 23. (54)
Round 4-19: Sc each st around. (54)
Round 20: Sc 13, dec, sc 24, dec, sc 13. (52)
Round 21: Sc each st around. (52)
Round 22: Sc 12, dec, sc 24, dec, sc 12. (50)
Round 23: Sc each st around. (50)
Round 24: Sc 11, dec, sc 24, dec, sc 11. (48)
Round 25: Sc each st around. (48)
Round 26: Sc 11, dec, sc 22, dec, sc 11. (46)
Round 27: Sc each st around. (46)
Round 28: Sc 11, dec, sc 20, dec, sc 11. (44)
Round 29: Sc each st around. (44)
Round 30: Sc 10, dec, sc 20, dec, sc 10. (42)
Round 31: Sc each st around. (42)
Round 32: Sc 9, dec, sc 20, dec, sc 9. (40)
Round 33: Sc each st around. (40)
Round 34: Sc 9, dec, sc 18, dec, sc 9. (38)
Round 35: Sc each st around. (38)
Round 36: Sc 9, dec, sc 16, dec, sc 9. (36)
Round 37: *Sc in the next 4 sts, dec. Repeat from * around. (30)
Round 38: * Sc in the next 3 sts, dec. Repeat from * around. (24)
Round 39: * Sc in the next 2 sts, dec. Repeat from *around. (18)
Round 40: * Sc, dec. Repeat from * around. (12)
Round 41-51: Sc each st around. (12) (10 rounds)
Round 52: * Dec. Repeat from * around Fo. (6)
(Notes:) Round 40-52 is where we create the Neck part that creates the stability to hold the head on more securely.
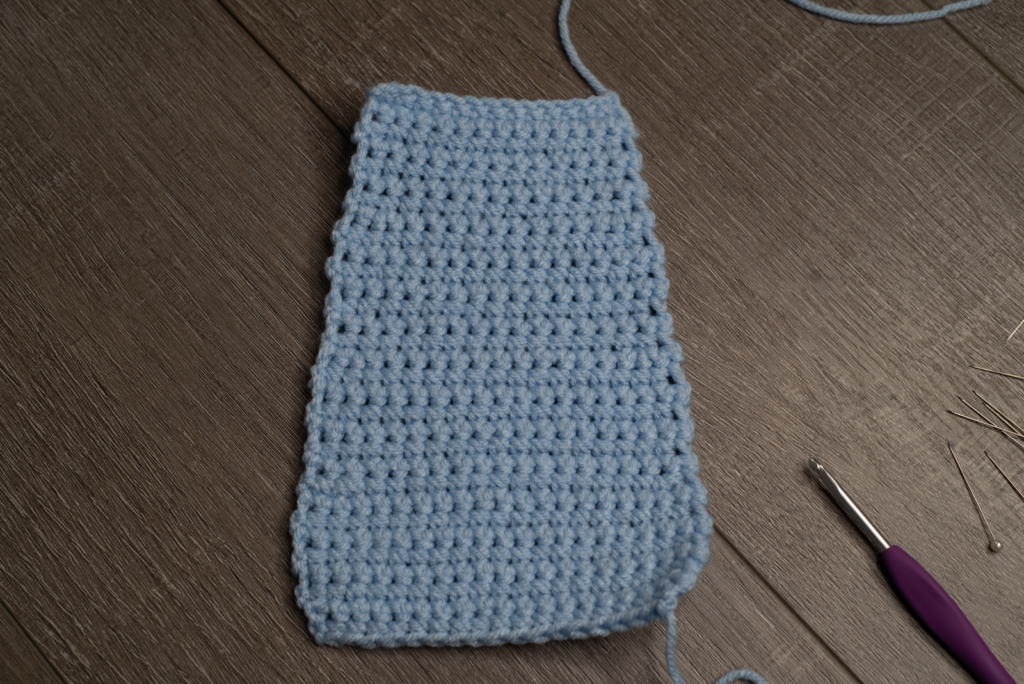
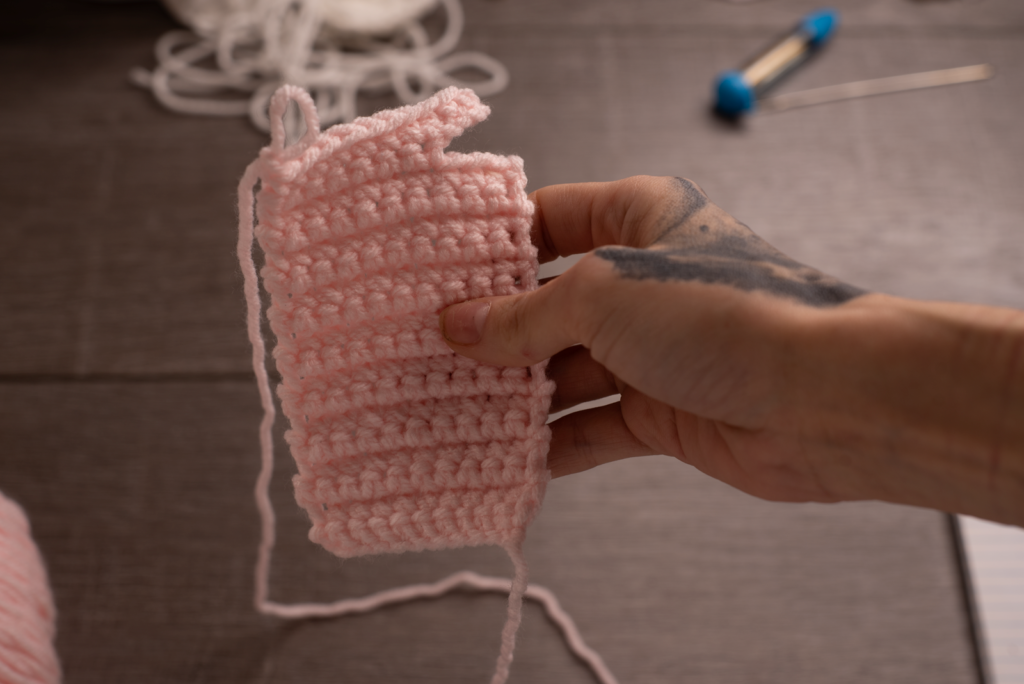
Body Piece:
(Color light blue.)
Row 1: Ch 15. In the 2nd ch from the hook sc, sc in the remaining chs. Ch 1 turn. (14)
Row 2-7: Sc in each st across. Ch 1 turn. (14)
Row 8: Sc, 2 sc, sc in the next 10 sts, 2 sc, sc. Ch 1 turn. (16)
Row 9-14: Sc in each st across. Ch 1 turn. (16)
Row 15: Sc, 2 sc, sc in thee next 12 sts, 2 sc, sc. Ch 1 turn. (18)
Row 16-21: Sc in each st across. Ch 1 turn. (18)
Row 22: Sc, 2 sc, sc in the next 14 sts, 2 sc, sc. Ch 1 turn. (20)
Row 23- 28: Sc in each st across. Ch 1 turn. (20)
Row 29: Sc, dec, sc in the next 14 sts, dec, sc. Ch 1 turn. (18)
Row 30: Sc in each st across. Fo leaving a long tail for sewing on to the body.
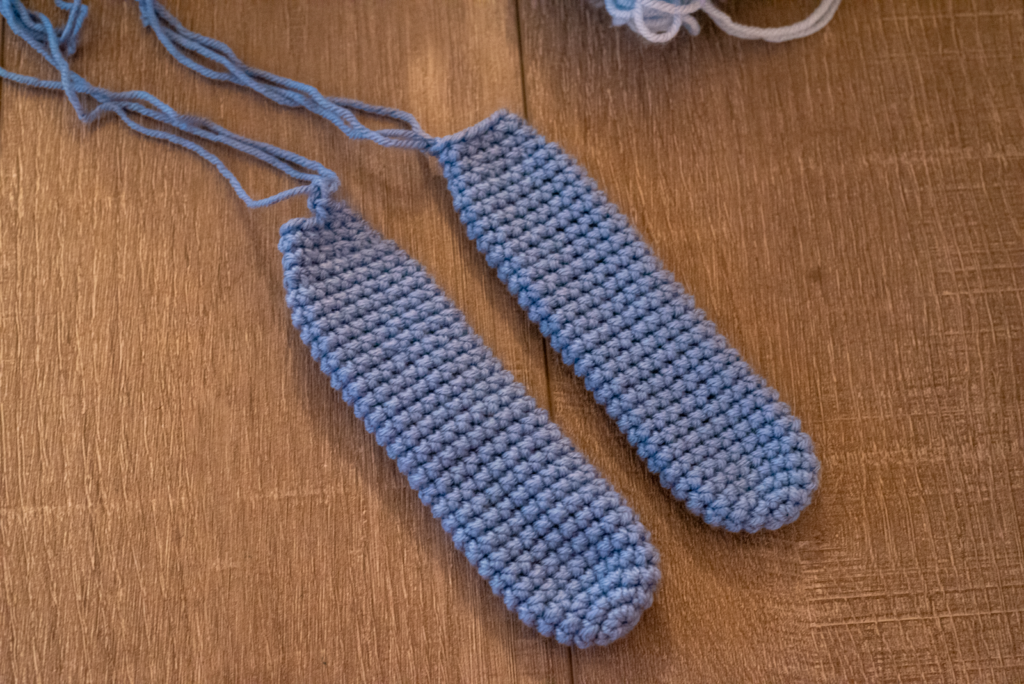
Arms:
(make two) (Color yarn medium blue.)
Round 1: Mc 6 sc. (6)
Round 2: 2 Sc in each st around. (12)
Round 3: * Sc, 2 sc in the next st. Repeat from * around. (18)
Round 4- 28: Sc each st around. (18) (24 rounds)
Round 29: * Sc, Dec. Repeat from * around. (12)
Round 30-31: Sc each st around. (12) (2 rounds)
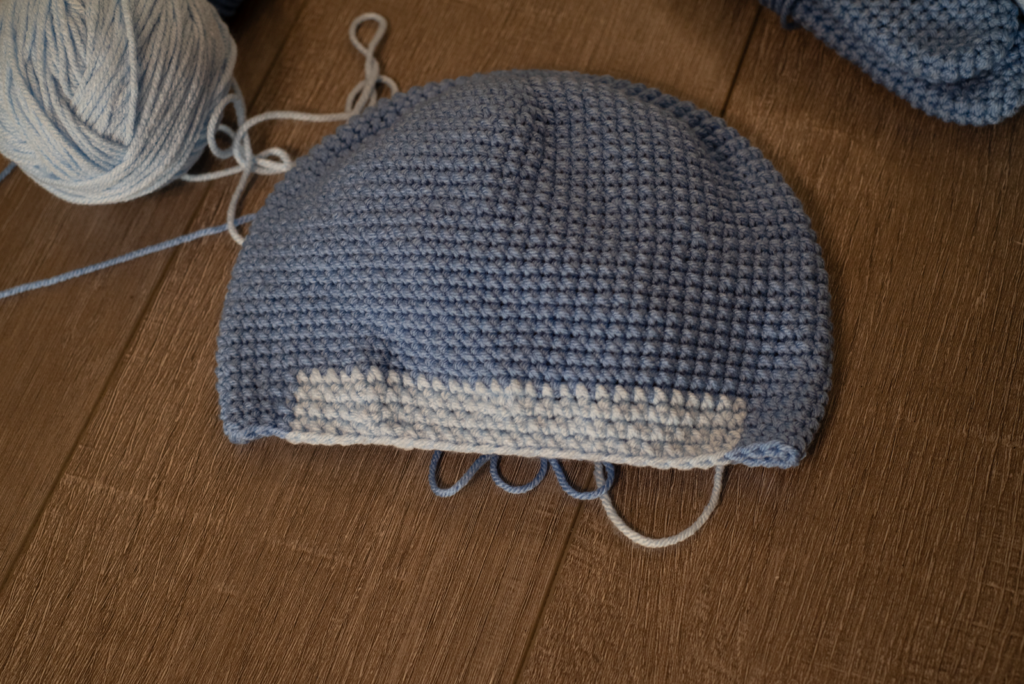
Head:
(Start with color medium blue then light blue when advised.)
Round 1: Mc 6 sc. (6)
Round 2: 2 Sc in each st around. (12)
Round 3: * Sc, 2 sc in the next st. Repeat from * around. (18)
Round 4: * Sc 2, 2 sc in the next st. Repeat from * around. (24)
Round 5: * Sc 3, 2 sc in the next st. Repeat from * around. (30)
Round 6: * Sc 4, 2 sc in the next st. Repeat from * around. (36)
Round 7: * Sc 5, 2 sc in the next st. Repeat from * around. (42)
Round 8: * Sc 6, 2 sc in the next st. Repeat from * around. (48)
Round 9: * Sc 7, 2 sc in the next st. Repeat from * around. (54)
Round 10: * Sc 8, 2 sc in the next st. Repeat from * around. (60)
Round 11: * Sc 9, 2 sc in the next st. Repeat from * around. (66)
Round 12: * Sc 10, 2 sc in the next st. Repeat from * around. (72)
Round 13: * Sc 11, 2 sc in the next st. Repeat from * around. (78)
Round 14-32: Sc each st around. (78) (19 rounds)
(Notes: in round 33 we will be switching back and forth from medium blue and light blue.)
Round 33: (Medium Blue) sc 25, (Light Blue) sc 28, (Medium Blue) sc 25. (78)
Round 34: (Medium Blue) sc 10, dec, sc, dec, sc 10, (Light Blue) sc 12, dec 2 times, sc 12 (medium Blue) sc 10, dec, sc, dec, sc 10. (72)
Round 35: (Medium Blue) Dec, sc 19, dec, (Light Blue) sc 4, dec, sc 14, dec, sc 4, (Medium Blue) dec, sc 19, dec. (66)
Round 36: (Medium Blue) Sc 8, dec, sc, dec, sc 8, (Light Blue) sc 6, dec, sc 8, dec, sc 6, (Medium Blue) sc 8, dec, sc, dec, sc 8. (60)
Round 37: (Medium Blue) Sc 4, dec, sc 7, dec, sc 4, (Light Blue) sc 6, dec, sc 6, dec, sc 6, (Medium Blue) sc 4, dec, sc 7, dec, sc 4. (54)
Round 38: (Medium Blue) Dec, sc 13, dec, (Light Blue) sc 8, dec 2 times, sc 8, (Medium Blue) dec, sc 13, dec. (48)
Round 39: (Medium Blue) Dec, sc 5, dec, sc, dec, sc 5 (Light Blue) sc 2, dec, sc 10, dec, sc 2, (Medium Blue) sc 5, dec, sc, dec, sc 5. (42)
Round 40: (Medium Blue) Sc 2, dec, sc 5, dec, sc 2, (Light Blue) sc 5, dec, sc 2, dec, sc 5, (Medium Blue) sc 2, dec, sc 5, dec, sc 2. (36)
Round 41: (Medium Blue) Sc 3, dec, sc, dec, sc 3 (Light Blue) sc 5, dec 2 times, sc 5, (Medium Blue) sc 3, dec, sc, dec, sc 3. (30)
Round 42: (Medium Blue) Sc 2, dec, sc, dec, sc 2 (Light Blue) sc 4, dec 2 times, sc 4, (Medium Blue) sc 2, dec, sc, dec, sc 2. (24)
Round 41: (Medium Blue) Sc, dec, sc, dec, sc, (Light Blue) sc 3, dec 2 times, sc 3, (Light Blue) sc, dec, sc, dec, sc. (18)
Round 43: (Medium Blue) * Dec, sc 2. Repeat from * around. (18)
Round 44-49: (Medium Blue) Sc each st around. (18) (5 rounds)
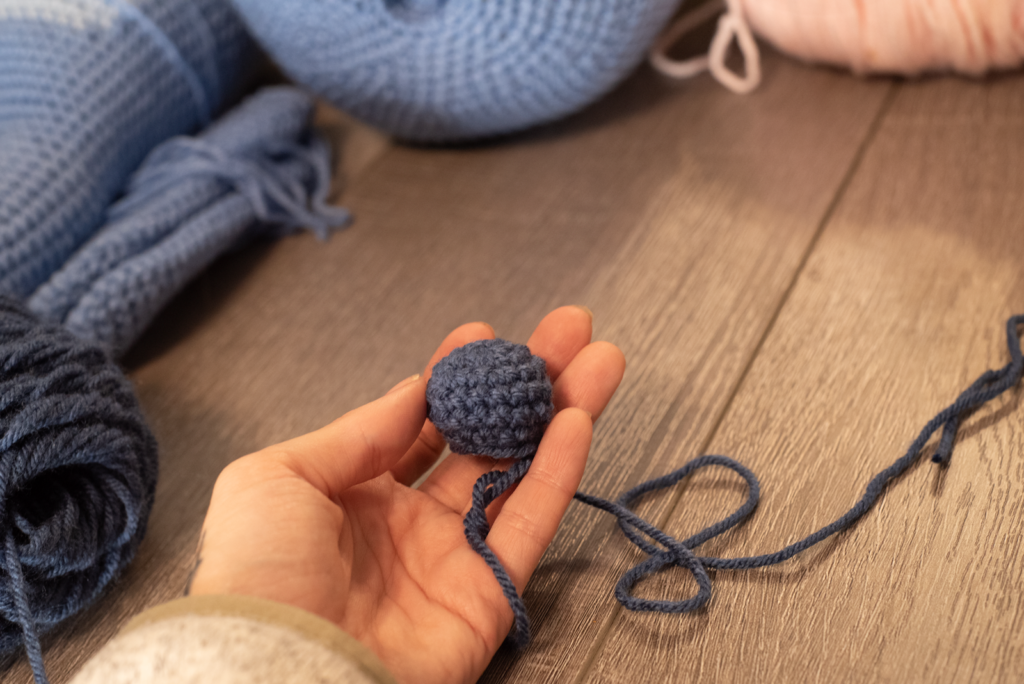
Nose:
(Color dark blue)
Round 1: Mc 6 sc. (6)
Round 2: 2 sc in each st around. (12)
Round 3: * Sc, 2 sc in the next st. Repeat from * around. (18)
Round 4-5: Sc each st around. (18) (2 rounds)
Round 6: * Sc, dec. Repeat from * around. Fo (12)
Eye Piece:
(Make 2) (light blue) (20 mm safety eyes)

(Worked in continuous rounds unless stated otherwise.)
Row 1: Ch 5 in the 2nd ch from the hook Sc, hdc, dc, 6 dc in the last st. Now working on the other side of the ch, Dc, hdc, sc. Do not ch. (12)
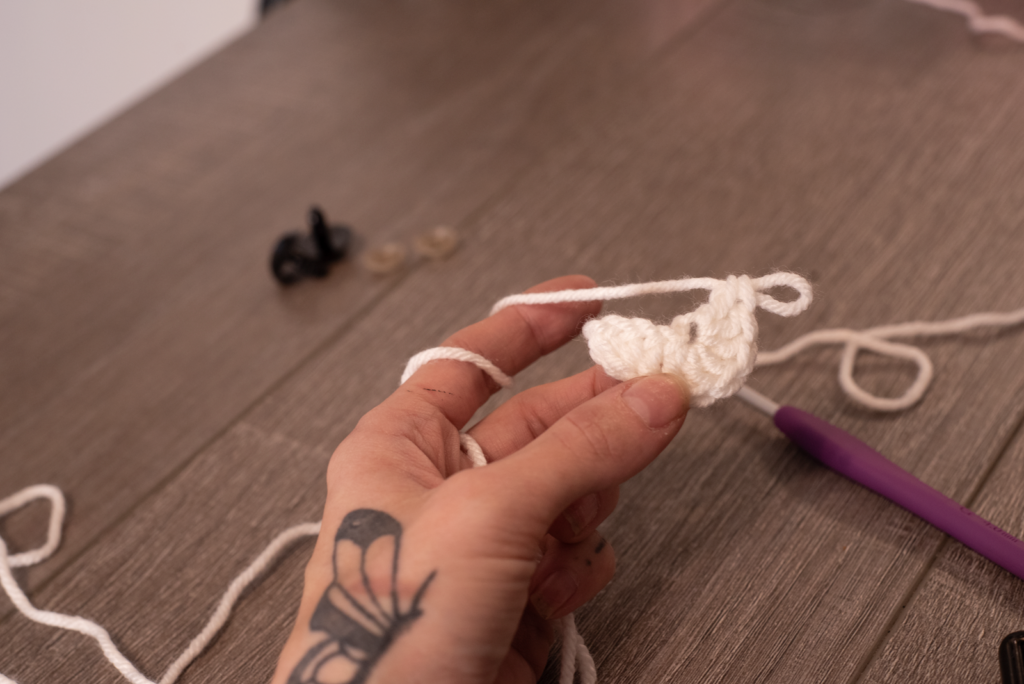
Row 2: Sc 3, 2 hdc , 2 dc, dc+tr, tr+dc, 2 dc, 2 hdc, sc 3. Ch 2 do not turn. (18)
Row 3: Sc 6, 2hdc, 2 dc, dc+tr, tr, dc, 2 dc, 2hdc, sc 6. Ch 2, slst and fo. (27)
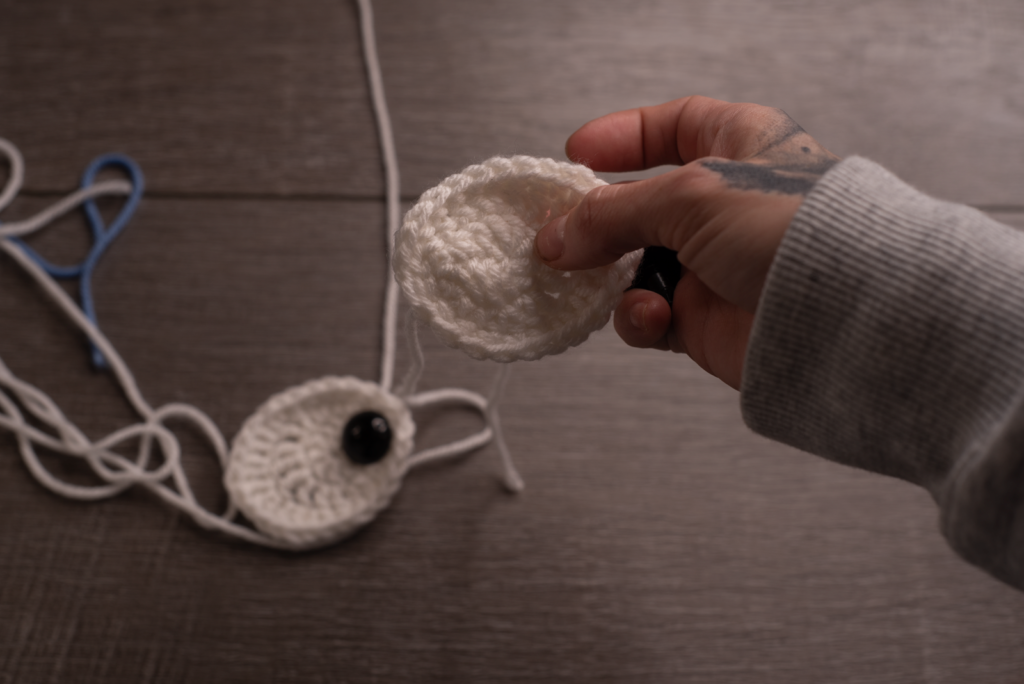
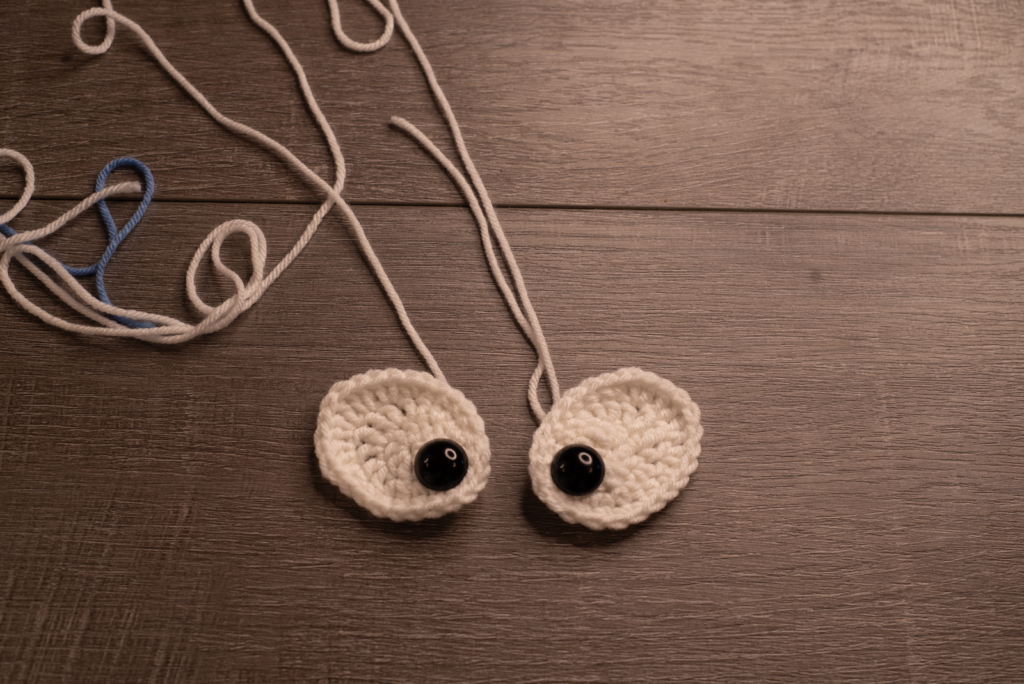
Add Safety eyes between Row 1 and Row 2. Do not attach the snaps yet; instructions for assembly are provided at the end.
Ears:
(Make 2 of each the left and right ear. Be sure to follow instruction as we don’t won't be fasten off the medium blue ear.)
Right ear:
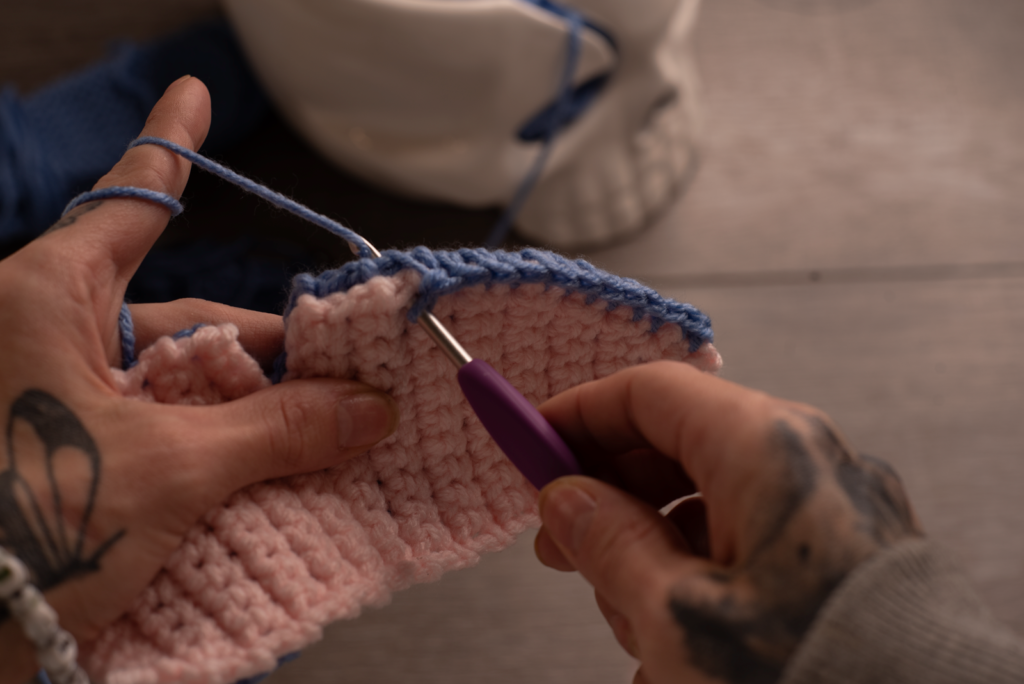
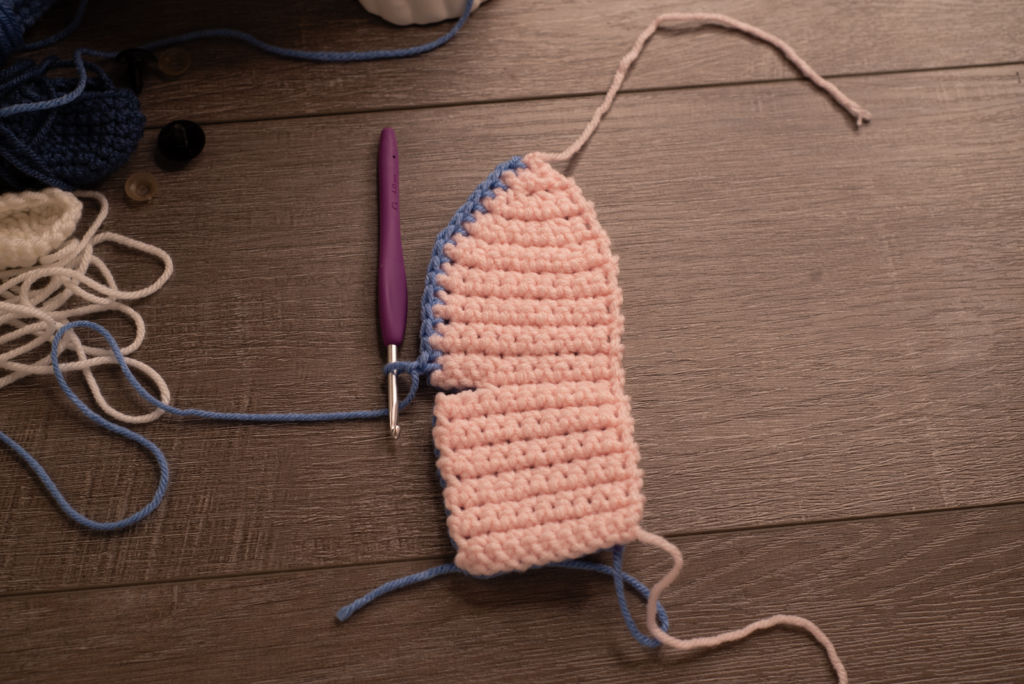
Making 1 right ear in light pink.
Row 1: Ch 11. In the 2nd ch from the hook sc, sc in the next 9 chs. ch 1 turn. (10)
Row 2-11: Sc in each st across. Ch 1 turn. (10)
Row 12: Sc in the next 7 sts, Ch 4 and turn. (7 + 4 chs)
Row 13: In the 2nd ch from the hook sc, sc the next 2 chs. Sc in the next 7 sts. Ch 1 turn. (10)
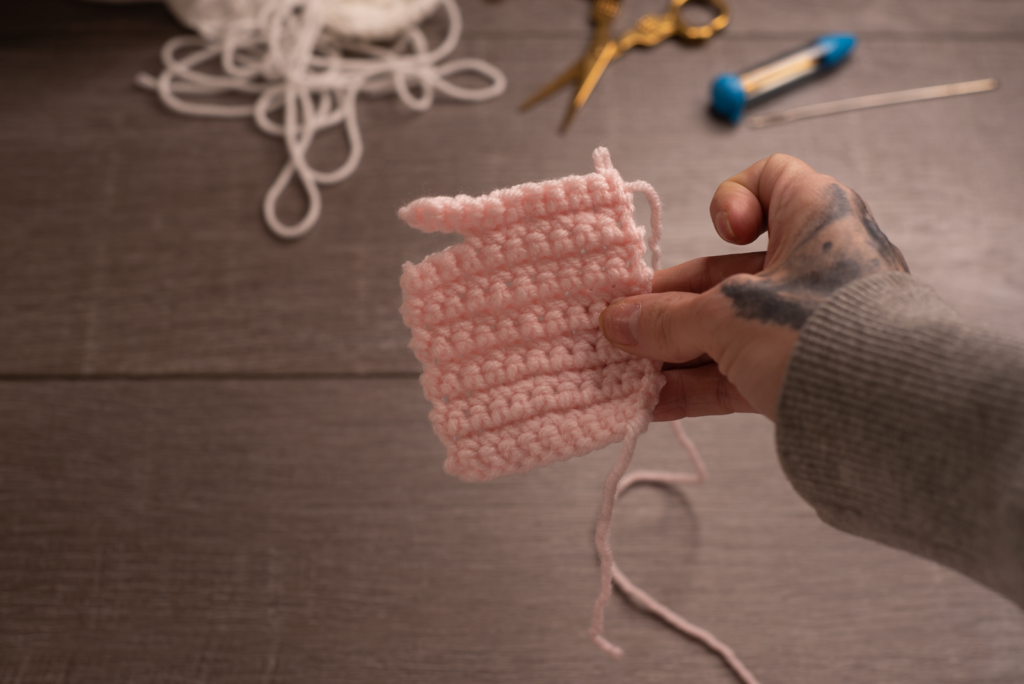
Row 14- 21: Sc in each st across. Ch 1 turn. (10) (8 rows)
Row 22: Sc, dec, sc 4, dec, sc. Ch 1 turn. (8)
Row 23: Sc each st across. ch 1 turn. (8)
Row 24: Sc, dec, sc 2, dec, sc. Ch 1 turn. (6)
Row 25: Sc each st across. ch 1 turn. (6)
Row 26: Sc, Dec x2, sc. ch 1 turn. (4)
Row 27: Dec x2. Ch 1 turn. (2)
Row 28: Dec. Fo. (1)
(Now Move on to the 2nd ear in Medium blue.)
Making 1 right ear in medium blue.
Row 1: Ch 11. In the 2nd ch from the hook sc, sc in the next 9 chs. ch 1 turn. (10)
Row 2-11: Sc in each st across. Ch 1 turn. (10)
Row 12: Sc in the next 7 sts, Ch 4 and turn. (7 + 4 chs)
Row 13: In the 2nd ch from the hook sc, sc the next 2 chs. Sc in the next 7 sts. Ch 1 turn. (10)
Row 14- 21: Sc in each st across. Ch 1 turn. (10) (8 rows)
Row 22: Sc, dec, sc 4, dec, sc. Ch 1 turn. (8)
Row 23: Sc each st across. ch 1 turn. (8)
Row 24: Sc, dec, sc 2, dec, sc. Ch 1 turn. (6)
Row 25: Sc each st across. ch 1 turn. (6)
Row 26: Sc, Dec x2, sc. ch 1 turn. (4)
Row 27: Dec x2. Ch 1 turn. (2)
Row 28: Dec. Do not Fo. (1)
Place the light pink side up. Place the medium blue side down. Insert the hook through both pieces. Sc in each stitch around. Add a ch 1 at the corners.


Left ear:
Making 1 left ear in light pink.
Row 1: Ch 11. In the 2nd ch from the hook sc, sc in the next 9 chs. ch 1 turn. (10)
Row 2-16: Sc in each st across. Ch 1 turn. (10)
Row 17: Sc in the next 7 sts, Ch 4 and turn. (7 + 4 chs)
Row 18: In the 2nd ch from the hook sc, sc the next 2 chs. Sc in the next 7 sts. Ch 1 turn. (10)
Row 19- 21: Sc in each st across. Ch 1 turn. (10) (8 rows)
Row 22: Sc, dec, sc 4, dec, sc. Ch 1 turn. (8)
Row 23: Sc each st across. ch 1 turn. (8)
Row 24: Sc, dec, sc 2, dec, sc. Ch 1 turn. (6)
Row 25: Sc each st across. ch 1 turn. (6)
Row 26: Sc, Dec x2, sc. ch 1 turn. (4)
Row 27: Dec x2. Ch 1 turn. (2)
Row 28: Dec. Fo. (1)
(Now Move on to the 2nd ear in Medium blue.)
Making 1 left ear in medium blue.
Row 1: Ch 11. In the 2nd ch from the hook sc, sc in the next 9 chs. ch 1 turn. (10)
Row 2-16: Sc in each st across. Ch 1 turn. (10)
Row 17: Sc in the next 7 sts, Ch 4 and turn. (7 + 4 chs)
Row 18: In the 2nd ch from the hook sc, sc the next 2 chs. Sc in the next 7 sts. Ch 1 turn. (10)
Row 19- 21: Sc in each st across. Ch 1 turn. (10) (8 rows)
Row 22: Sc, dec, sc 4, dec, sc. Ch 1 turn. (8)
Row 23: Sc each st across. ch 1 turn. (8)
Row 24: Sc, dec, sc 2, dec, sc. Ch 1 turn. (6)
Row 25: Sc each st across. ch 1 turn. (6)
Row 26: Sc, Dec x2, sc. ch 1 turn. (4)
Row 27: Dec x2. Ch 1 turn. (2)
Row 28: Dec. Do not Fo. (1)
Place the light pink side up. Place the medium blue side down. Insert the hook through both pieces. Sc in each stitch around. Add a ch 1 at the corners.
Assemble Instructions:
Head/ Face
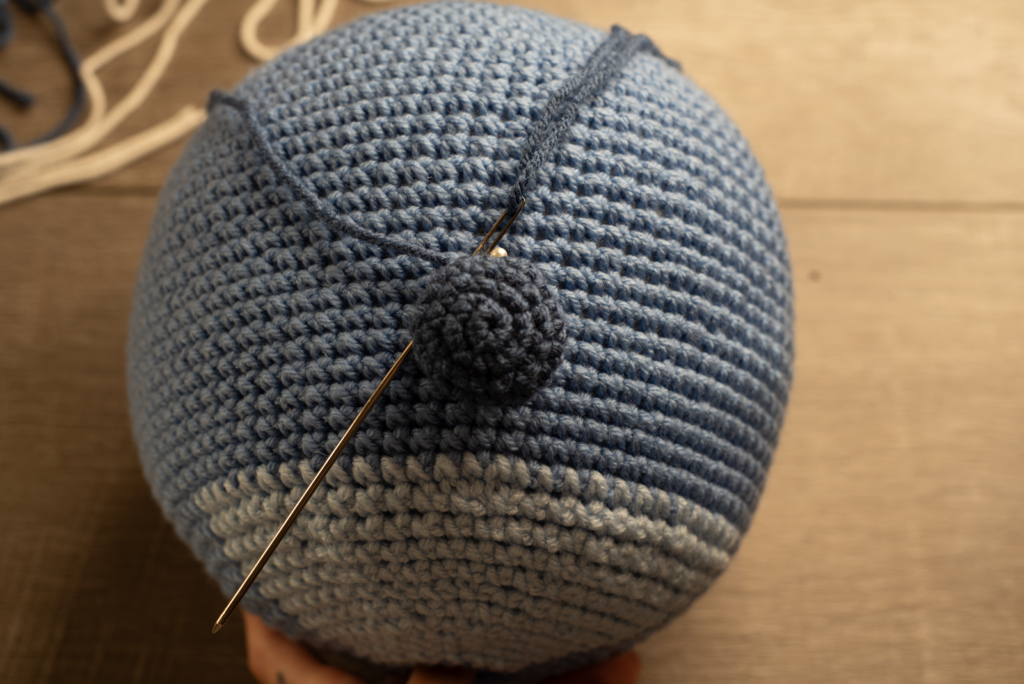
Nose:
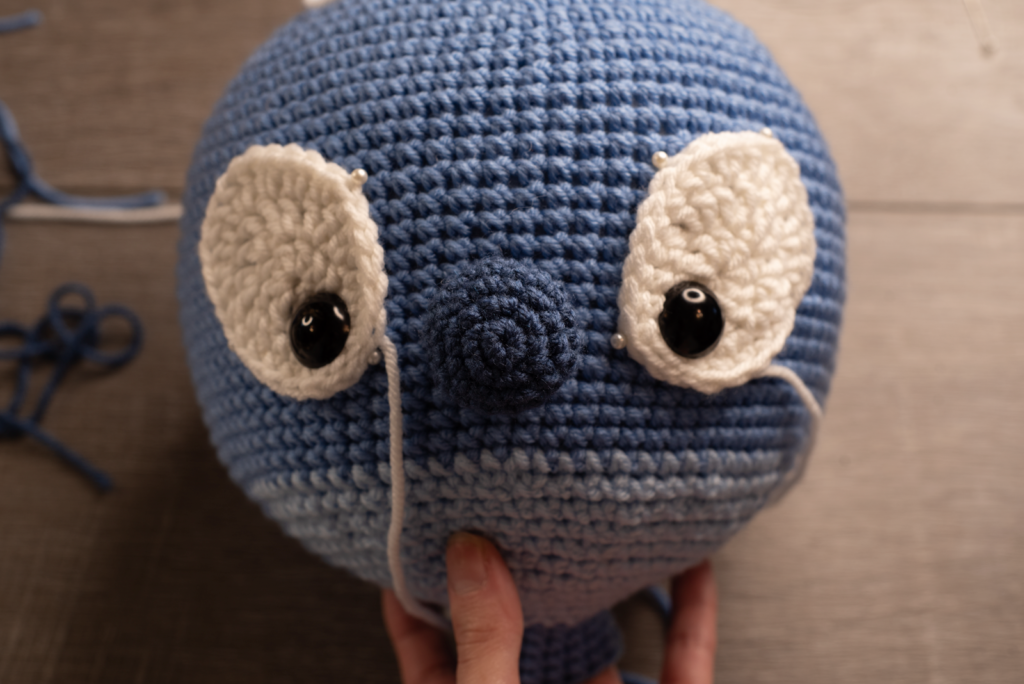
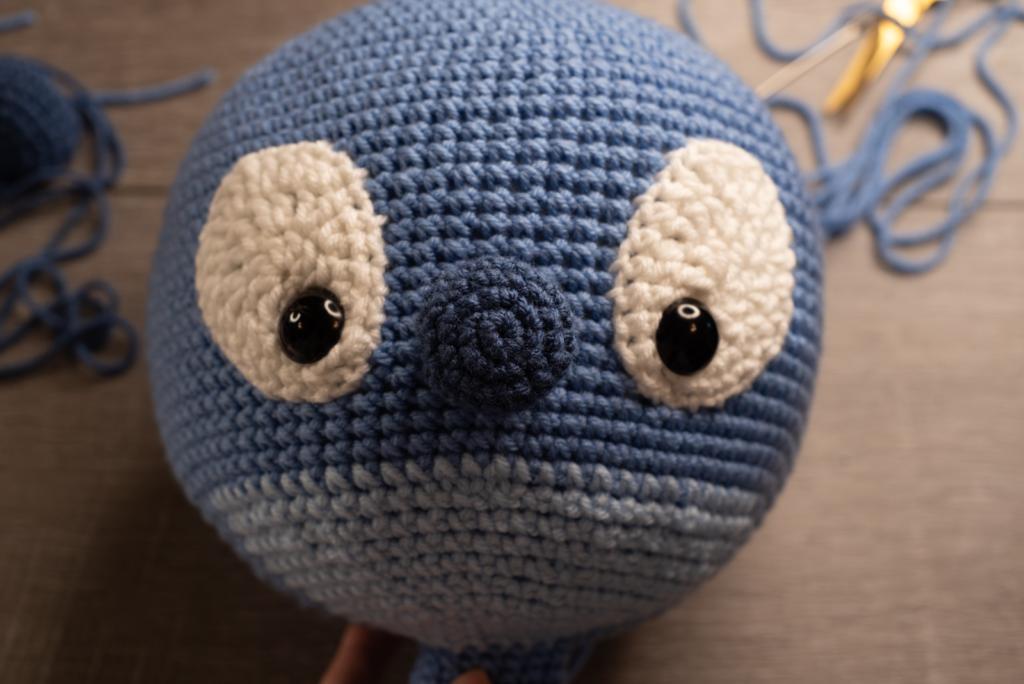
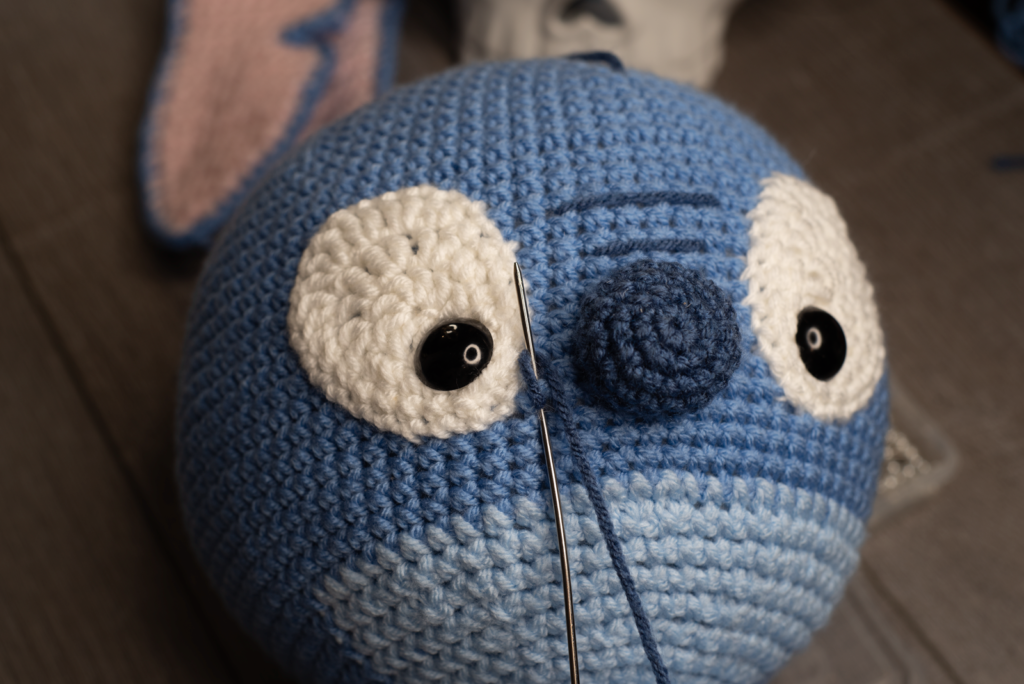
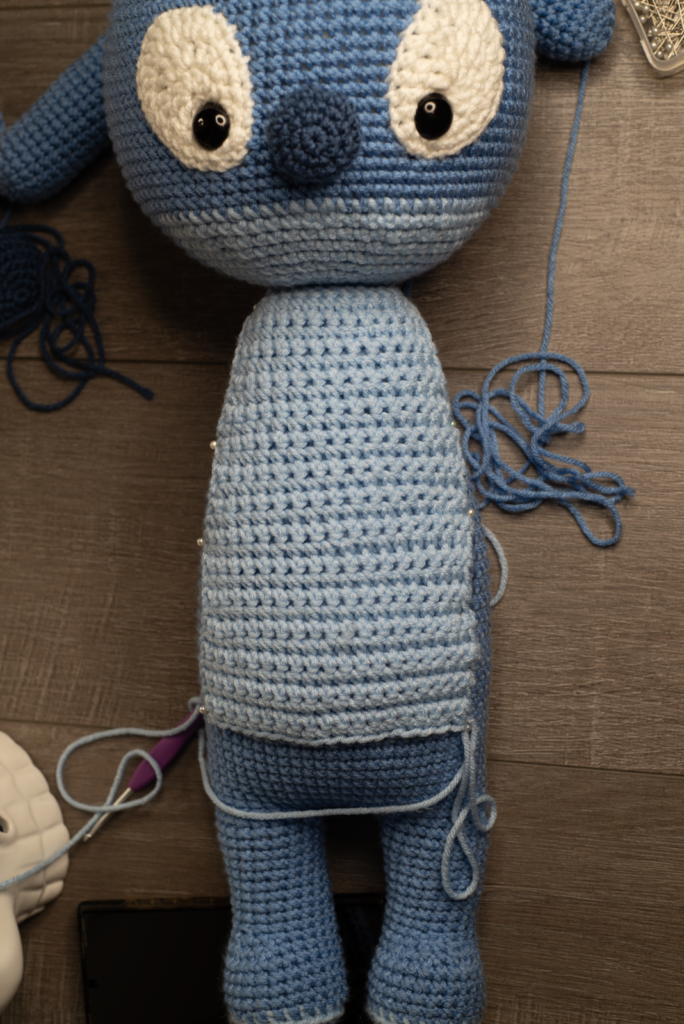
Position the nose at round 30, 3 rounds above round 33, where the light blue round starts. To achieve a balanced look, center it precisely with round 33. Make sure that the light blue section has about 14 stitches on each side. Use some pins to keep it in place. This will prevent any shifting during the sewing process. Sew approximately 2 stitches on each side of your center placement. Resulting in a total of 4 stitches across. Finally sewing about 6 rounds high.
Eyes:
You should have added the safety eyes after making them. If you haven’t positioned your safety eyes yet, place them at the bottom of Row 1. Do this right before Row 2.
At this stage, do not secure the back on just yet. As it’s important to confirm proper placement to the head. First, place the eyes on each side of the nose, about 6 rounds above round 33. Now place the safety eye between stitch 4-5 from the nose. Once your eye is in between the stitches, gently secure the backing inside the head to prevent any movement. To achieve the look, we are going for. Keep the top part of the eye slightly tilted away from the nose, creating depth and character. Pay attention to the placement of the eyes. They should be as even as possible on each side. Symmetry is key in this crafting process. Add some safety pins to hold the eye in place and prevent it from shifting while you carefully sew around. This extra step will save you time and frustration later on, allowing for a more polished final result. By taking these precautions, you can enhance the appearance of your project and guarantee it meets your expectations of quality.
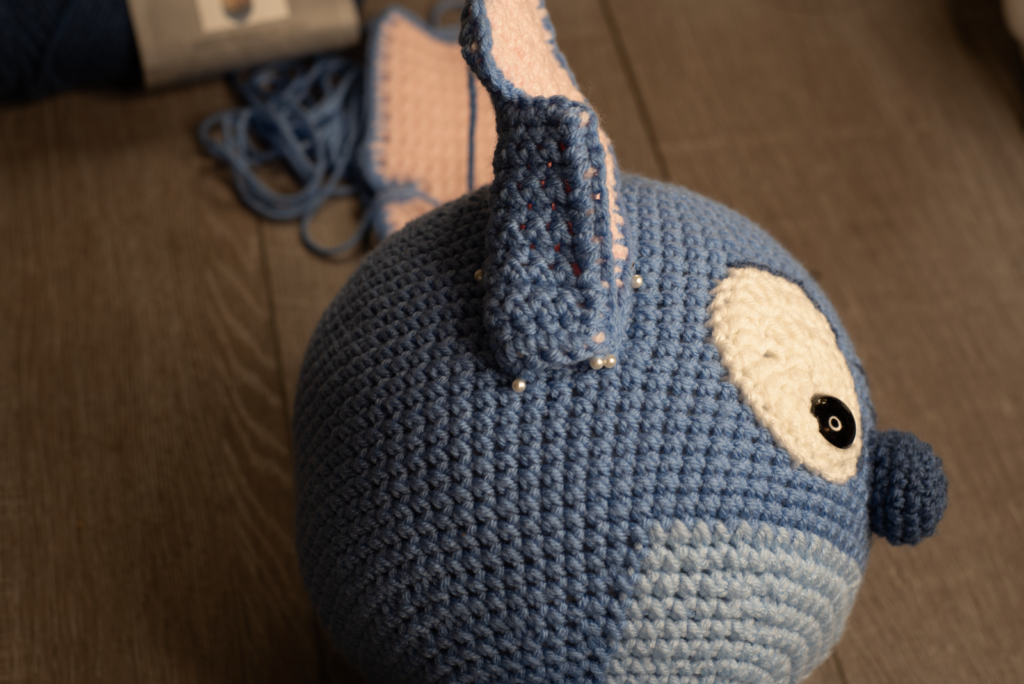
Ears:
Fold the bottom part of the ears together, ensuring they keep a neat and symmetrical appearance. Place the ears about 7-8 rounds up from round 33. Position them approximately 4-5 stitches away from the eyes. This will achieve the desired proportion and aesthetic. Use some pins to keep them secure during the sewing process. Pins will help prevent any movement that leads to misalignment. After securing the ears in place, move to sew them on. Aim for an attachment that is about 6 rows high of the ears. This will not only stabilize them but also enhance the overall visual appeal of your project. Check the alignment periodically as you sew. This ensures that both ears are cohesive in appearance. You want them securely fastened to the head. Make sure you sew both sides and bottom of the ears.

Adding some touches:
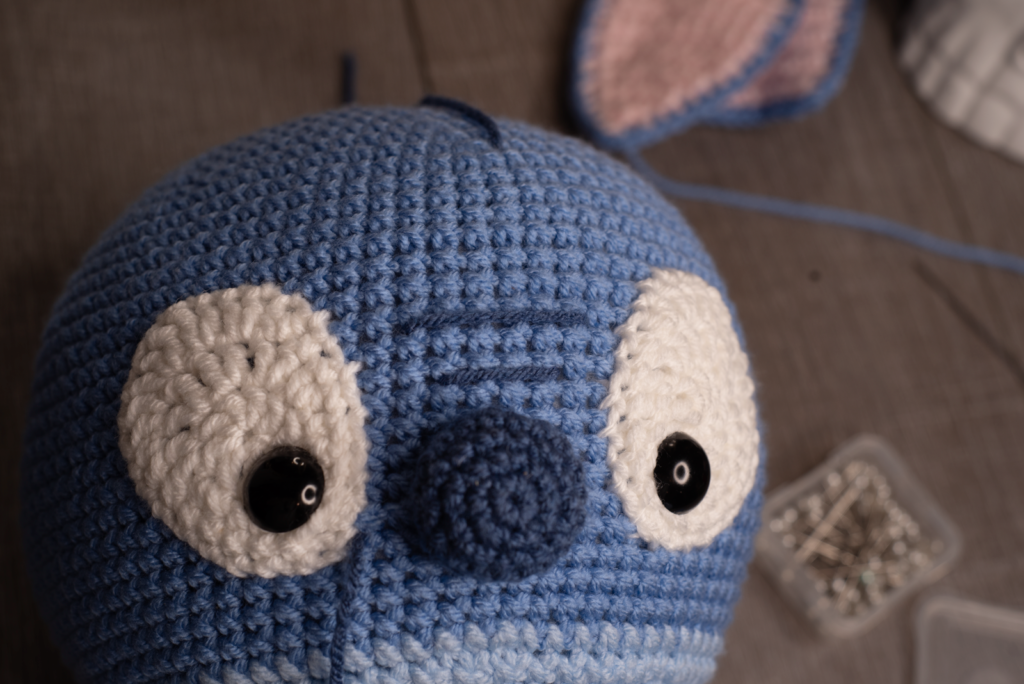
Add two lines with some scrap yarn above the nose. With the small line measuring 5-6 sts and the top line measuring 6-7 sts. Positioned about 2 rounds high from the nose. Position the top line about 2 rounds higher.
Embroider a chain stitch around the eyes. Make sure each loop is even and floats gracefully. Move carefully around the shape. Start from the bottom corner. Progress to the top by tracking the natural curve of the eyes. Fasten off securely to prevent any unraveling. This technique not only adds texture but also emphasizes the features of your design. Alternatively, you can opt to surface slip stitch around the eyes. This method creates a subtle outline without the need for embroidery. It offers a smoother finish while still maintaining visual interest. This choice appeals to you if you want a minimalist aesthetic. It is also ideal if you’re short on time.
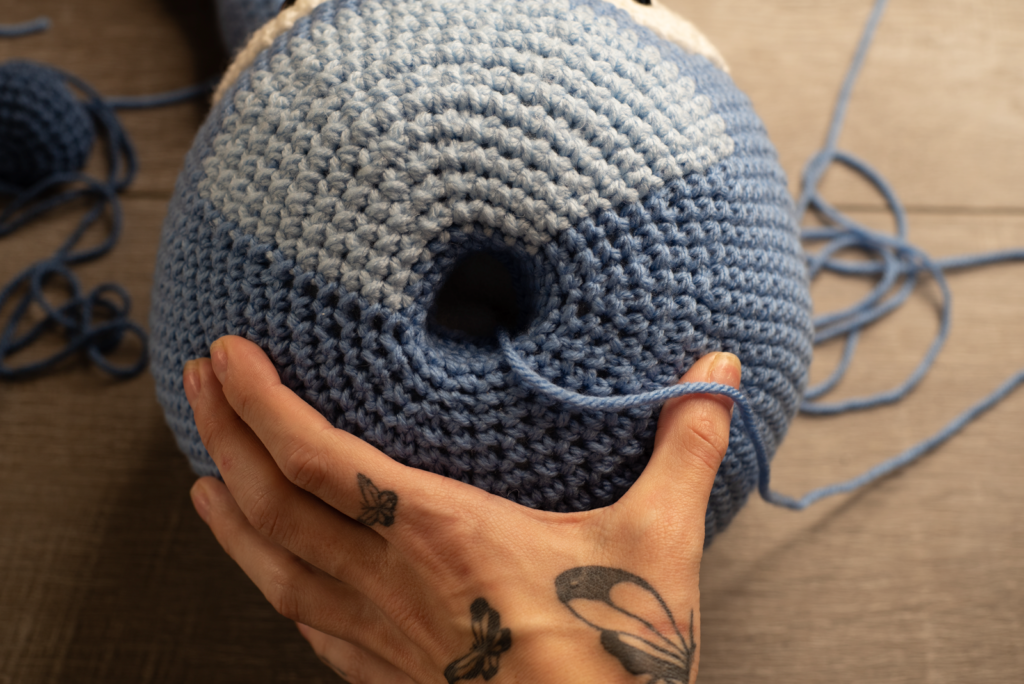
Now tuck the neck part of the head in. This is going to create stability when we place it over the body neck. It will keep the head from flopping around.
Body:
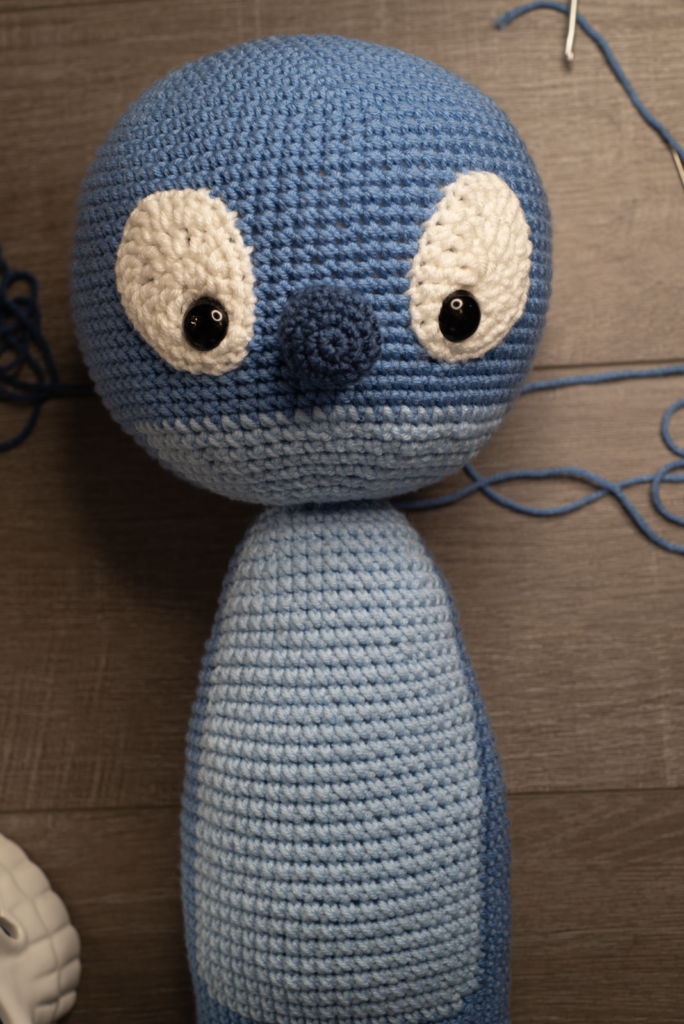
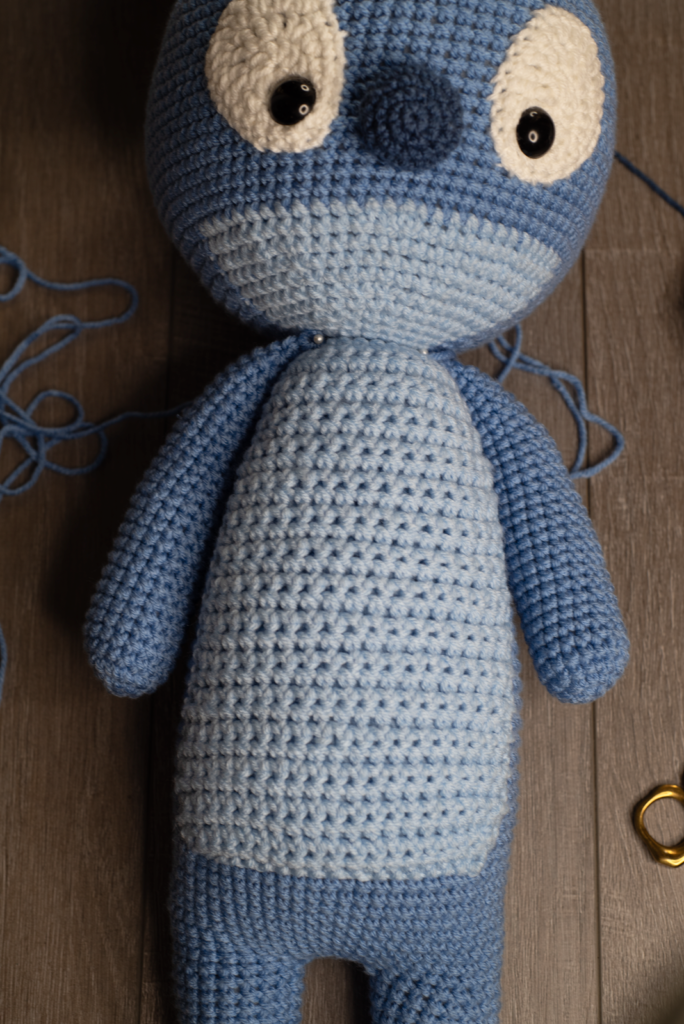
Attaching the head to the body.
Insert the neck part of the body into the hole of the head. Make sure that it fits snugly to give the necessary support. This is what keeps the head stable from flopping around and maintains the overall integrity of the figure. To achieve a secure attachment, place pins strategically. This will help keep the head in the correct position. It will also prevent any unwanted movement while sewing on. Once you have the head properly oriented and pinned, you can start stitching around the base. Make small, even stitches. This further reinforces the joint and ensures durability. This meticulous approach enhances both the aesthetic appeal and the functionality of the final product. It allows the product to withstand handling and showing.
Body Piece:
Carefully attach the body piece to the body. Making sure that the body piece is align perfectly to the head for a seamless look. Use pins to effectively secure the two parts together, preventing any shifting during the sewing process. Sew around the edges carefully. Take your time with each stitch. Make sure every stitch is even and secure for a durable and polished finish.
Arms:
Sew the arms to each side of the neck. Make sure they are even on both sides. This will keep a symmetrical appearance. Take your time with this step, as it is crucial for the overall look of your project. Use pins to keep secure while sewing, ensuring that the arms are firmly in place throughout the process. This method prevents any shifts. It allows for a clean and professional finish once you finish the sewing.
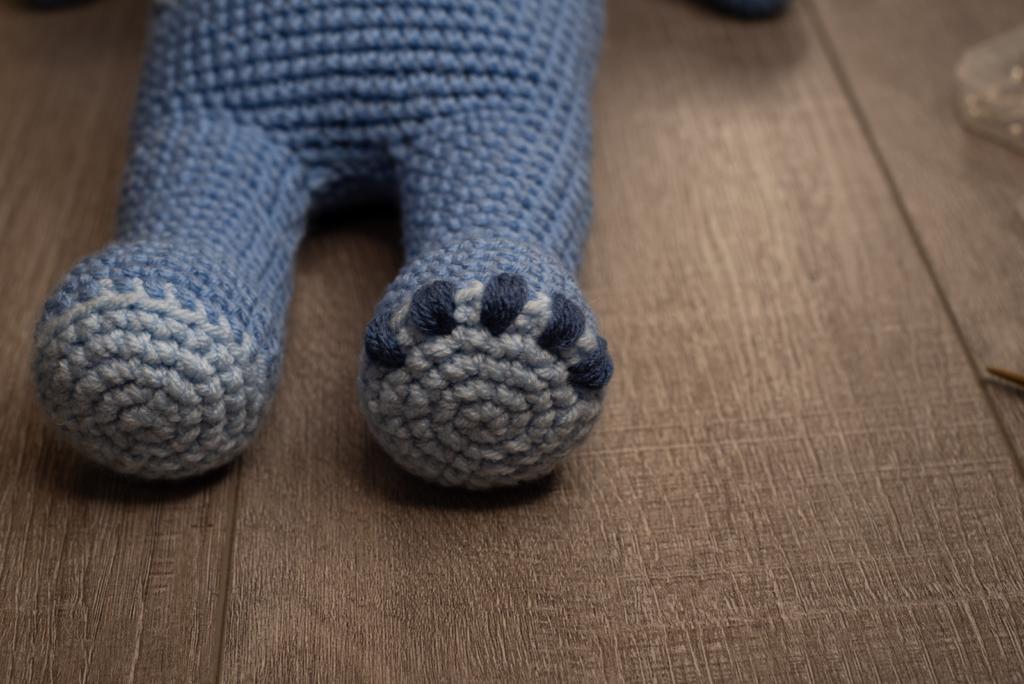
Toes:
Sew on 5 toes using dark blue scrap yarn. Take care to make sure that each toe stands out with its unique charm and texture to the look. Make about 6 loop rounds. This allows the yarn to gather and form a delightful puff look. This puff look adds dimension and character to the toes. Each toe should be about 1 stitch apart. This spacing provides enough space to showcase their individuality. It ensures they are cohesive as part of the overall design. This spacing enhances the visual appeal. It also allows for easy movement and flexibility. This makes the creation both beautiful and functional.
You have Now Finished your Blue Alien. I hope you Enjoyed making this blue alien pattern.
Would love the support if you wouldn’t mind following me on my socials. Below are the many platforms I am on.
I truly hope you’ve loved this blue alien pattern! If you create your own crochet blue alien. I’d be thrilled if you shared it on my Facebook and Instagram. Don’t forget to like and follow to stay in the loop for exciting new patterns! And remember to use the hashtag #crochetbluealien when you share your lovely creations!
Copyright © 2020 Oh Another Craftyish Blog by Tawnya Myers, all rights reserved
Hey there! Just a heads up, I own all the copyrights to this pattern and the photos. Feel free to sell whatever you make with it! If you do sell it, I’d really appreciate it if you drop a link back to my post. Just remember, this is totally my work—I’ve put a ton of effort into creating these patterns. Happy Crocheting!