
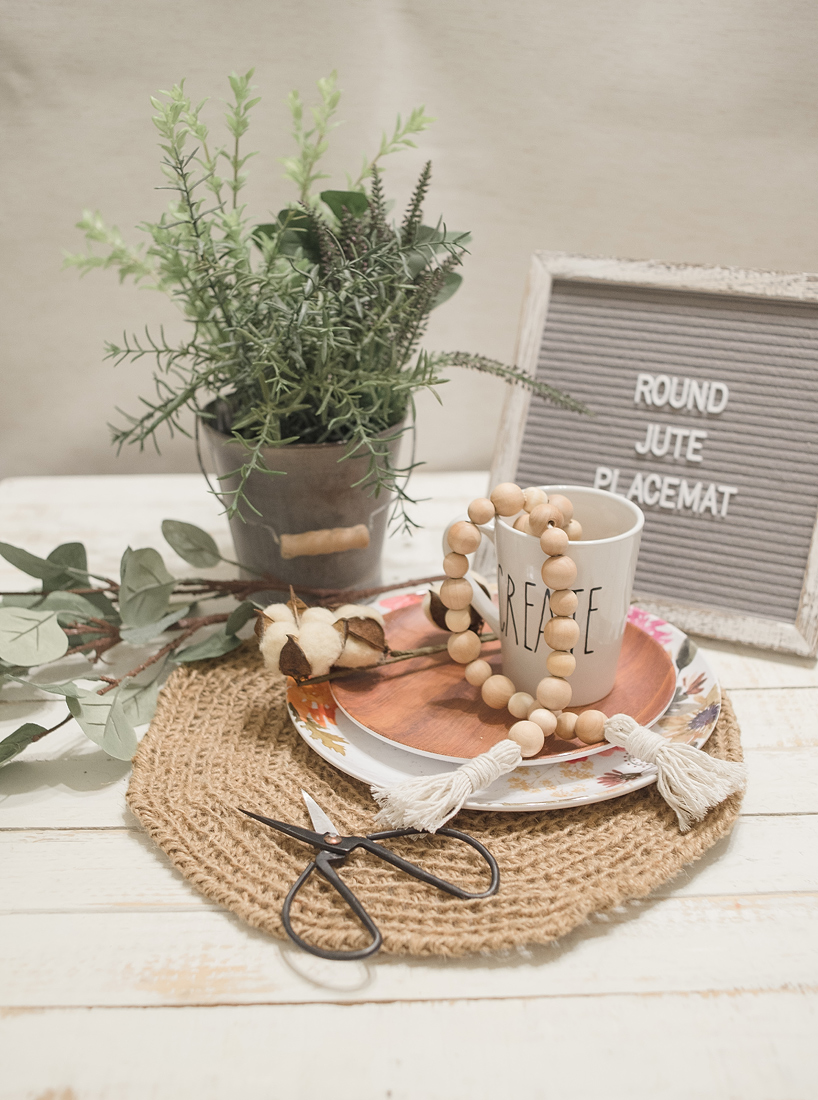
I needed some rustic farmhouse style table placemats for my dining room table. After spending several hours browsing various sites and online shops, I realized that I either couldn’t find designs that resonated with my vision or I simply didn’t want to pay the high prices they were asking. Frustrated but not discouraged, I decided to take matters into my own hands and create my own placemats using twine and jute.
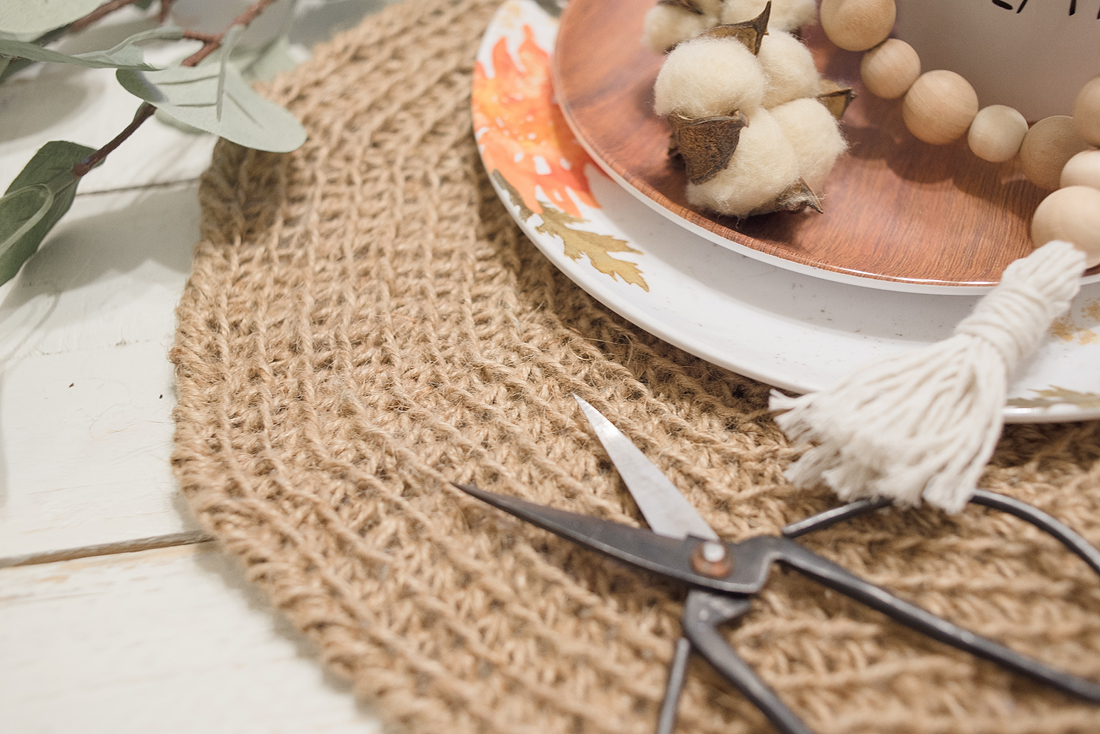
I am absolutely delighted with the way they turned out! The natural textures and earthy tones of the jute perfectly complement the rustic aesthetic I was aiming for. This project not only allowed me to save money, but it also gave me the satisfaction of crafting something unique and personal for my dining space.
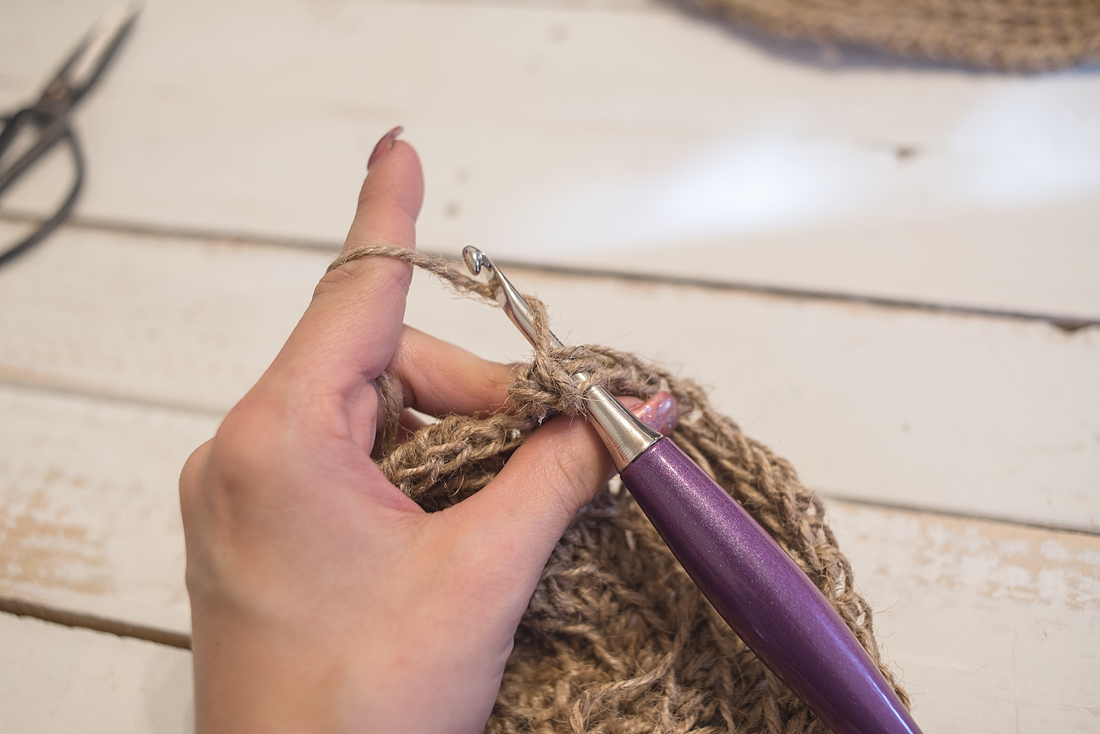
The pattern I followed is relatively easy to work up, making it accessible even for those who may not consider themselves experienced crafters. I found that the jute was manageable to work with; however, I did notice that my hands tended to get a little tired after prolonged periods of crafting. Whenever I felt a bit fatigued, I simply took a short break. This approach ensured that I could continue working comfortably and enjoy the creative process.
Overall, making my own rustic placemats has turned into a rewarding experience. I encourage anyone looking for a cost-effective and personalized touch to their dining decor to consider embarking on a similar crafting journey. You might just be pleasantly surprised by the results, just as I was!
Supplies:
Jute- 120 yards
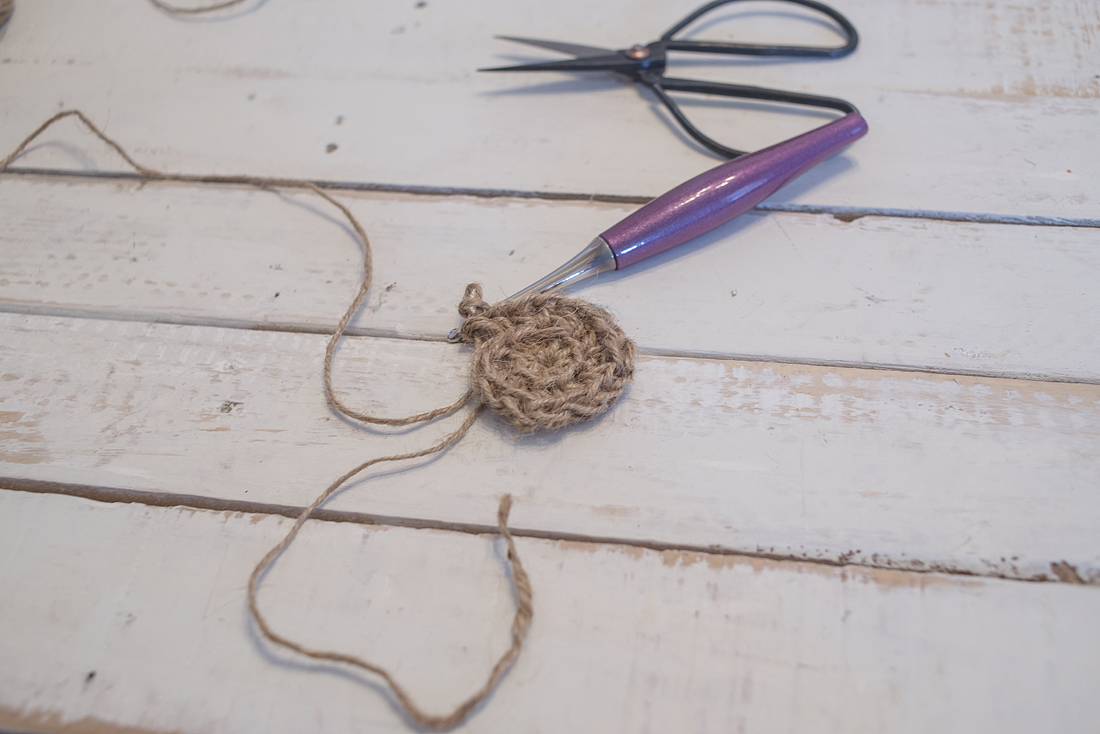
Hook 5.5 mm (I)
Tapestry needle
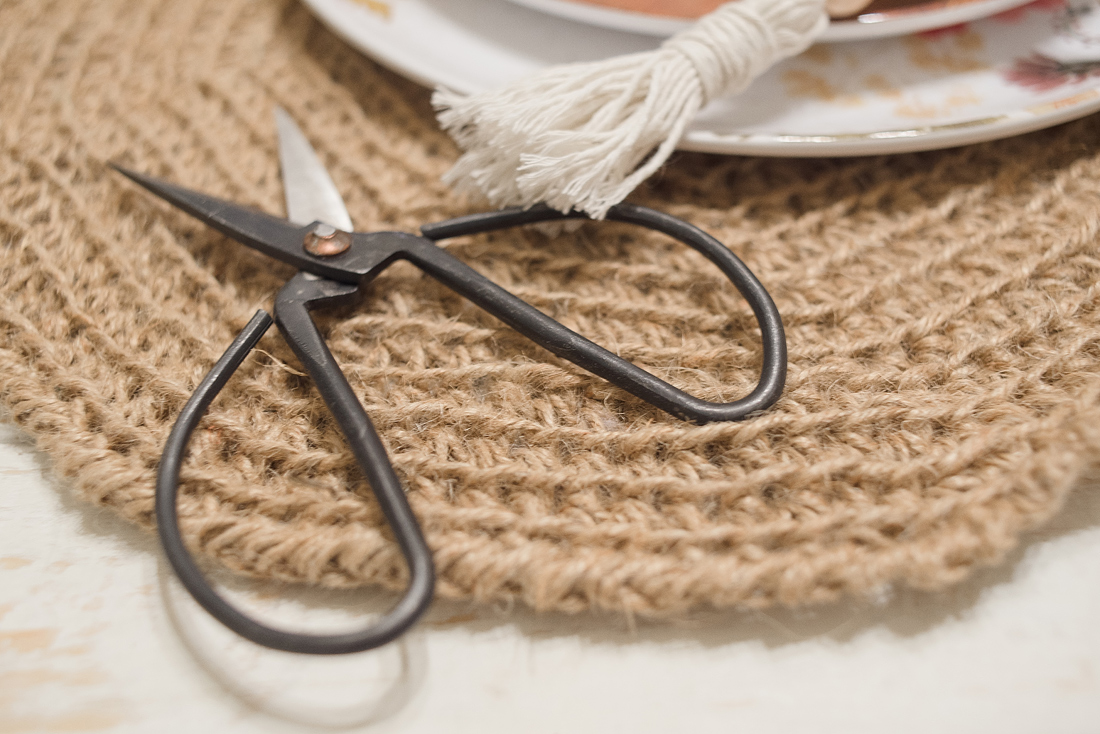
Scissors
Abbreviations:
Mc = Magic circle, Hdc- Half double crochet, Rev sc- Reverse single crochet, F0= Fasten Off
Notes:
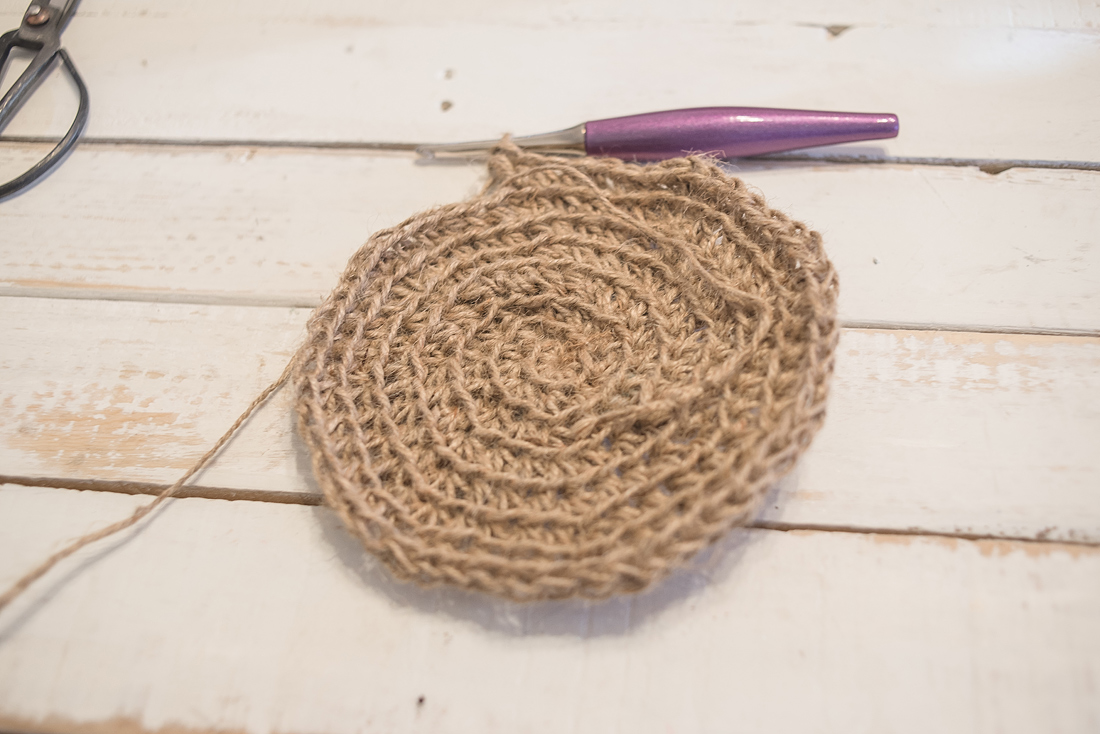
Everything is worked in continuous rounds.
Reverse Single Crochet see the instructions down below.
Pattern:
Round 1: Mc 8 hdc
(8)
Round 2: 2 hdc in each st around.
(16)
Round 3: hdc in first st, 2 hdc the next st, repeat around.
(24)
Round 4: hdc the first 2 st(s), 2 hdc the next st, repeat around.
(32)
Round 5: hdc the first 3 st(s), 2 hdc the next st, repeat around.
(40)
Round 6: hdc the first 4 st(s), 2 hdc the next st, repeat around.
(48)
Round 7: hdc the first 5 st(s), 2 hdc the next st, repeat around.
(56)
Round 8: hdc the first 6 st(s), 2 hdc the next st, repeat around.
(64)
Round 9: hdc the first 7 sts, 2 hdc the next st, Repeat around.
(72)
Round 10: hdc the first 8 sts, 2 hdc the next st, Repeat around.
(80)
Round 11: hdc the first 9 sts, 2 hdc the next st, Repeat around.
(88)
Round 12: hdc the first 10 sts, 2 hdc the next st, Repeat around.
(96)
Round 13: hdc the first 11 sts, 2 hdc the next st, Repeat around.
(104)
Round 14: hdc the first 12 sts, 2 hdc the next st, Repeat around.
(113)
Round 15: hdc the first 13 sts, 2 hdc the next st, Repeat around.
(121)
Round 16: hdc in each st around. Slst ch 1
(121)
Round 17: rvc each st around. Slst in the slst from round 16. FO
(121)
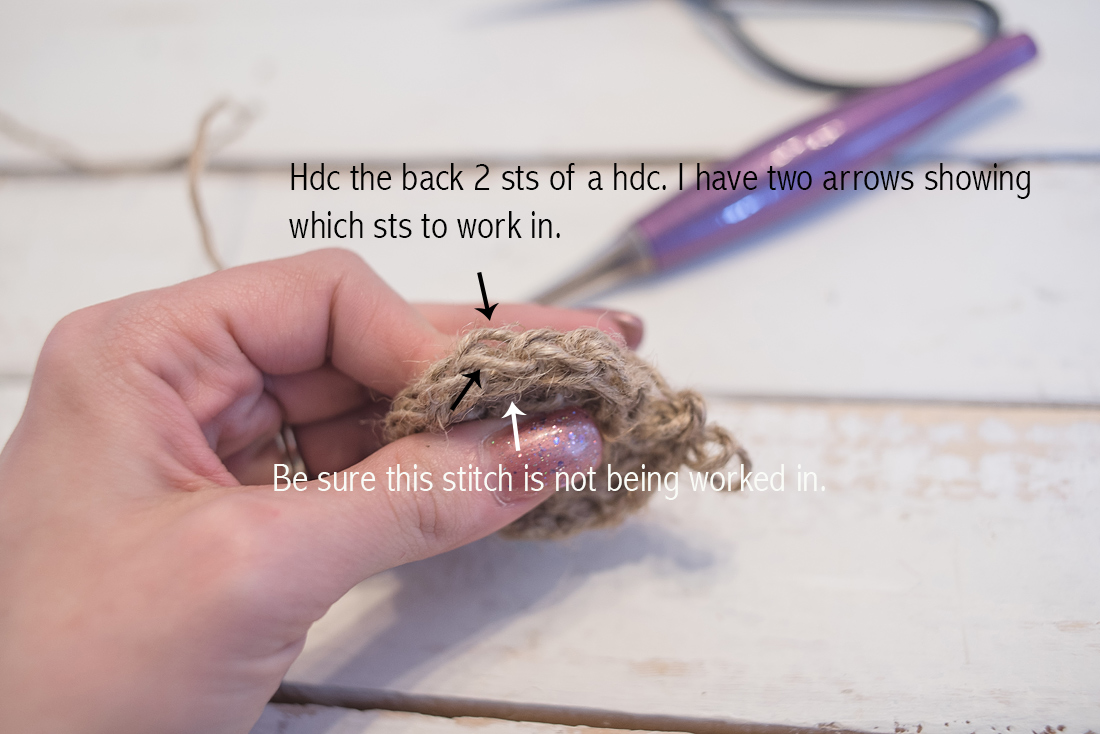
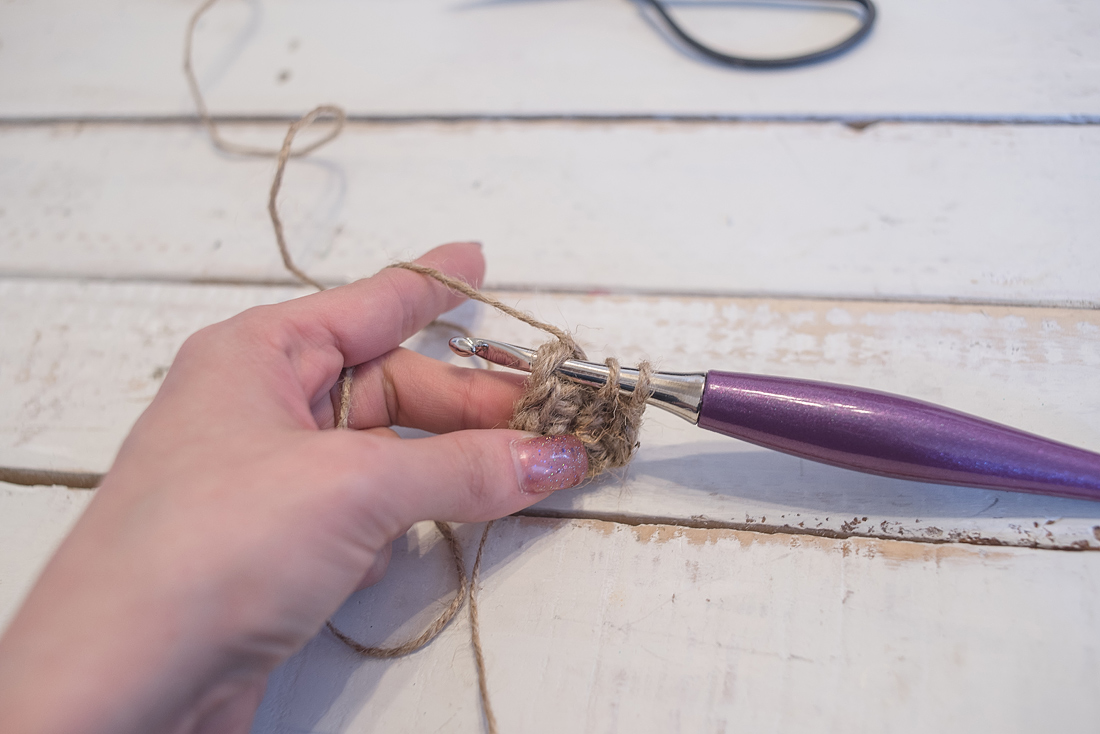
How to work a hdc for the texture of this pattern.
How to work a rsc.

Insert hook into the stitch to the right, for right-handed crocheters; and to the left for left-handed people. Yarn over.
Pull yarn through and out of the stitch.

you should have 2 loops on the hook yarn over
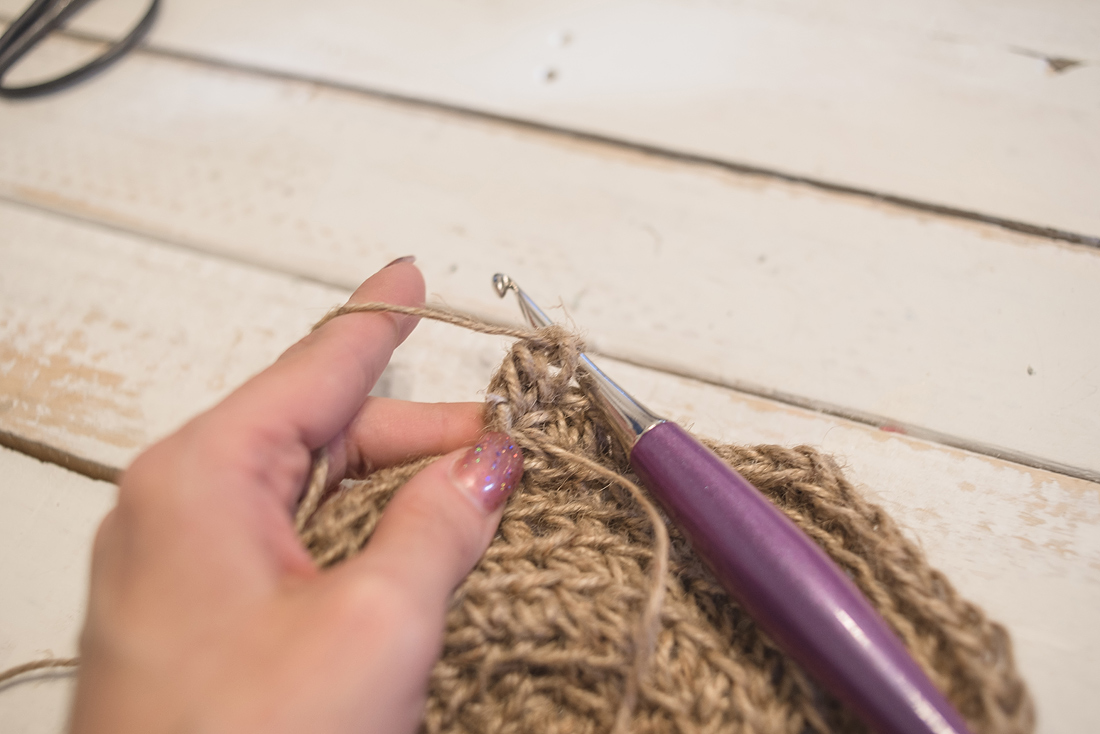
pull through both loops on the hook you have now created a rsc.
I hope you all enjoy and don’t forget to follow for updated patterns and more.
Copyright © 2018 Oh Another Craftyish Blog by Tawnya Myers, All rights reserved
Please note all copyrights to this pattern are mine. All copyrights to the pictures are mine for my personal use only. You’re more than welcome to sell your finished work, but if you do, please post a link back to my post. Please do not try to claim this as your own as to this is 100% mine, I put a lot of time and work to create my patterns, and I made it free for everyone to enjoy! Happy Crocheting!