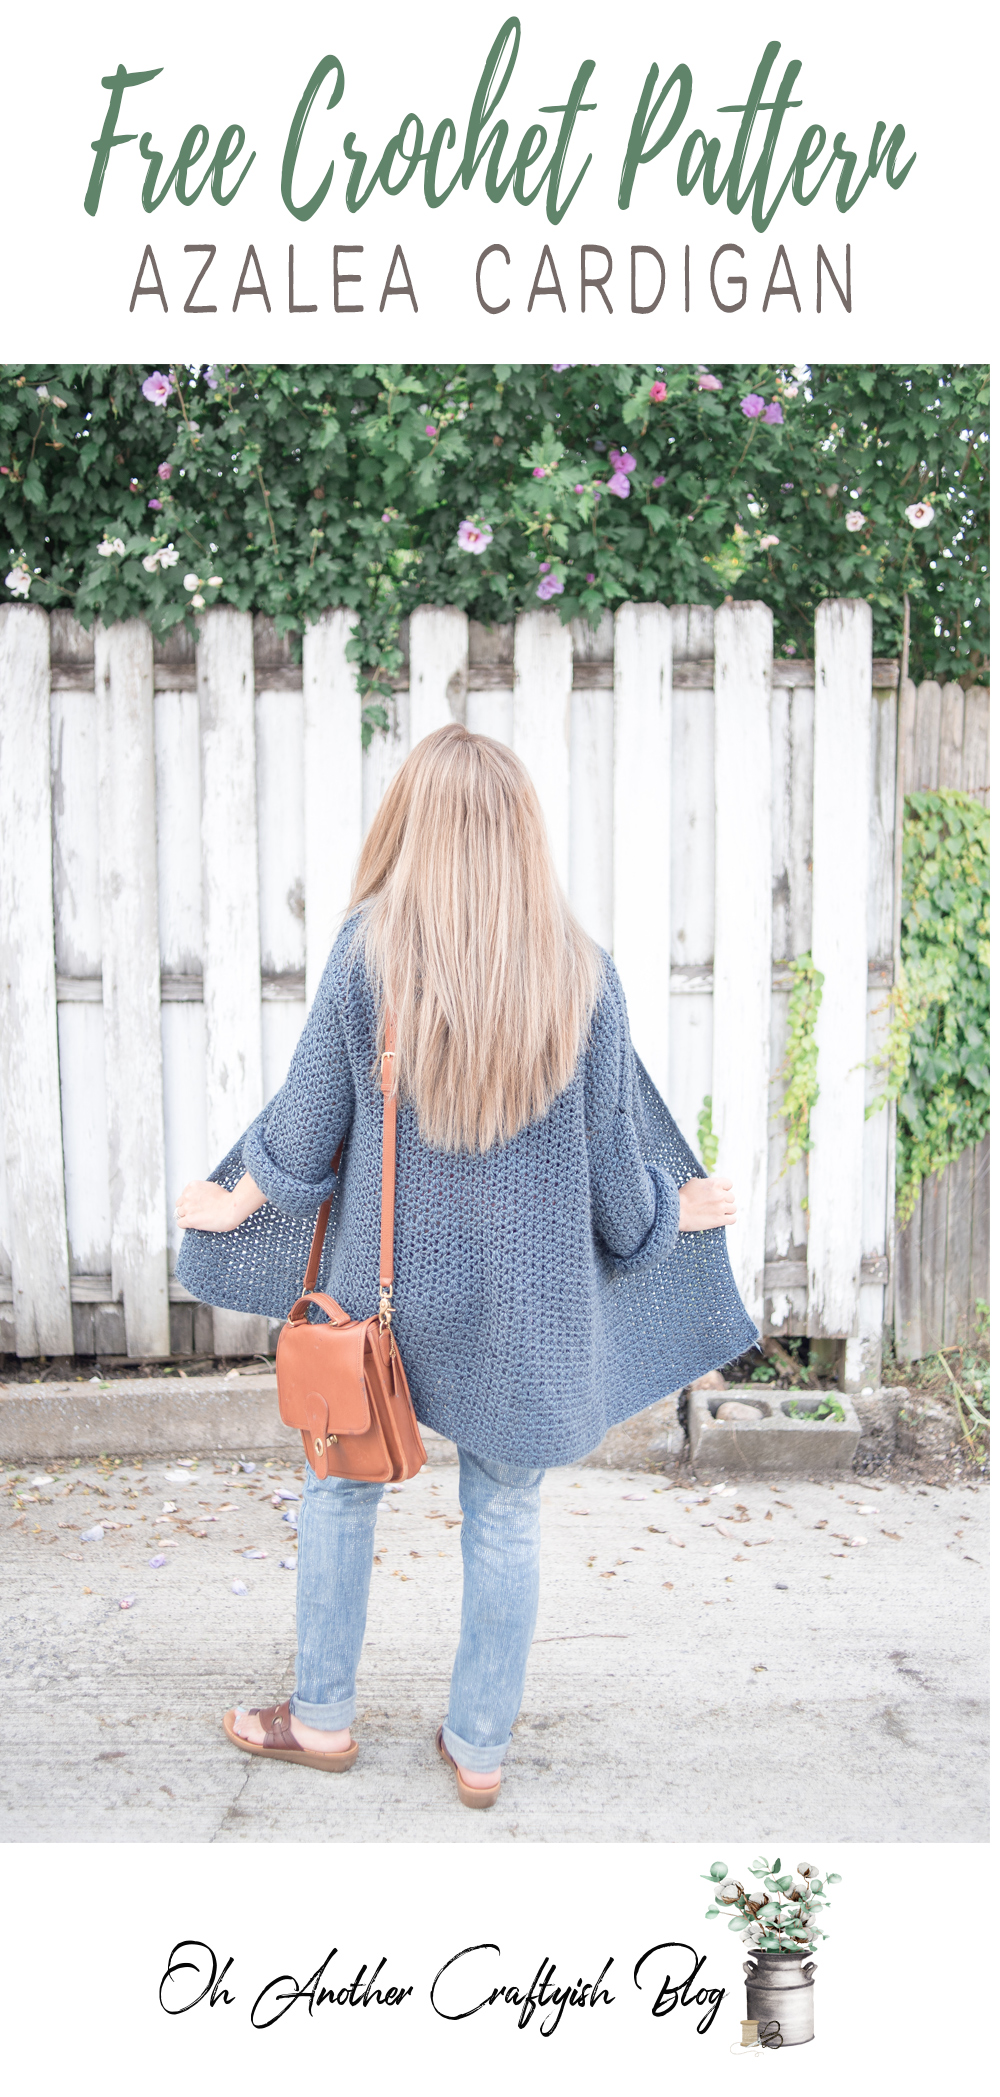
Supplies:
Lion Brand Heartland in Crater lake (Weight 4/ Medium-251yds, 5oz) (Please see the notes section on yardage)
6.5 mm (K) Hook (or hook to obtain the gauge)
Tapestry Needle
Gauge:
Main pattern:
12sts=4in
10 rows =4in
Please check your gauge and adjust your hook size accordingly! This is critical to making a Cardigan that meets the sizing listed in the pattern.
Abbreviations:
Ch(s)= Chain(s)
St(s)= Stitch(es)
Hdc= Half Double Crochet
Sk= Skip
Notes:
Measurements & yarn yardage for the cardigan sizes (Approximately):
XS Bust: 28-30 inches, Length: 24 inches (Approx 1490 yards)
S Bust: 32-34 inches, Length: 24 inches (Approx 1490 yards)
M Bust: 36-38 inches, Length: 25 inches (Approx 1618 yards)
L Bust: 40-42 inches, Length: 25 inches (Approx 1618yards)
1X Bust: 44-46 inches, Length: 26 inches (Approx 1792 yards)
2X Bust: 48-50 inches, Length: 26 inches (Approx 1792 yards)
3X Bust:52-54 inches, Length: 27 inches (Approx 1972 yards)
4X Bust: Bust: 56-62 inches, length: 27 Inches (Approx 1972 yards)
Pattern is Formatted for sizes XS(S,M,L,1X,2X,3X,4X)
Pattern:
Back panel
Ch 72(72,76,76,80,80,84,84
R1: In the 4thch from the hook (The first 3 chs count as your hdc, and sk1.) *(Hdc, ch 1, hdc) in the same sts, sk 1. Repeat from * Till the last 2 remaining chs. Sk 1, hdc in the last st. 70(70,74,74,78,78,82,82)
R2: ch 2 (counts as a hdc ) *(Hdc,ch1, hdc) in the ch 1 space from Row 1. Repeat from * Till you come to the last 2 remaining sts. Sk 1, in the last st hdc . 70(70,74,74,78,78,82,82)
For sizes xs, and s: Rows 3-60- Repeat Row 2
For sizes m, and l: Rows 3- 62- Repeat Row 2
For sizes 1x,and 2x: Row 3-64- Repeat Row 2
For sizes 3x, and 4x: Row 3-66- Repeat Row 2
Finish Off
Front Panels (make 2)
Ch 36(36,38,38,42,42,46,46)
R1: In the 4thch from the hook (The first 3 chs count as your hdc, and sk1.) *(Hdc, ch 1, hdc) in the same sts, sk 1. Repeat from * Till the last 2 remaining chs. Sk 1, hdc in the last st. 34(34,36,36,40,40,44,44)
R2: ch 2 (counts as a hdc ) *(Hdc,ch1, hdc) in the ch 1 space from Row 1. Repeat from * Till you come to the last 2 remaining sts. Sk 1, in the last st hdc . 34(34,36,36,40,40,44,44)
For sizes xs, and s: Rows 3-60- Repeat Row 2
For sizes m, and l: Rows 3- 62- Repeat Row 2
For sizes 1x, and 2x: Row 3-64- Repeat Row 2
For sizes 3x, and 4x: Row 3-66- Repeat Row 2
Finish Off
Sleeves (Make 2)
Ch 42(42,44,44,48,48,52,52)
R1: In the 4thch from the hook (The first 3 chs count as your hdc, and sk1.) *(Hdc, ch 1, hdc) in the same sts, sk 1. Repeat from * Till the last 2 remaining chs. Sk 1, hdc in the last st. 40(40,42,42,46,46,50,50)
R2: ch 2 (counts as a hdc ) *(Hdc,ch1, hdc) in the ch 1 space from Row 1. Repeat from * Till you come to the last 2 remaining sts. Sk 1, in the last st hdc . 40(40,42,42,46,46,50,50)
For all sizes: Rows 3-40- Repeat Row 2.
Finish Off
Assembling Instructions:
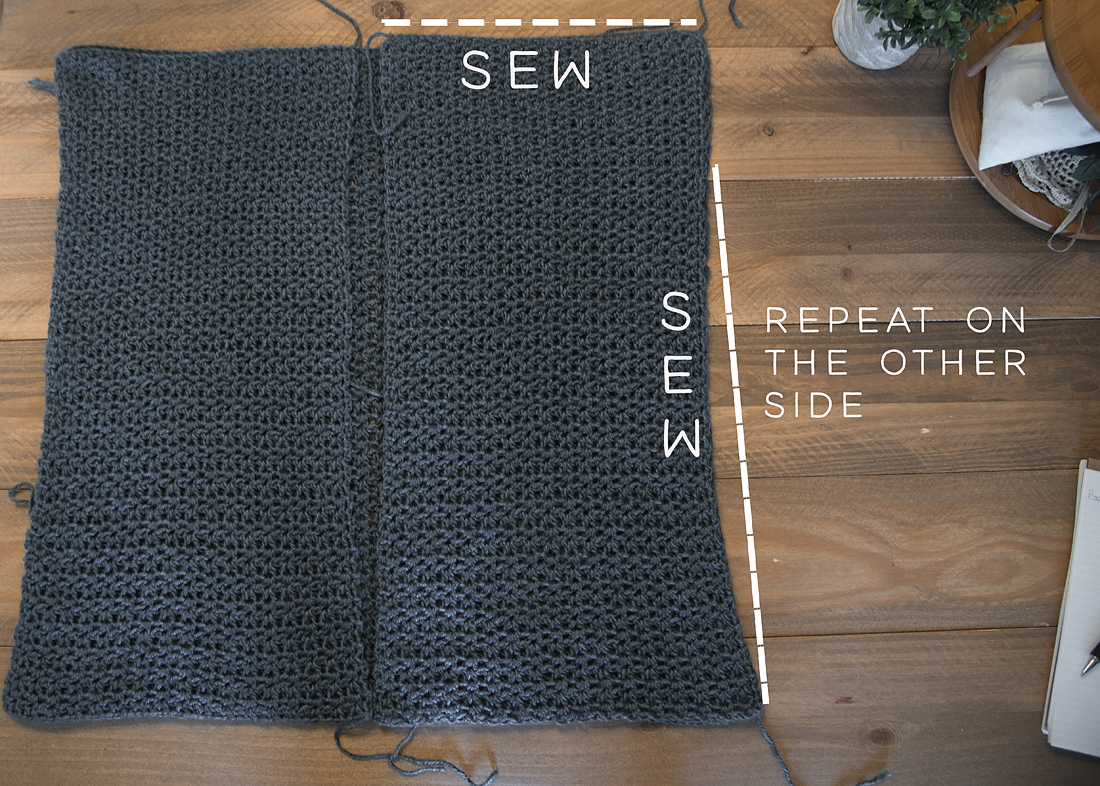
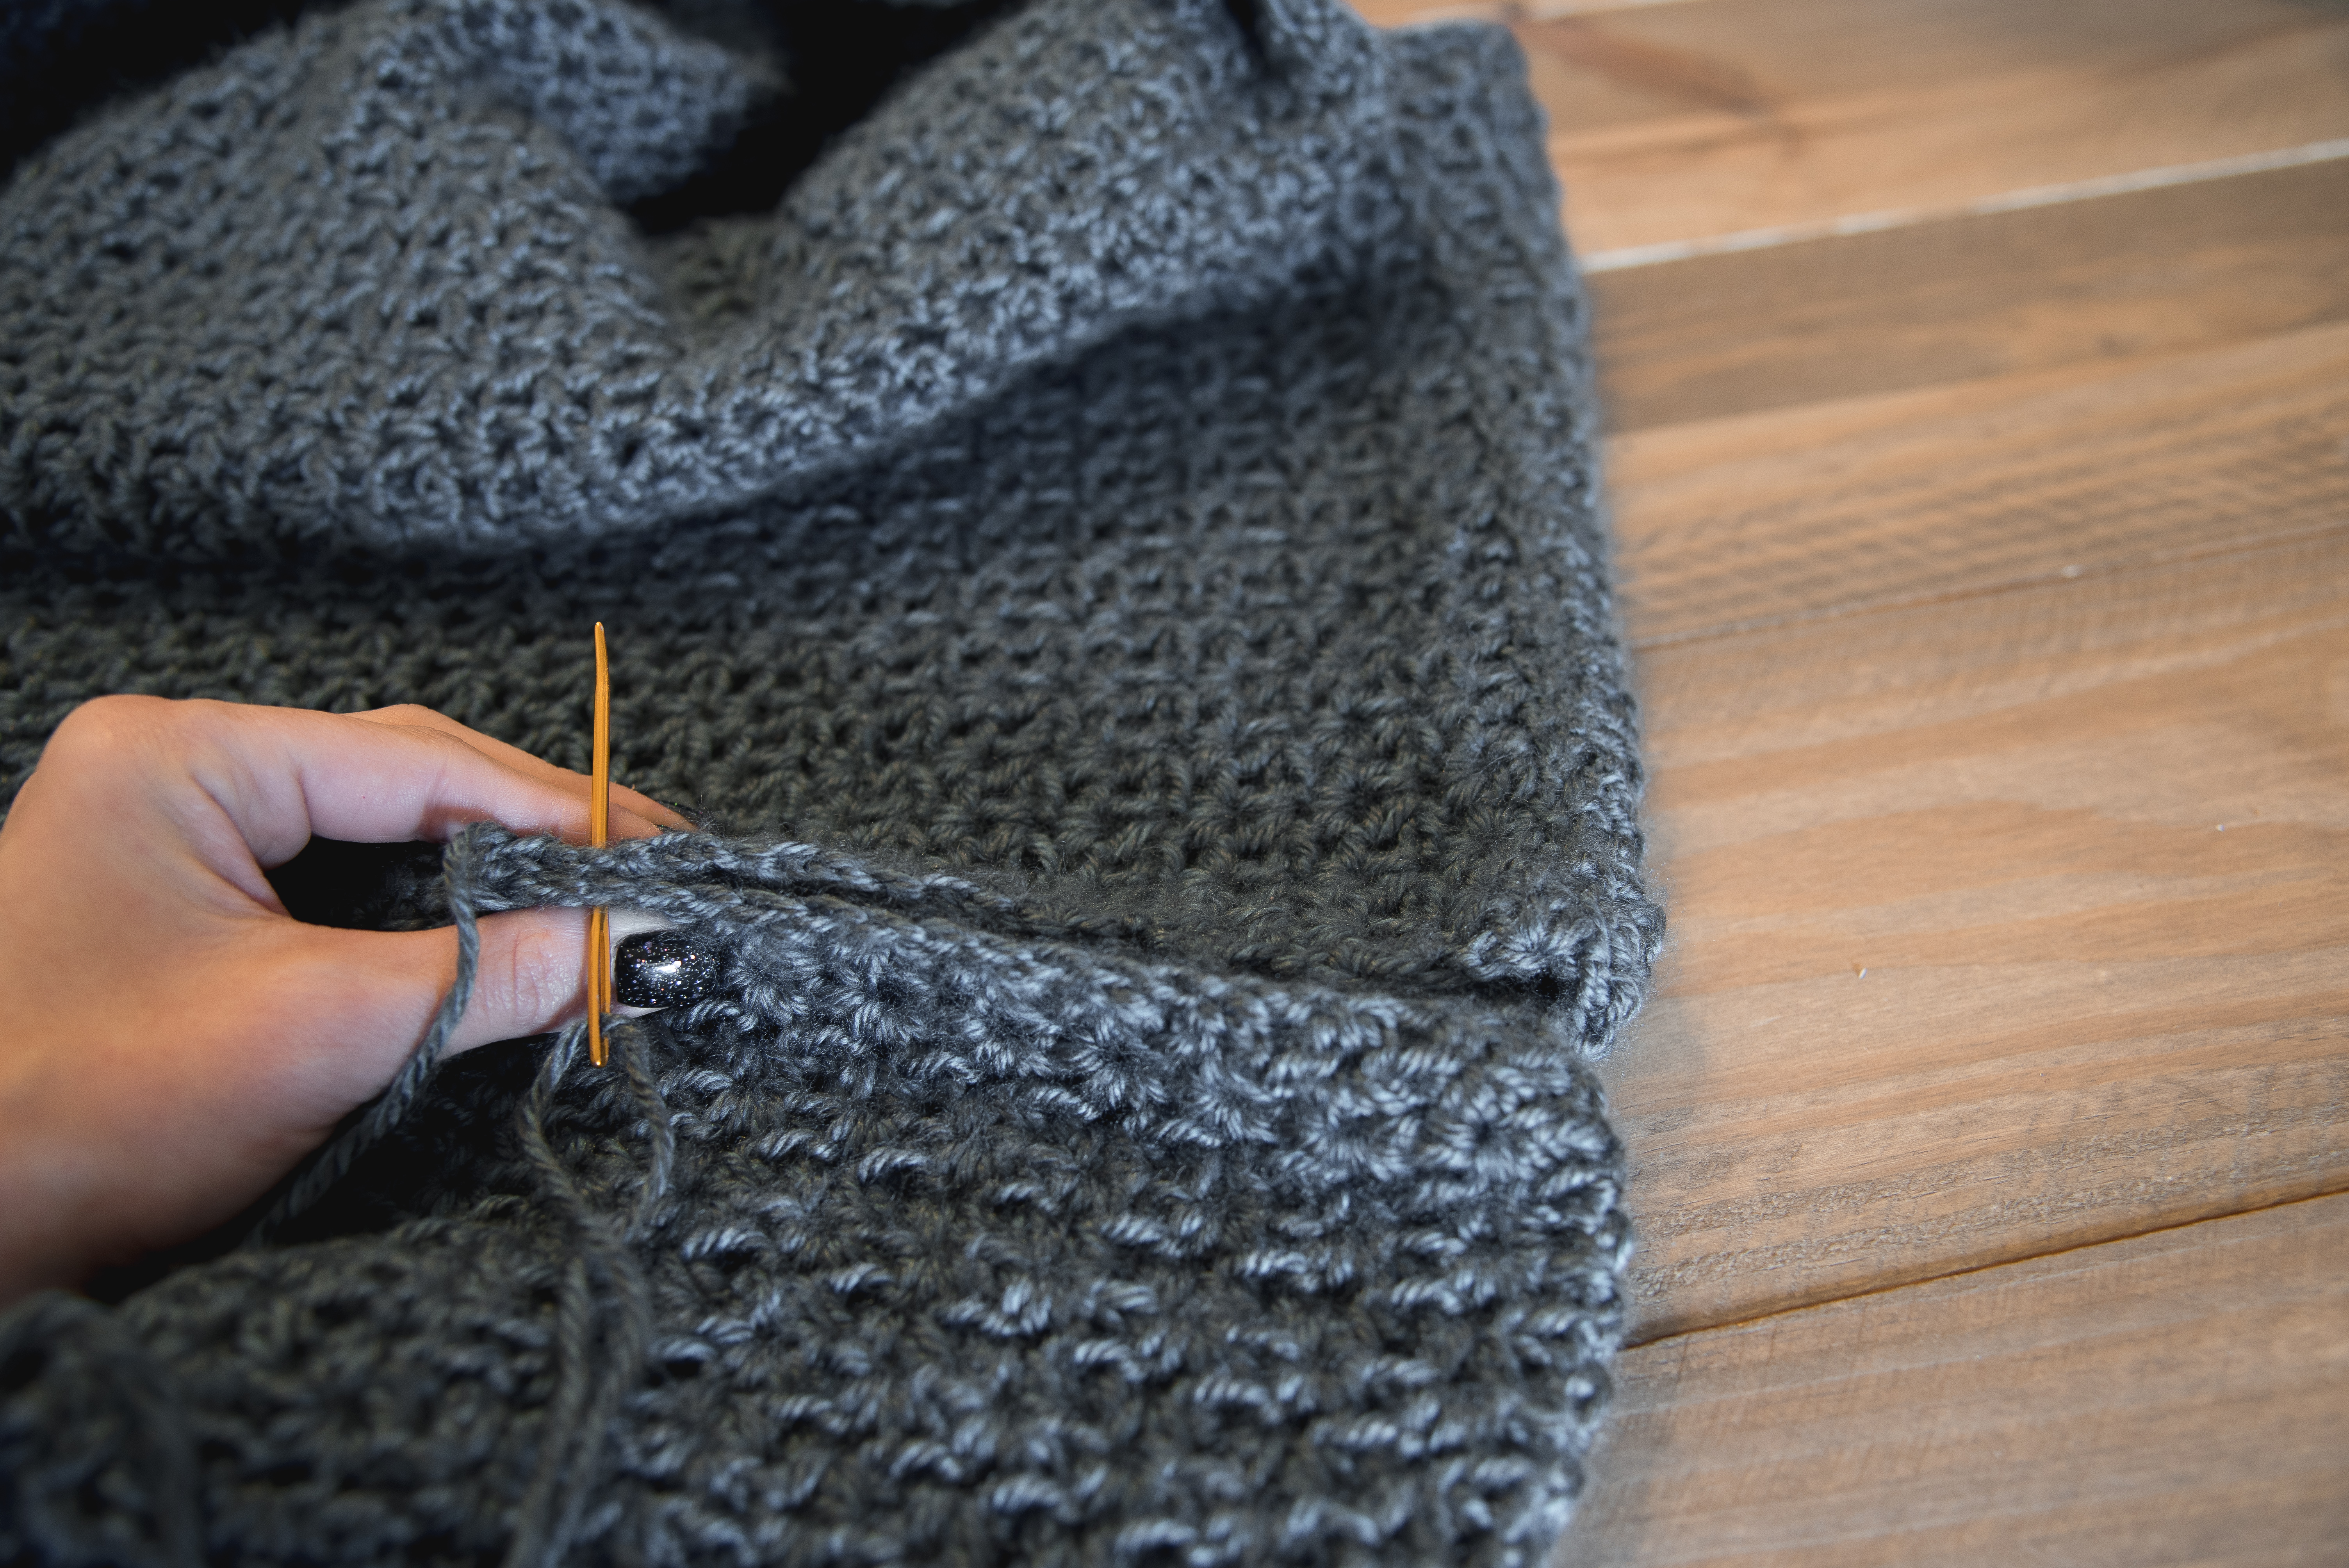
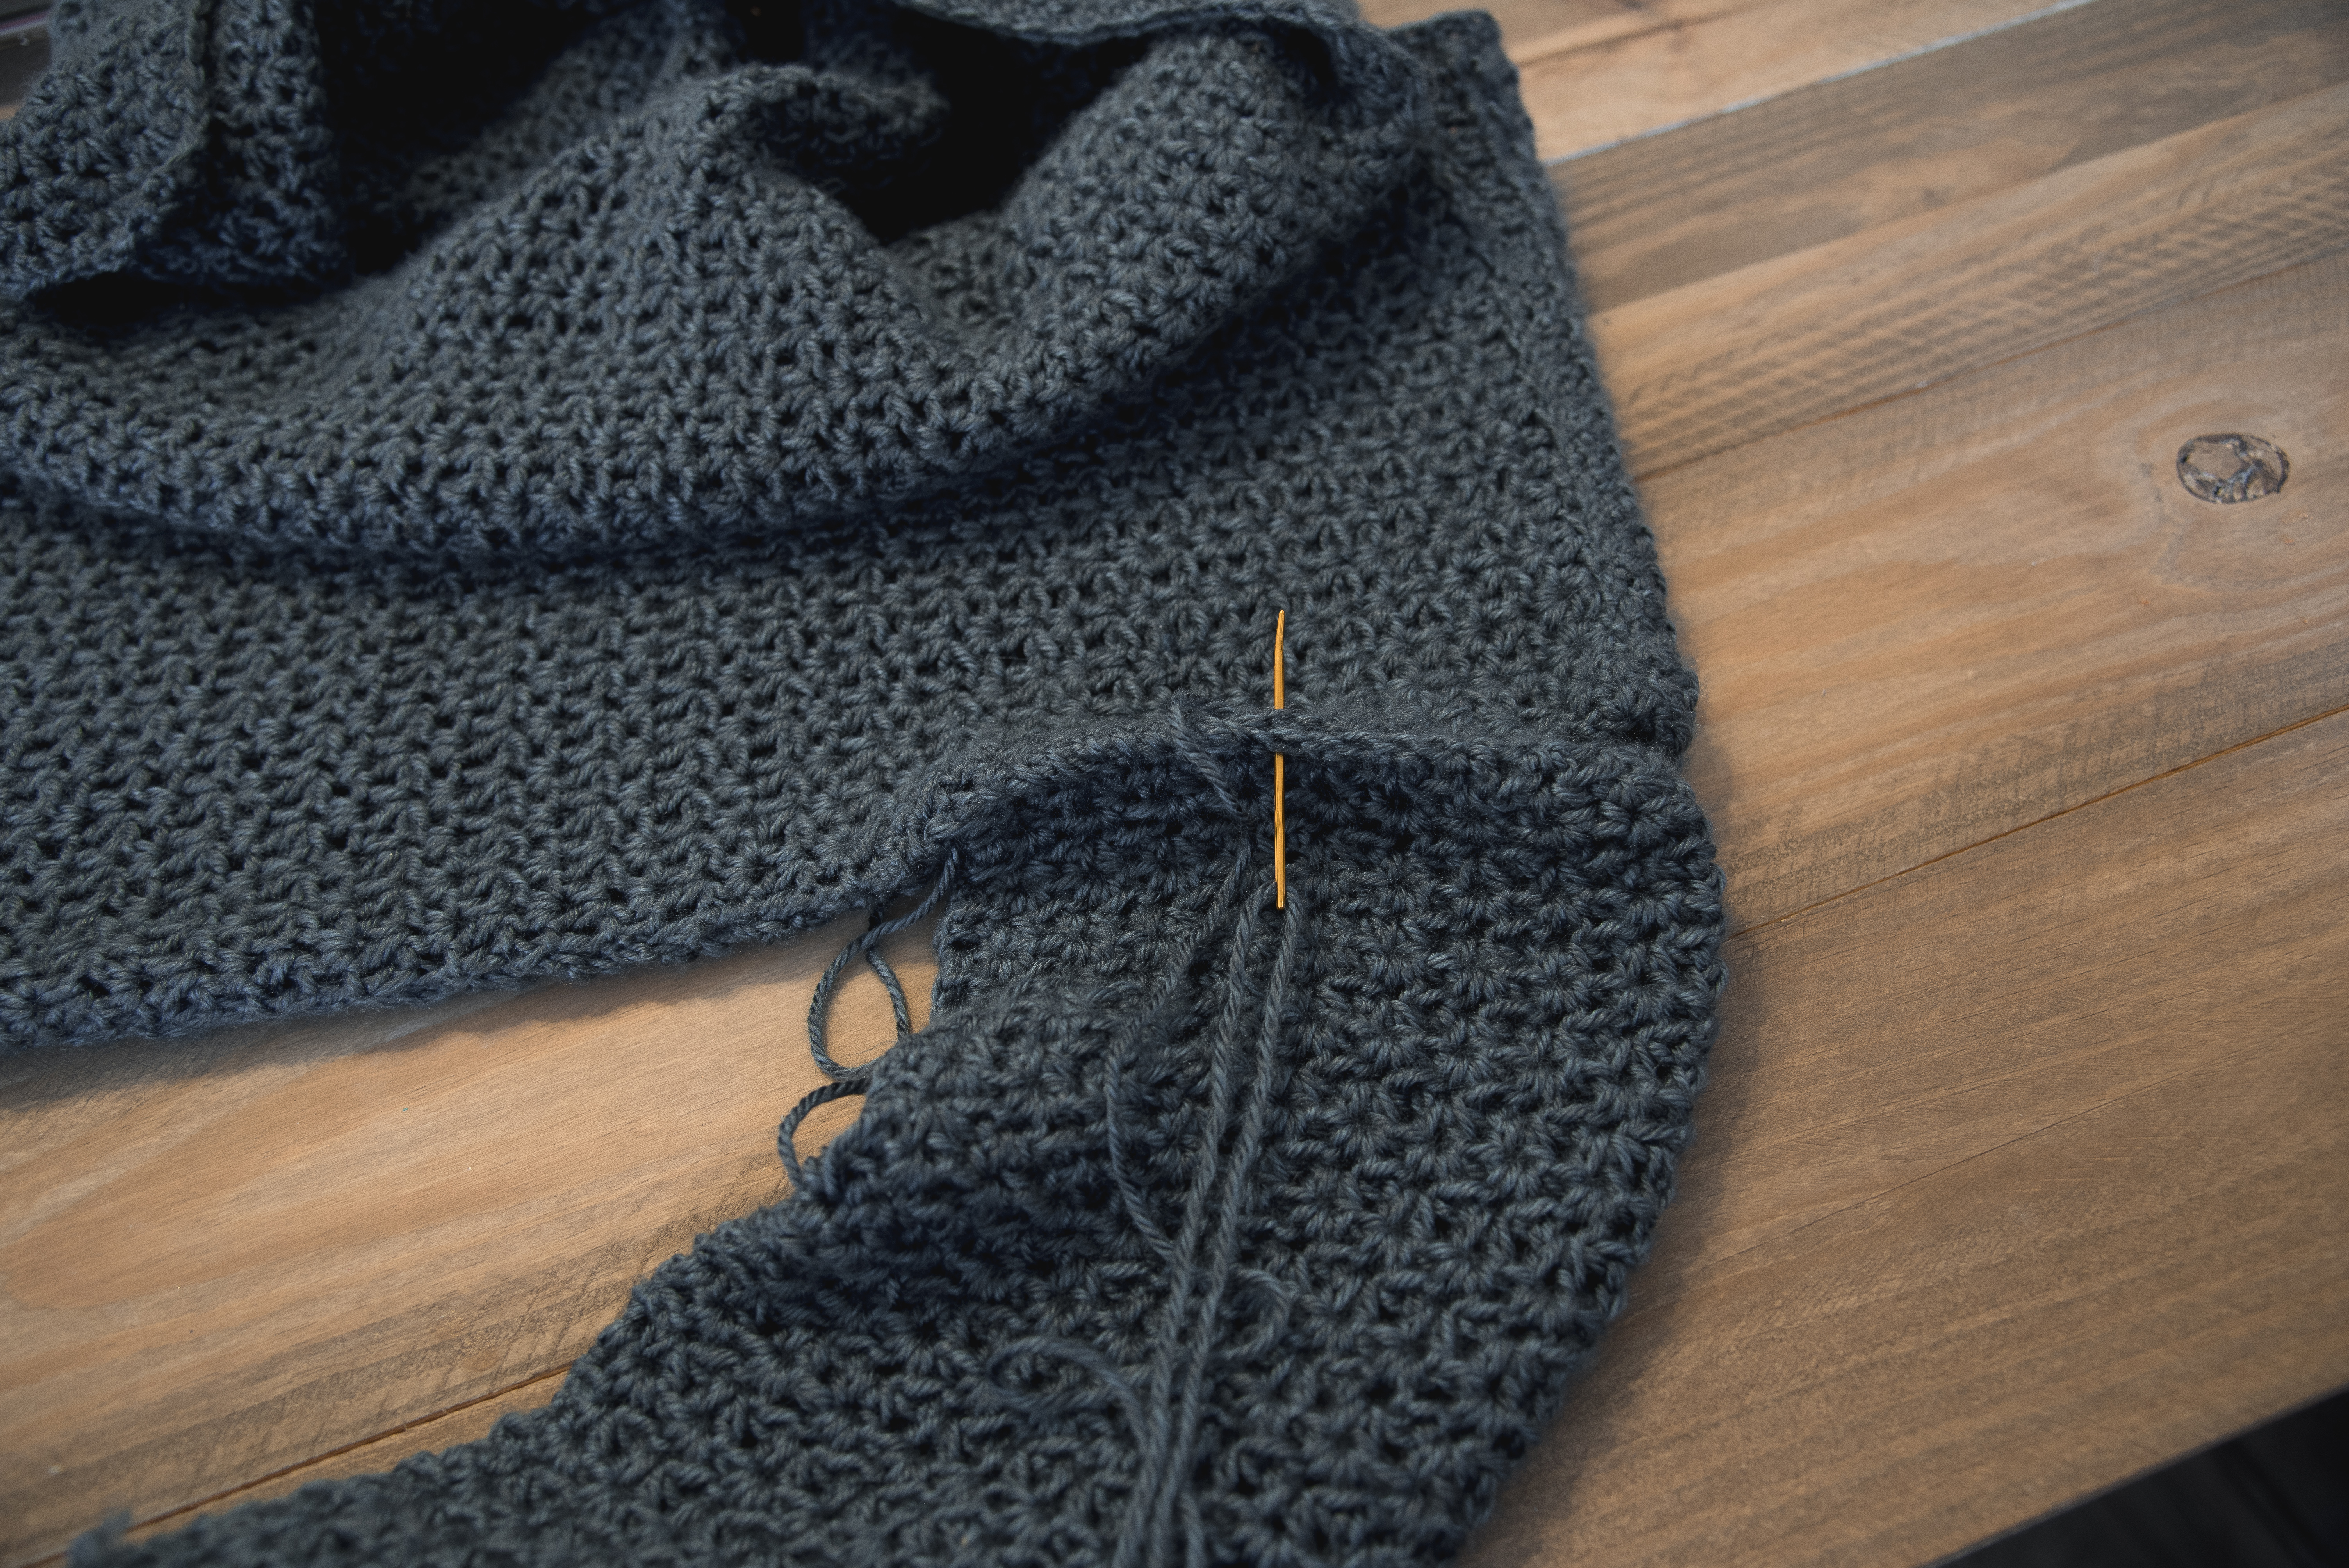
To start assembling the cardigan you need to grab your Back panel and two side panels. Lay your back panel flat, now take the two front panels and line up on each side as shown in the photo above. You will need to line up the front panels to the edges of the back panel. Now using your Tapestry needle and a spare piece of yarn and start to sew the top of the panels to the back panel (using a whip stitch).
After the tops are sewn together, you will start on the side seams. You will begin sewing at the bottom of the sweater using the same technique as the tops.
Do this on Both Sides.
Sewing Instructions for sewing up the sides seams.
Xs- up to row (leaving about 6-6.5 inches for the sleeve on each side)
S- up to row (leaving about 6.5-7 inches for the sleeve on each side)
M- up to row (leaving about 7-7.5 inches for the sleeve on each side)
L- up to row (leaving about 7.5-8 inches for the sleeve on each side)
1x- up to row (leaving about 8-8.5 inches for the sleeve on each side)
2x- up to row (leaving about 8.5-9 inches for the sleeve on each side)
3x- up to row (leaving about 9-9.5 inches for the sleeve on each side)
4x- up to row (leaving about 6-6.5 inches for the sleeve on each side)
Now to move on to the Sleeves
Take your sleeve piece and fold it over. Then Grab your Tapestry Needle and a spare piece of yarn sew along the edge using the whip stitch. Do this on both sides
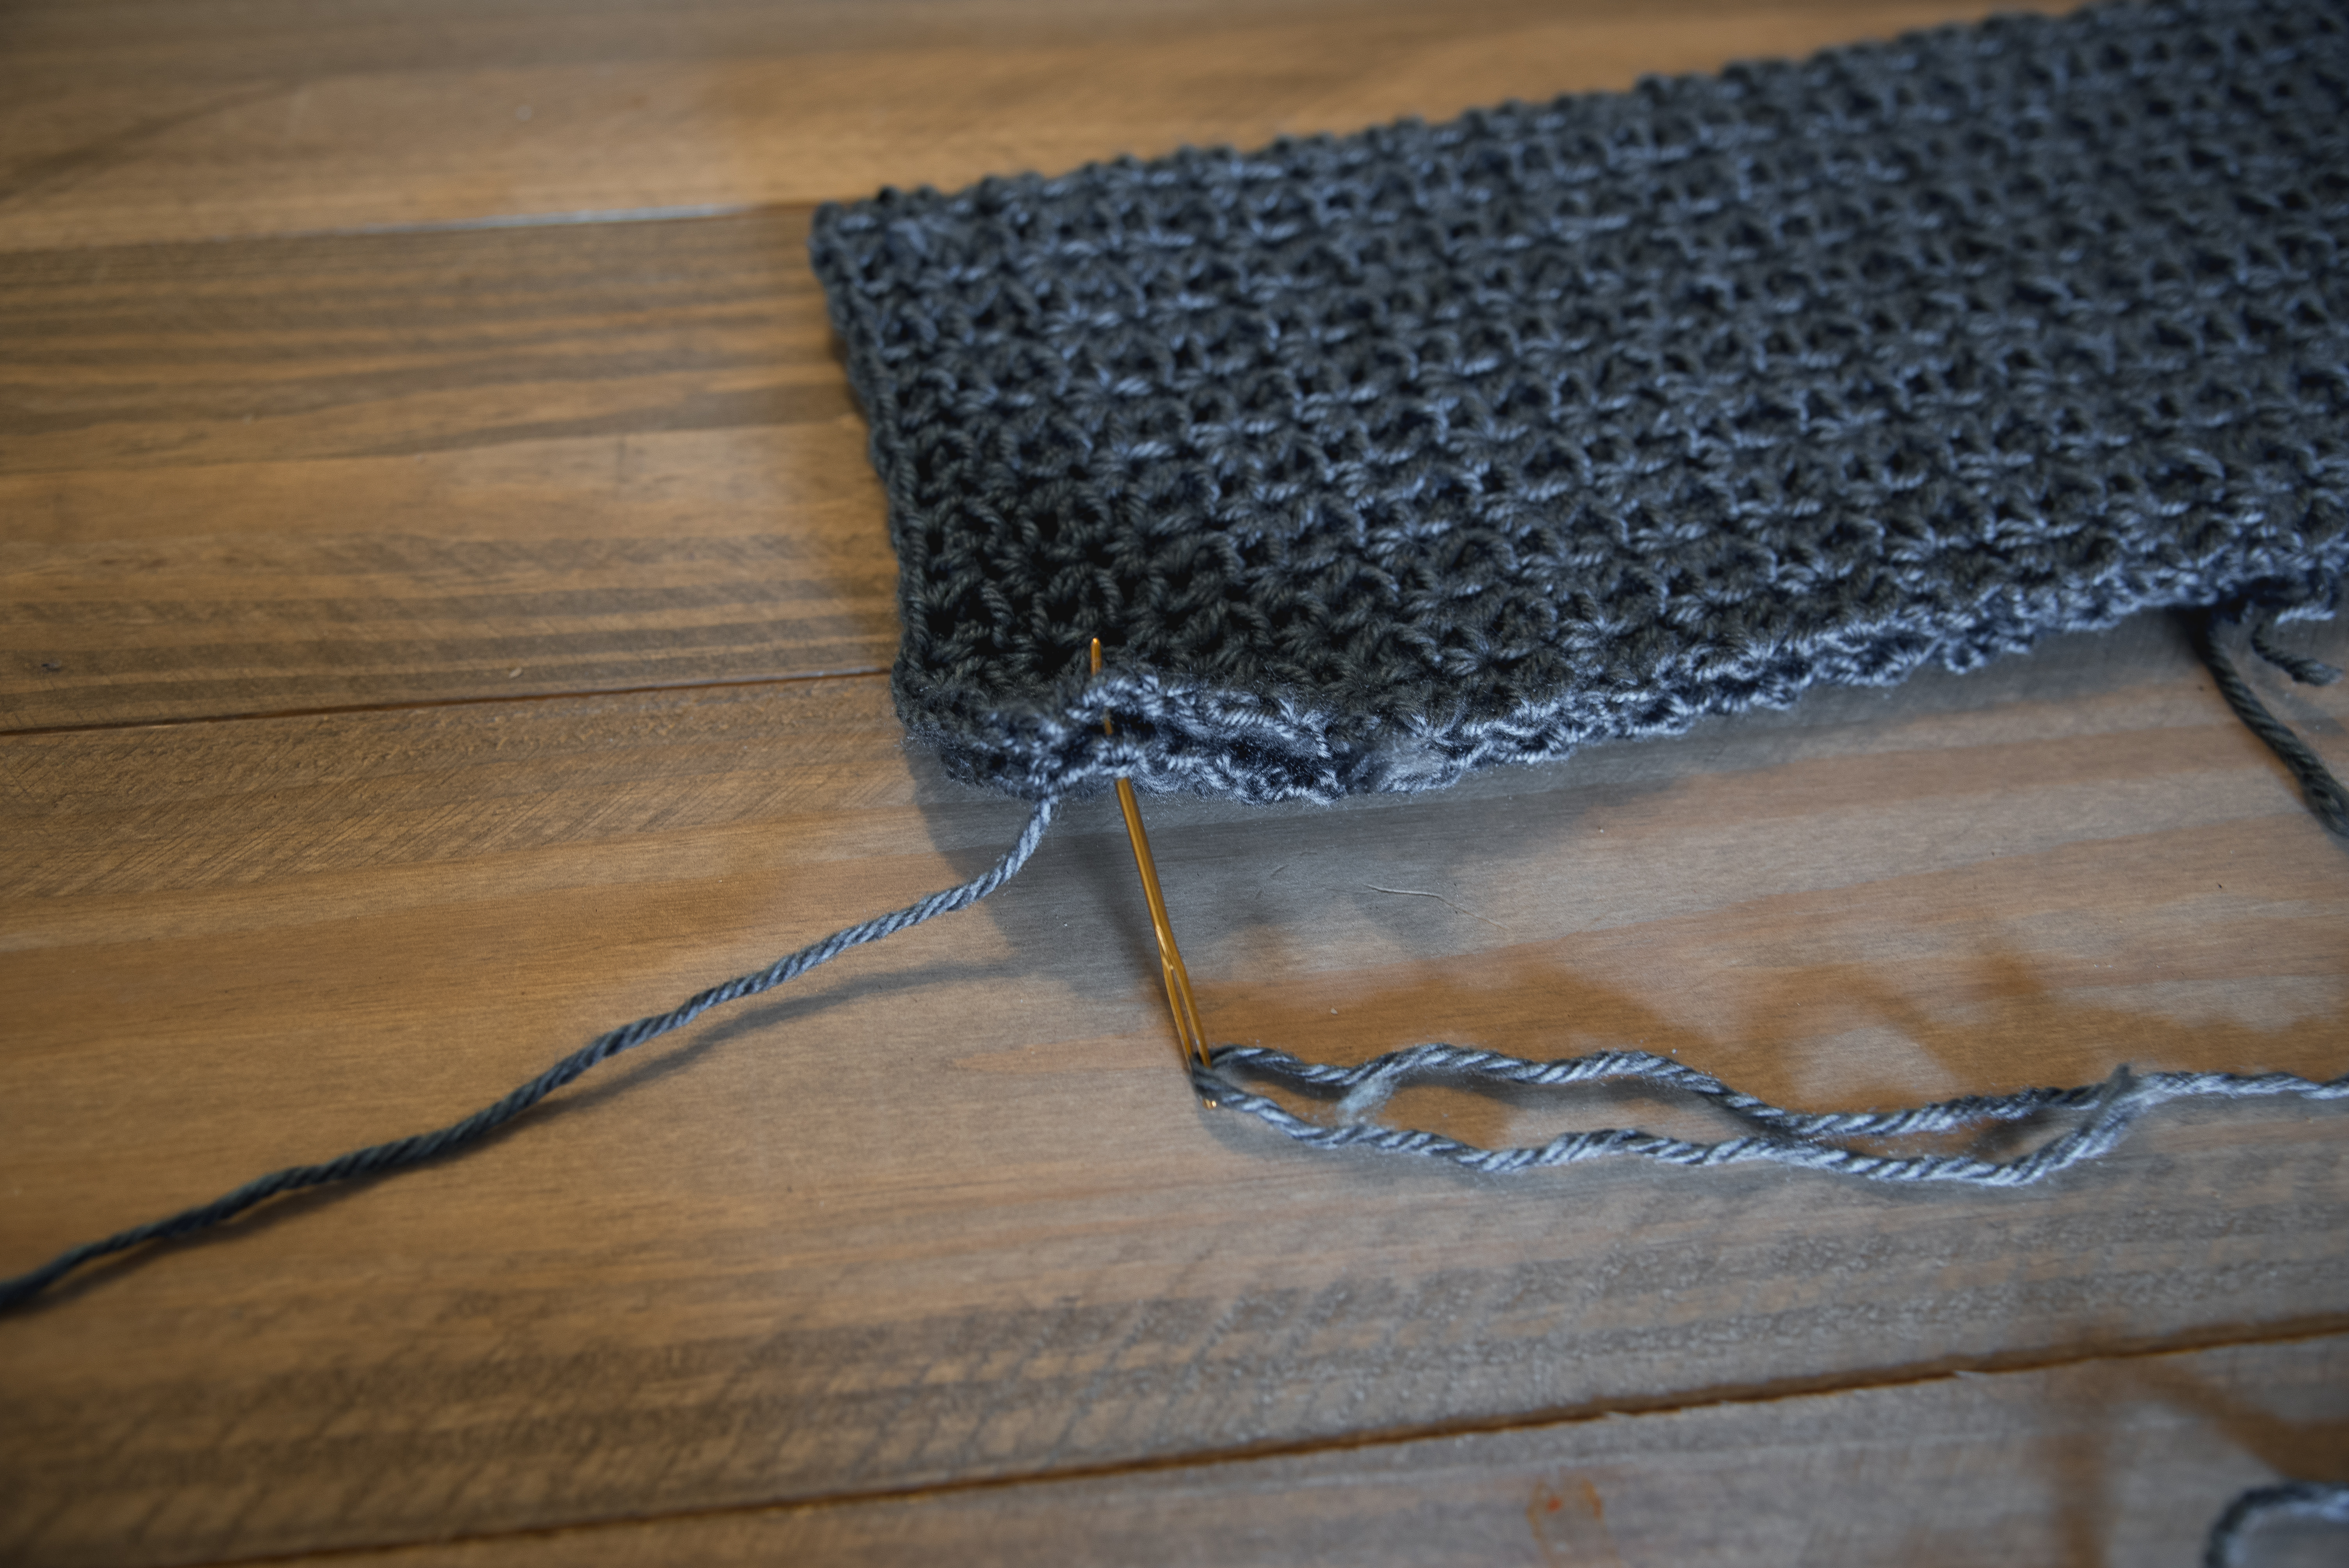
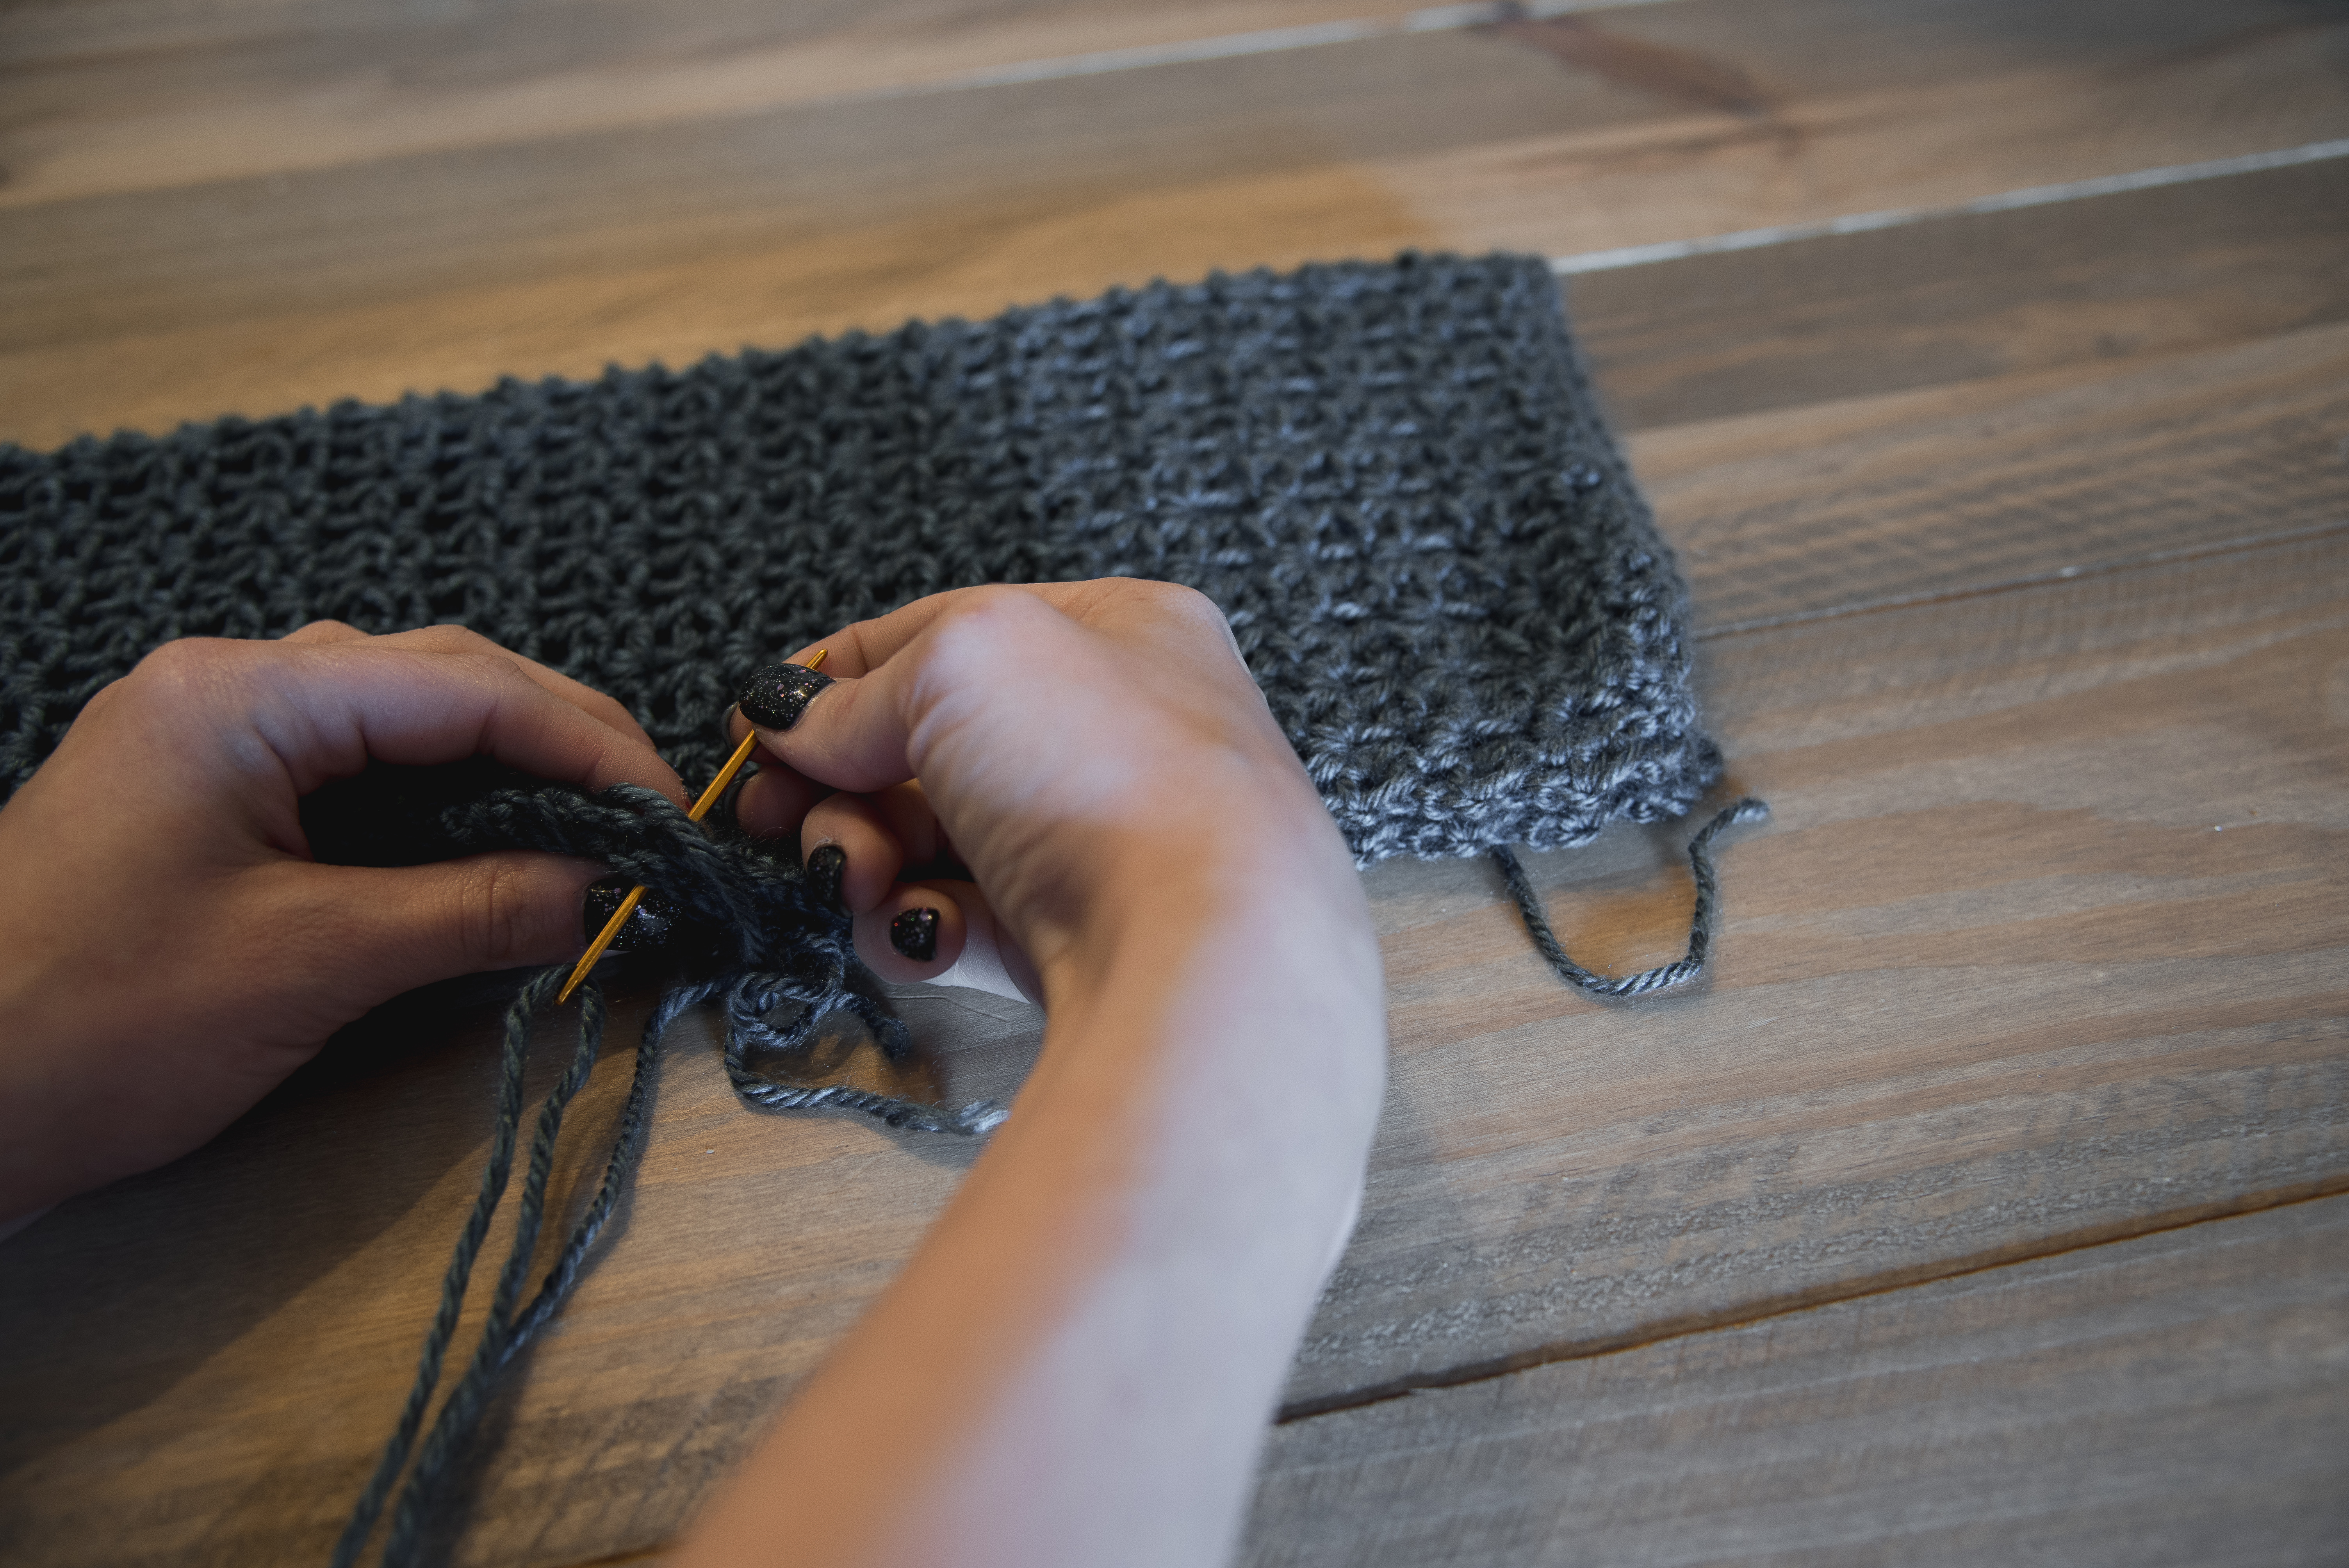
Once both sleeves are sewn you are ready to connect them to the body. Turned the Cardigan and sleeves inside out then you will sew along the very edges of both the sleeve and the body armhole opening with a tapestry needle and piece of yarn all the way around to connect the sweater. Be sure to sew loosely. Repeat this for both sleeves. After both sleeves are connected, weave in all ends and single crochet around the whole Cardigan give it a cleaner look. You are now complete!!
I hope you have enjoyed This pattern feel free to share on my facebook page and Instagram.

Copyright © 2018 Oh Another Craftyish Blog by Tawnya Myers, All rights reserved
Please note all copyrights to this pattern are mine. All copyrights to the pictures are mine for my personal use only. You’re more than welcome to sell your finished work, but if you do, please post a link back to my post. Please do not try to claim this as your own as to this is 100% mine, I put a lot of time and work to create my patterns, Happy Crocheting

