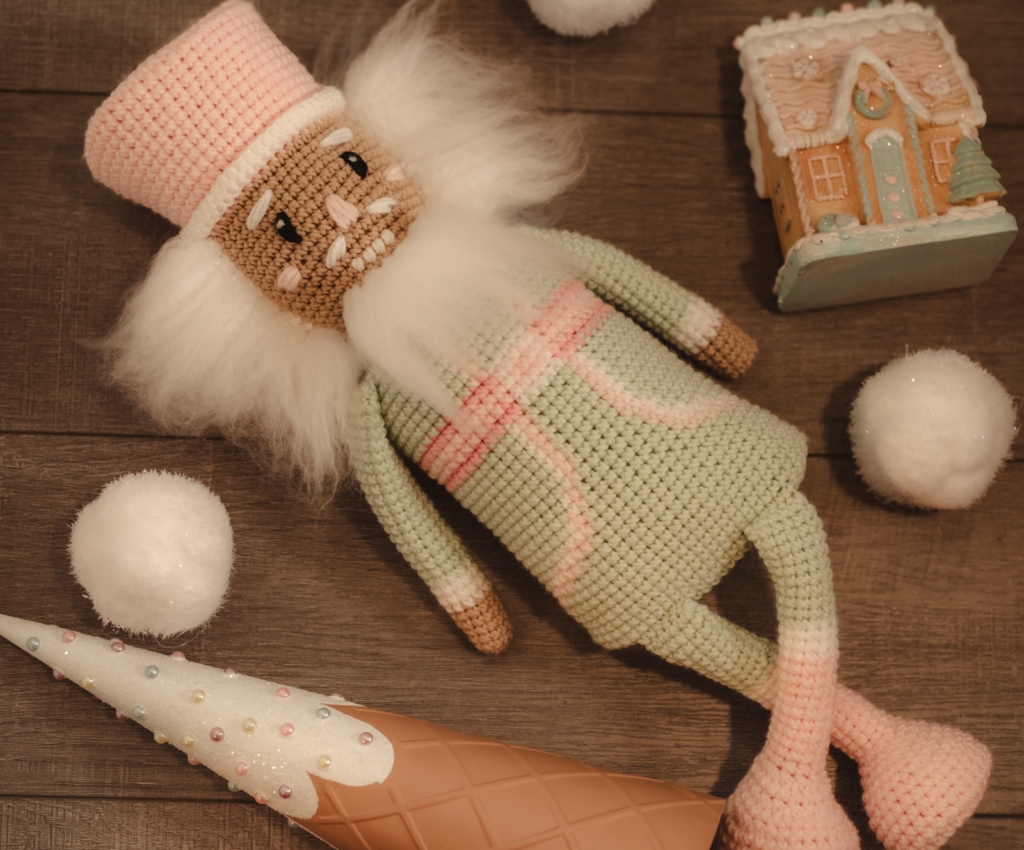
Crochet Nutcracker Plushie Small Size
Create an adorable Nutcracker Plushie with written, photo, and graph instruction provided below.
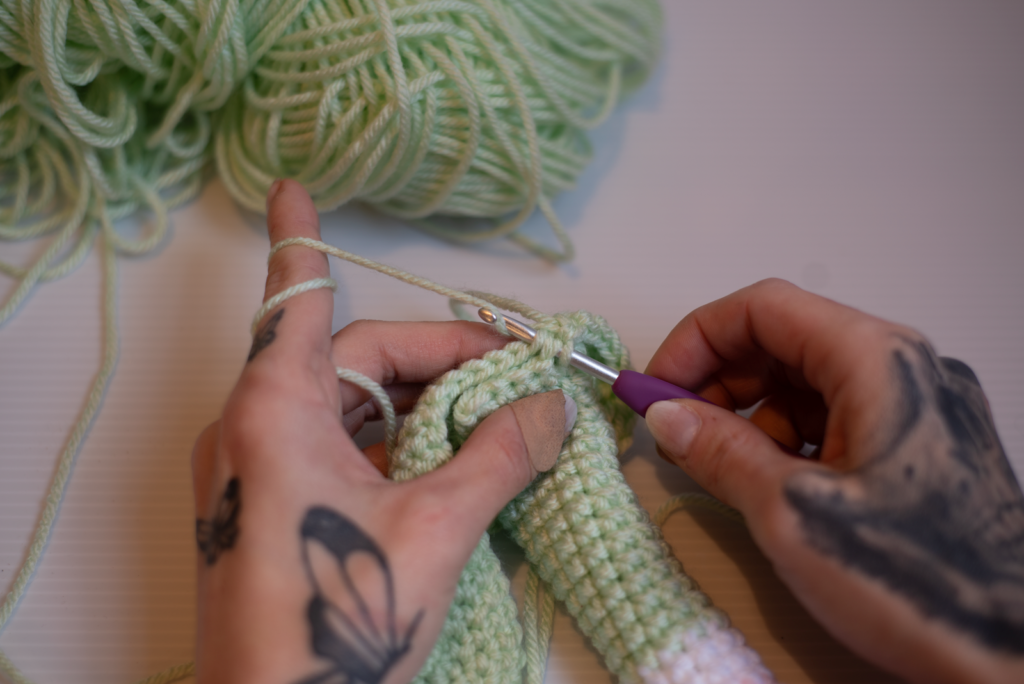
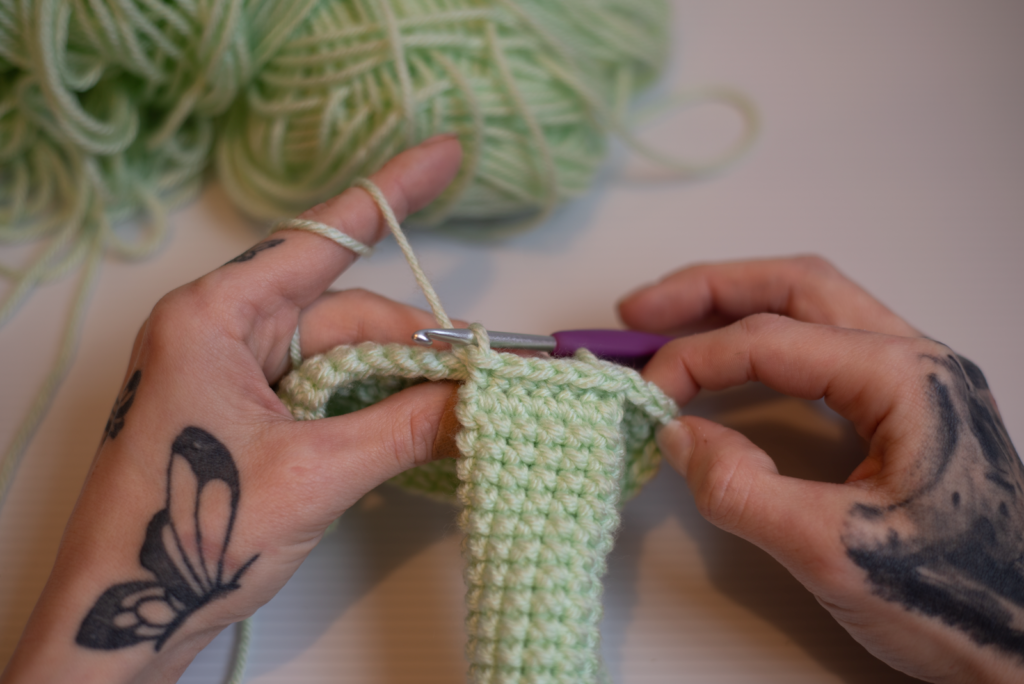
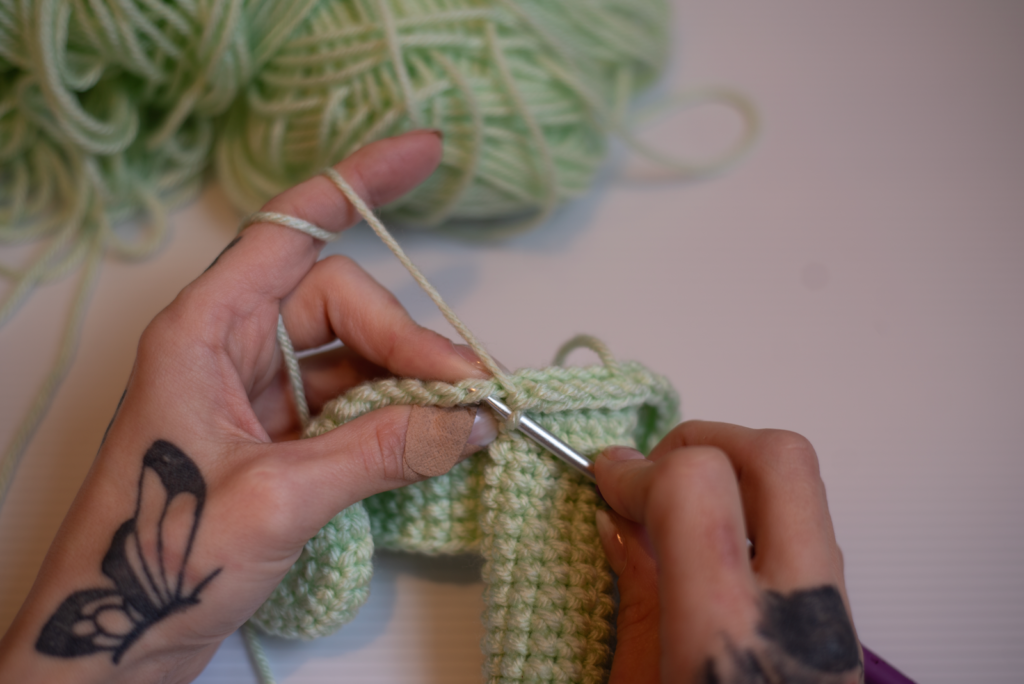
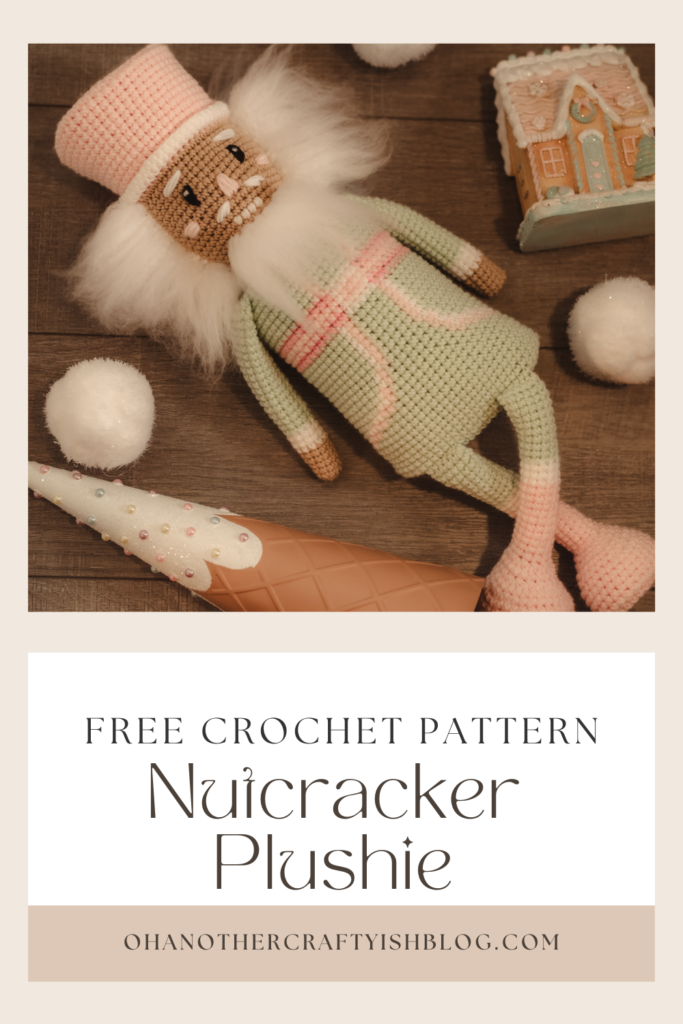
This pattern uses Hobby Lobby’s “I Love This Yarn” and can work with any worsted weight yarn. Features a graph for the body and minimal sewing as everything is completed by single crochet. The hair is made by attaching yarn, untwisting strands, and brushing them out with a wire dog brush.
Christmas is coming in just a few short weeks. The excitement is palpable as families start to make plans for the festive season. They decorate their homes with twinkling lights and ornaments. Children eagerly expect the arrival of Santa Claus. They dream of presents and joyful celebrations filled with laughter and warmth.
Nutcrackers are a cherished tradition celebrated for centuries. They are used to crack open various nuts. They also hold special significance during the holiday season. They add to festive decor and bring joy. Families delight in decorating their homes with themed Nutcrackers. These Nutcrackers evoke whimsy and nostalgia. Representing characters from soldiers to kings, they spark interest and conversation among guests. Displaying Nutcrackers has become a beloved ritual. Families pass down their favorite pieces as treasured keepsakes. These keepsakes evoke fond memories and traditions.
The Nutcracker Plushie can be a perfect gift for a loved one. This is especially true during the festive season. Joy and warmth fill the air then. This charming and whimsical toy captures the spirit of the traditional holiday tale. It also serves as a delightful keepsake. It can be cherished for years to come. With its soft texture and vibrant colors, the Nutcracker Plushie brings a sense of nostalgia. It sparks imagination. This makes it an ideal present for children and adults alike who appreciate the magic of the holidays. This plushie is perfect as a decorative piece. It can also be hugged tightly during storytelling. It embodies thoughtful gifting that is certain to bring smiles. It will create lasting memories.
Each of my girls will get a delightful Nutcracker plushie for Christmas. I’m certain that this thoughtful surprise will make their gifts even more special and memorable. It is a perfect addition that embodies the spirit of the holiday season. It is filled with joy and warmth. It also brings a touch of magic to their festivities. This enhances the holiday atmosphere in our home. I know my youngest saw me making the nutcracker plushie. She has insisted she’s getting one. Her eyes sparkled with excitement as she envisioned the fun adventures she would have with it. She imagined it standing guard on her shelf as a whimsical companion during the cozy winter nights.
I would really appreciate your support if you enjoy all my free crochet patterns. Your help allows me to continue providing them. By following my platforms, you’ll stay updated on the latest patterns. You will also join a community of fellow crochet enthusiasts who share your passion. Your engagement means the world to me. It motivates me to keep creating and sharing new designs for everyone to enjoy. Thank you for your encouragement and support!
Pin and save for latter

Create your own Nutcracker Plushie below with step-by-step instructions.
Supplies:
- Hobby Lobby (I love this Yarn) weight 4/ Medium.
- Menthe
- Soft Pink
- white
- pink
- black
- yarn bee in color Egyptian sandstone
- 4 mm (G) Hook (or hook to obtain the gauge.)
- Tapestry Needle
- Polyfil
- Stitch markers
- Wire dog brush
Abbreviations:
Mc= Magic Circle
Ch(s)= Chain(s)
St(s)= Stitch(es)
Slst= Slip Stitch
Sc= Single Crochet
Dec= Decrease (Two stitches together)
Dec x2= Decrease (A regular Decrease 2 times)
2 sc= Single Crochet 2 Single Crochet in the same stitch. (Increase)
Blo= Back Loop Only
Hdc= Half Double Crochet
Dc= Double Crochet
Tr= Treble Crochet
Fo= Finished Off
FL= Front Loop
BL= Back Loop
Notes:
Everything is worked in Continuous rounds Unless stated otherwise.
Pattern:
Arms:
(Make 2)
(Will be switching between Egyptian Sandstone, White, and Menthe)
Round 1: Ch 6. In the 2nd ch from the hook sc, sc in the next 3 chs, 3 sc in the last ch. Now working on the opposite side sc in the next 3 chs, 2 sc in the last ch. (12)
Round 2-6: Sc in each st around. (12) (5 Rounds)
Round 7-9: (Switch to White) Sc in each st around. (12) (3 Rounds)
Round 10-27: (Switch to Menthe) Sc in each st around. Fold together and 6 sc across fo. (12) (18 Rounds)
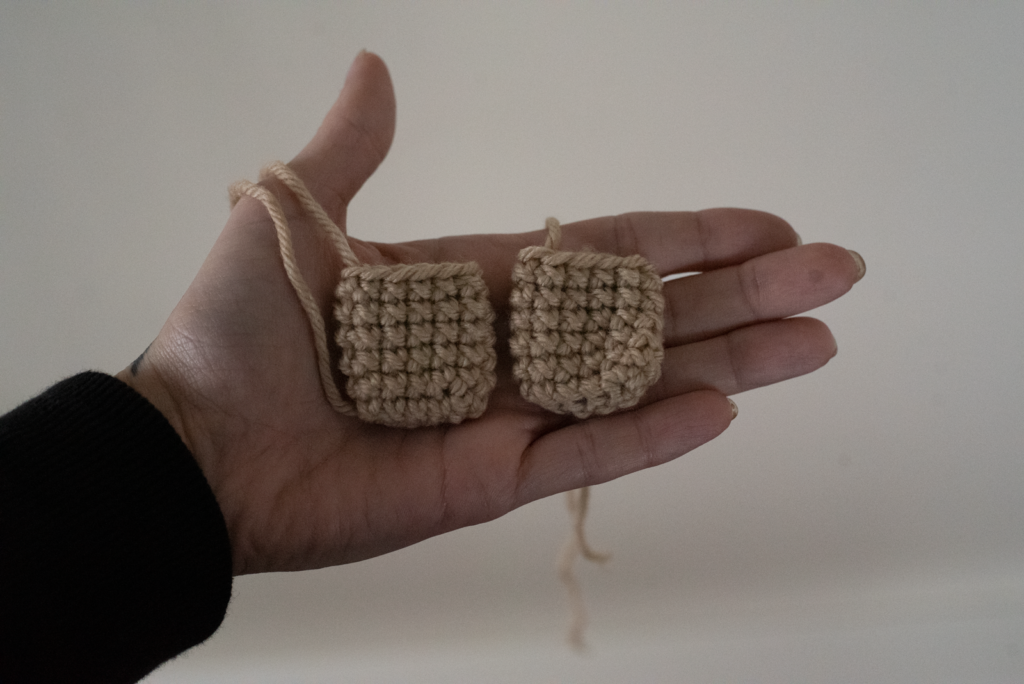
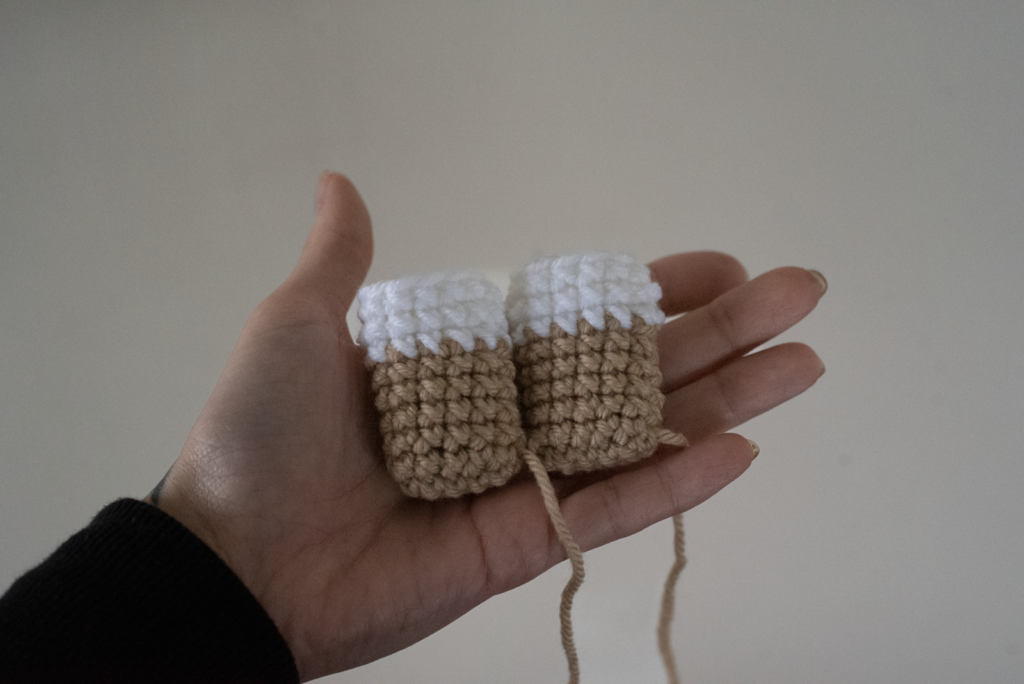
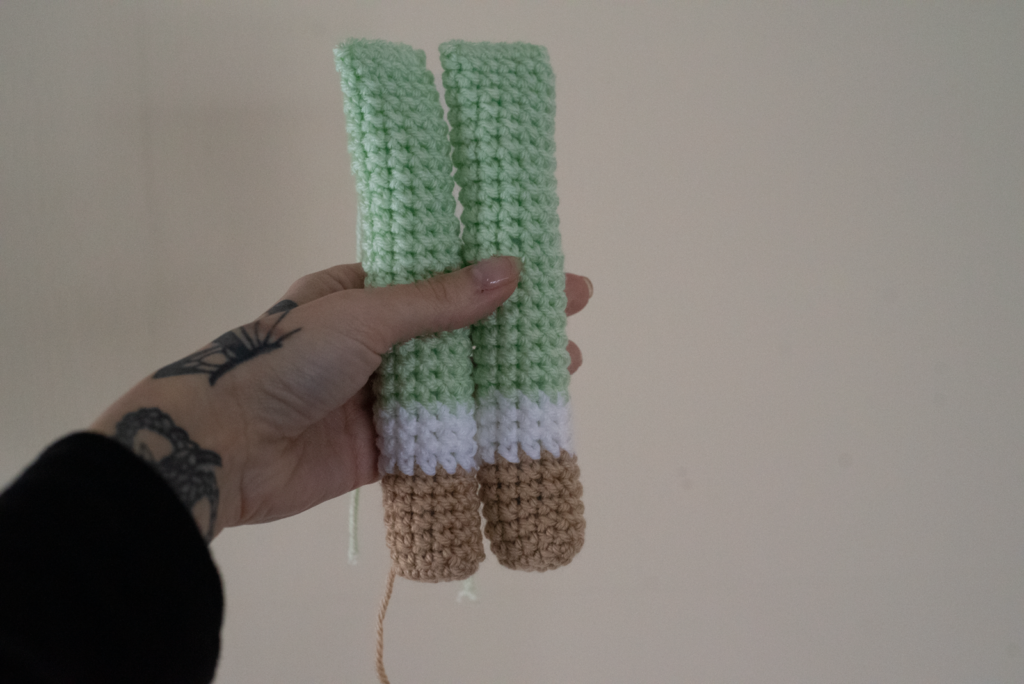
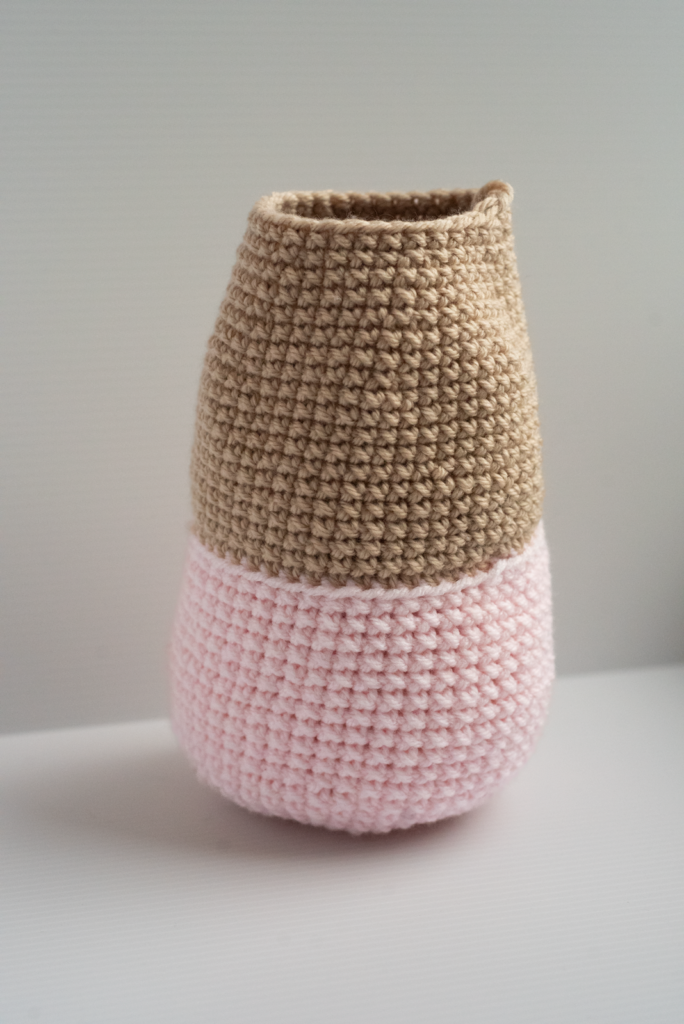
Boots and Legs:
(Make 2)
(Working from the boots and legs up. In colors soft pink, white and menthe. Starting in color soft pink switch when advised.)
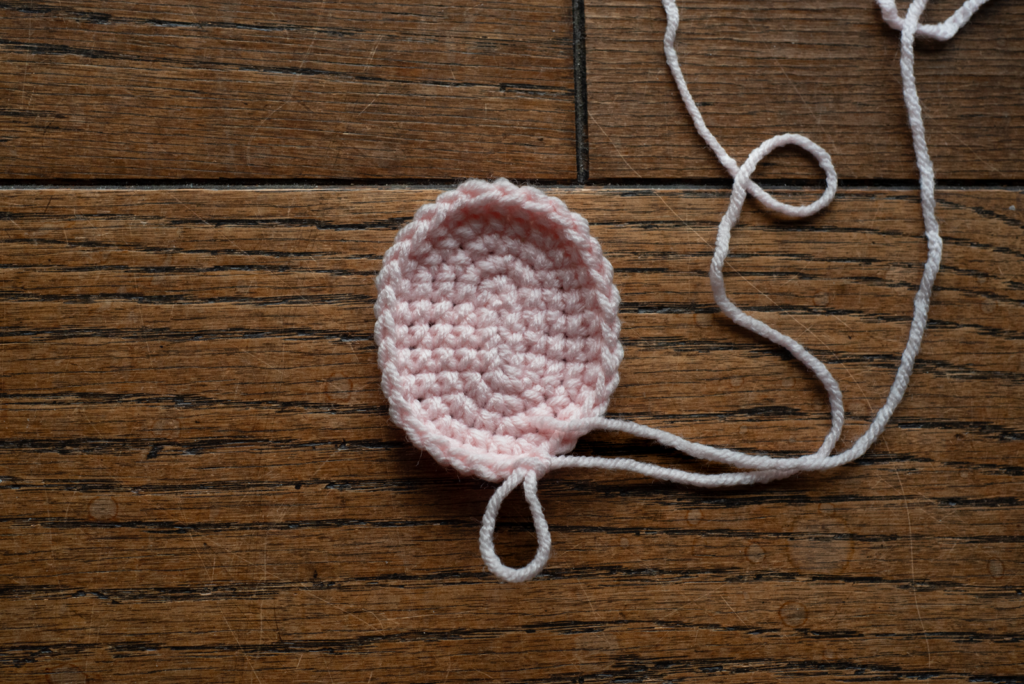
Round 1: Ch 6. In the 2nd ch from the hook sc, sc in the next 3 chs. In the last ch 3 sc. Now working on the opposite side sc in the next 3 chs, 2 sc in the last ch. (12)
Round 2: 2 sc, sc 3, 2 sc in the next 3 sts, sc 3, 2 sc in the last 2 sts. (18)
Round 3: Sc, 2 sc, sc 4, 2 sc, sc, 2 sc, sc, 2 sc, sc 4, 2 sc, sc, 2 sc in the last st. (24)
Round 4: Sc 2, 2 sc, sc 5, 2 sc, sc 2, 2 sc, sc 2, 2 sc, sc 5, 2 sc, sc 2, 2 sc. (30)
Round 5: Sc each st around. (30)
Round 6: Sc in the Fl st around. (30)
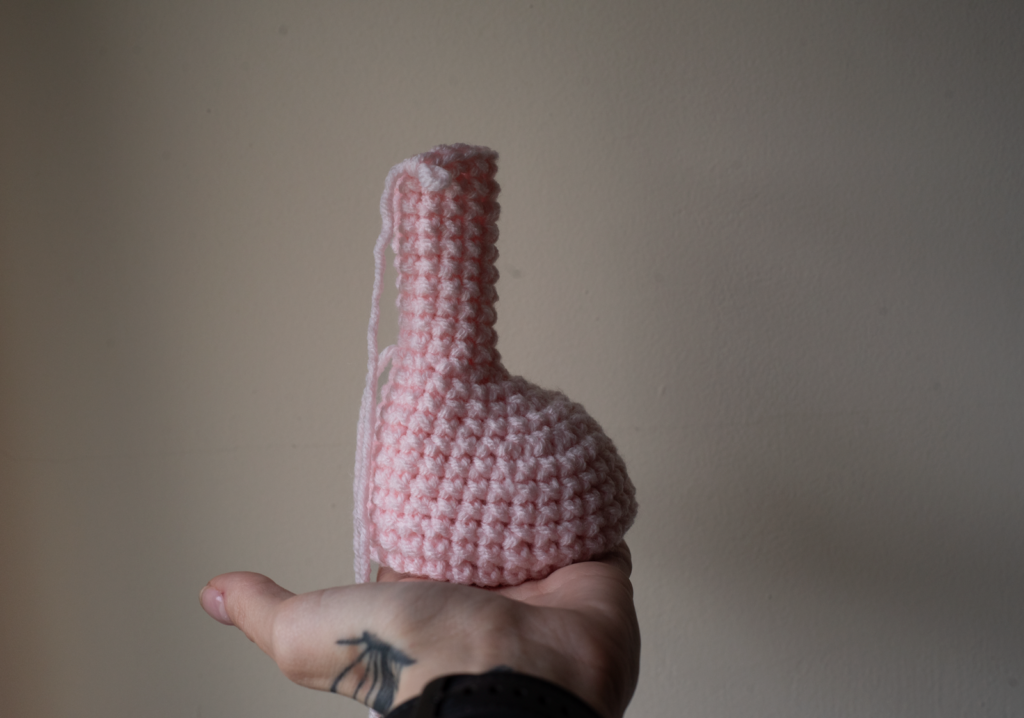
Round 7-10: Sc each st around. (30) (4 rounds)
Round 11: Sc 5, dec 3 times, sc 6, dec 3 times, sc 7. (24)
Round 12: Sc each st around. (24)
Round 13: Sc 5, dec 6 times, sc 7. (18)
Round 14: Sc each st around. (18)
Round 15: Sc 3, dec 6 times, sc 3. (12)
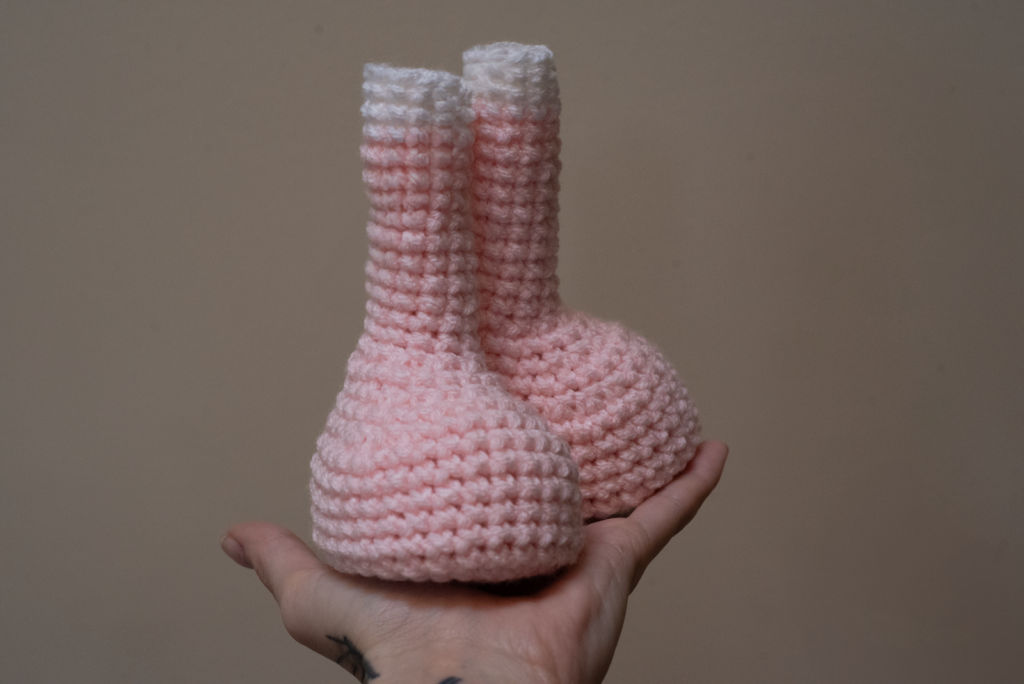
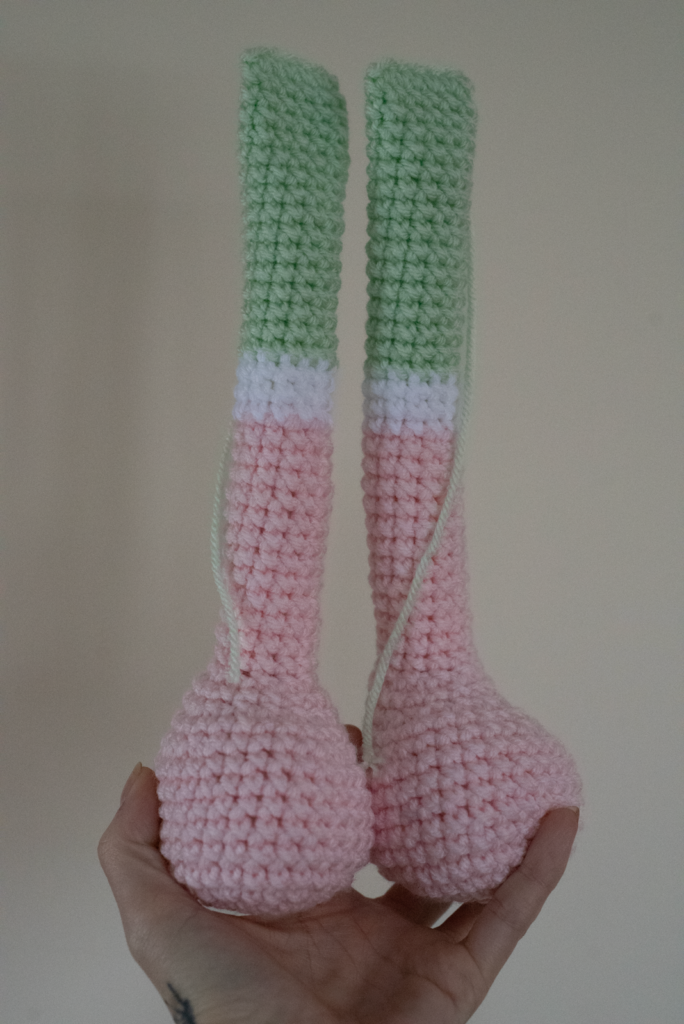
Round 16- 25: sc each st around. Fo (12) (10 rounds)
Round 26- 28: Switch to white. Sc in each st around. (12) (3 rounds)
Round 29- 43: Switch to menthe. Sc in each st around. Fold together and 6 sc across fo. (12) (15 rounds)

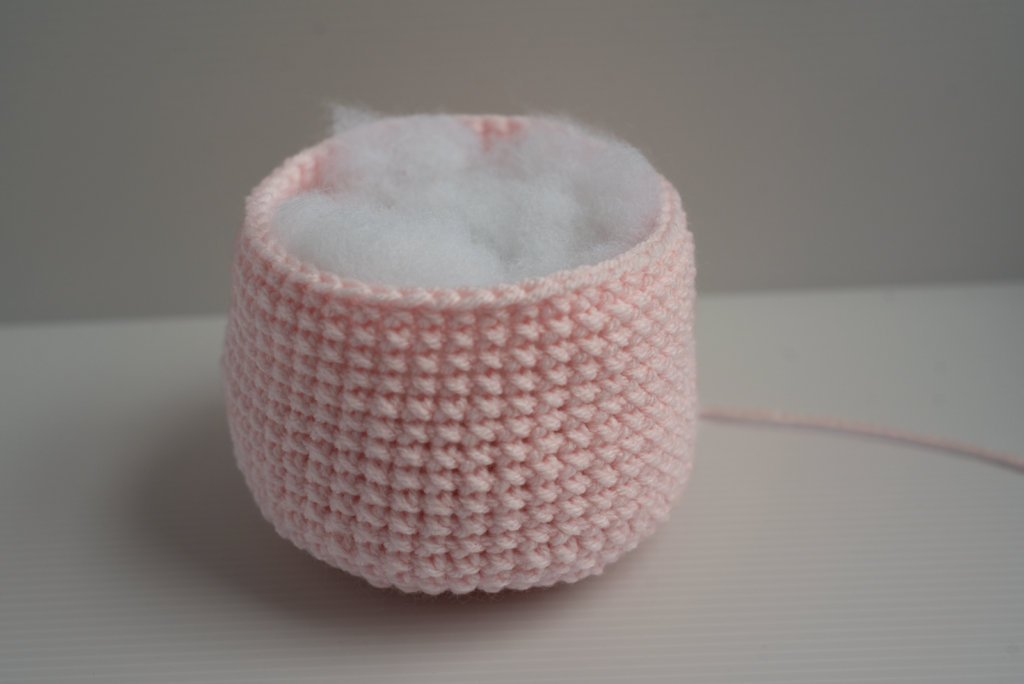
Body:
(Will be switching from colors, Menthe, Soft Pink, White, Pink. Starting in color Menthe.)
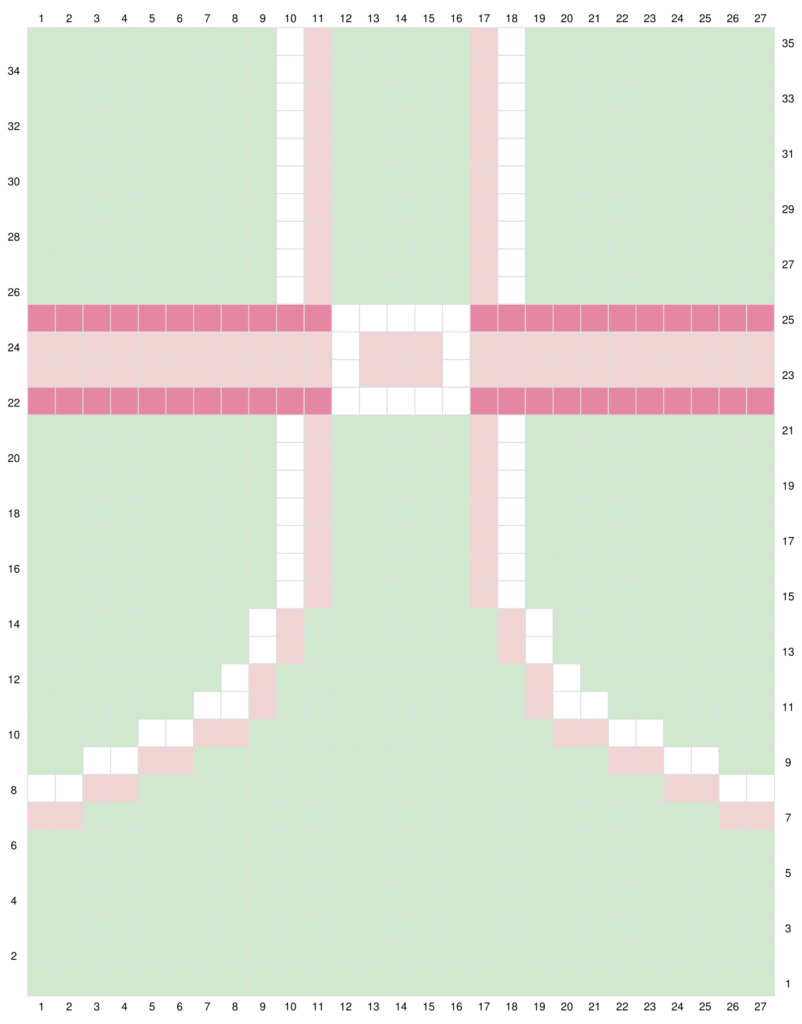
Round 1: ch 18. In the 2nd ch from the hook make 2 sc. Then, sc in the next 15 chs. Finally, make 3 sc in the last ch. Now working on the opposite side sc 16. (36)
Round 2: 2 sc 2 times, sc 15, 2 sc 3 times, sc 15, 2 sc. (42)
Round 3: 2 sc 4 times, sc 15 2 sc 6 times, sc 15, 2 sc 2 times. (54)
Round 4: Sc in each st around. (54)
Round 5: Sc in the fl in the next 6 sts. Attach the 1st leg by sc 6 sts across in the fl st of the body. Then sc in the next 7 fl sts. Attach the 2nd leg by sc 6 sts across in the fl st of the body. Sc in the next 29 fl sts. (54)
Round 6-11: Sc in each st around. (54) (6 rounds)
(We will now be switching back and forth between Menthe, Soft Pink, White, Pink.)
Round 12: (Menthe) sc 2, (Soft Pink) sc 2, (Menthe) sc 23, (Soft Pink) sc 2, (Menthe) sc 25. (54)
Round 13: (Menthe) sc 2, (White) sc 2, (Soft Pink) sc 2, (Menthe) sc 19, (Soft Pink) sc 2, (White) sc 2, (Menthe) sc 25. (54)
Round 14: (Menthe) sc 4, (White) sc 2, (Soft Pink) sc 2, (Menthe) sc 15, (Soft Pink) sc 2, (White) sc 2, (Menthe) sc 27. (54)
Round 15: (Menthe) sc 6, (White) sc 2, (Soft Pink) sc 2, (Menthe) sc 11, (Soft Pink) sc 2, (White) sc 2, (Menthe) sc 29. (54)
Round 16: (Menthe) sc 8, (White) sc 2, (Soft Pink) sc, (Menthe) sc 9, (Soft Pink) sc, (White) sc 2, (Menthe) sc 31. (54)
Round 17: (Menthe) sc 9, (White) sc, (Soft Pink) sc, (Menthe) sc 9, (Soft Pink) sc, (White) sc, (Menthe) sc 32. (54)
Round 18-19: (Menthe) sc 10, (White) sc, (Soft Pink) sc, (Menthe) sc 7, (Soft Pink) sc, (White) sc, (Menthe) sc 33. (54) (2 Rounds)
Round 20-26: (Menthe) sc 11, (White) sc, (Soft Pink) sc, (Menthe) sc 19, (Soft Pink) sc, (White) sc, (Menthe) sc 34. (54) (7 Rounds)
Round 27: (Menthe) Sc 2, (Pink) sc 11, (White) sc 5, (Pink) sc 11, (Menthe) sc 25, (54)
Round 28: (Menthe) sc 2, (Soft pink) sc 11, (White) sc, (Soft Pink) sc 3, (White) sc, (Soft Pink) sc 11, (Menthe sc 25. (54)
Round 29: (Menthe) sc 2, (Pink) sc 11, (White) sc 5, (Pink) sc 11, (Menthe) sc 25. (54)
Round 30-26: (Menthe) sc 11, (White) sc, (Soft Pink) sc , (Menthe) sc 5, (Soft Pink) sc, (White) sc, (Menthe) sc 34. (54) (7 Rounds)
Round 37: (Menthe) Attach the 1st arm by 6 sc, sc 5, (White) sc, (Soft Pink) sc, (Menthe) sc 5, (Soft Pink) sc, (White) sc, (Menthe) sc 5, Attach the 2nd arm by 6 sc, sc 23 (54)
Round 38: (Menthe) Dec 4 times, sc 3, (White) sc, (Soft Pink) sc, (Menthe) sc 5, ( Soft Pink) sc, (White) sc, (Menthe) sc 3, Dec 6 times, Sc 15, Dec 2 times. (42)
Round 39:(Menthe) Dec 2 times, sc 3, (White) sc, (Soft Pink) sc, (Menthe) sc 5, (Soft Pink) sc, (White) sc, (Menthe) sc 3, Dec 3 times, sc 15, Dec. (36)
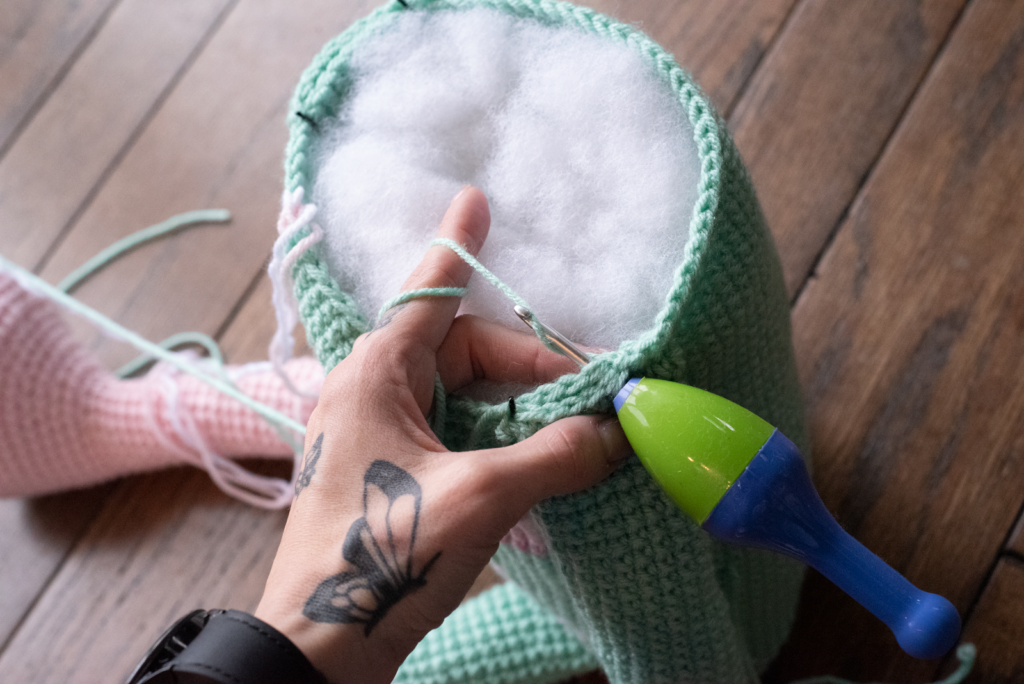
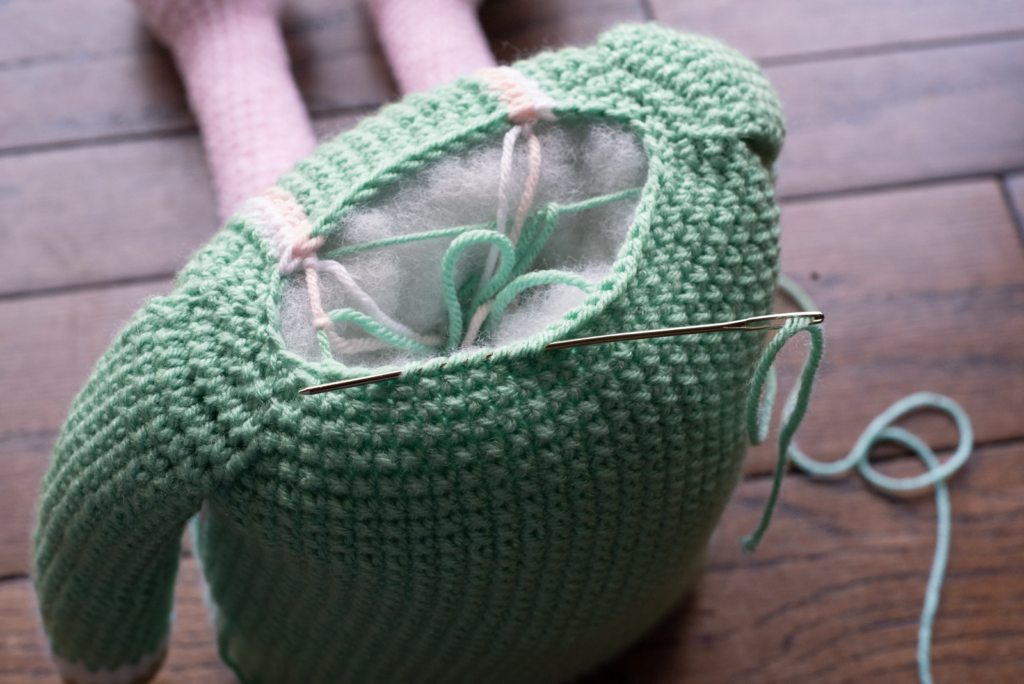
(Take a tapestry needle and go through each front loop sts and pull tight. This will not close the hole completely but cinch it tight.)


Hat:
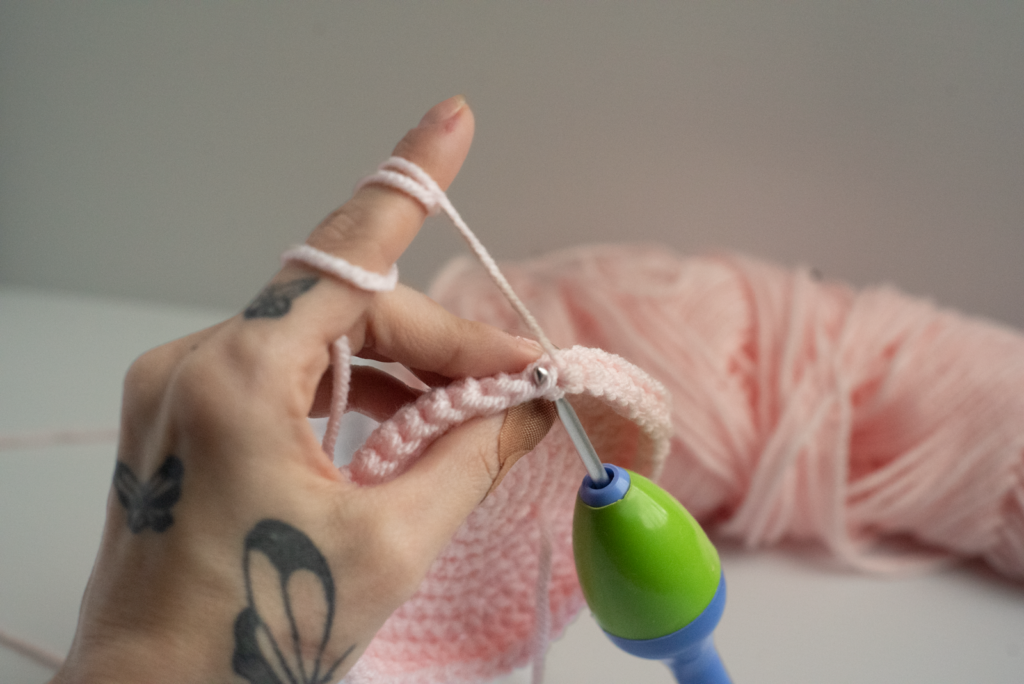
(Using Color Soft Pink)
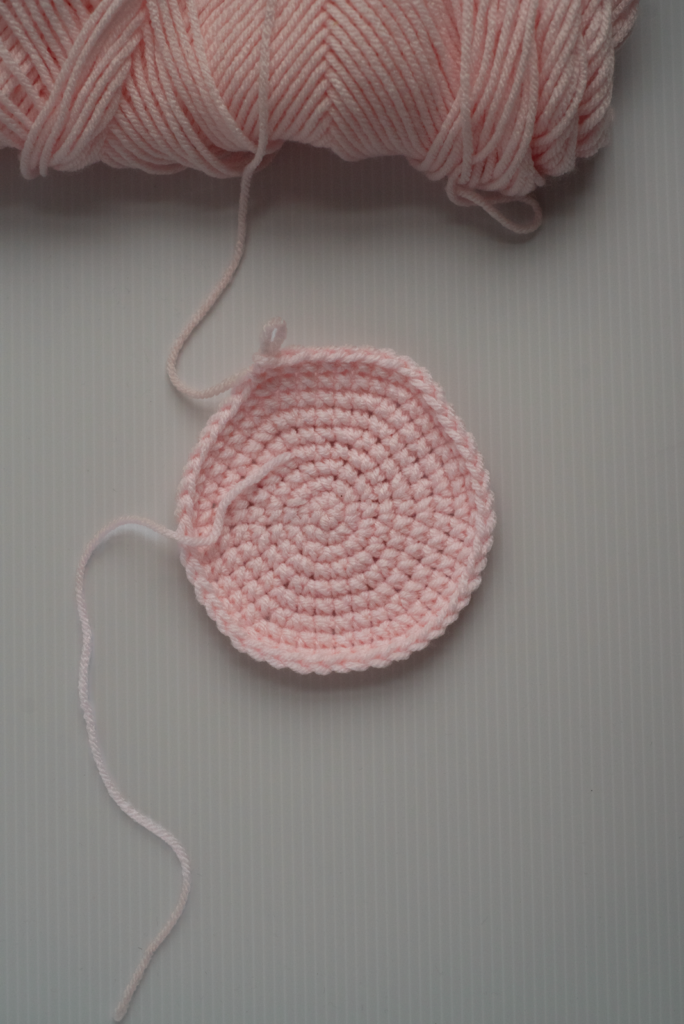
Round 1: Mc 6 sc. (6)
Round 2: 2 sc in each st around. (12)
Round 3: *(2 sc, sc.) Repeat from * around. (18)
Round 4: * (Sc 2, 2 sc.) Repeat from * around. (24)
Round 5: * (2 sc, sc 3.) Repeat from * around. (30)
Round 6: * (Sc 4, 2 sc.) Repeat from * around. (36)
Round 7: * (2 sc, sc 5.) Repeat from * around. (42)
Round 8: * (Sc 6, 2 sc.) Repeat from * around. (48)
Round 9: Sc in each st around. (48)
Round 10: Sc in the fl st around. (48)
Round 11-22: Sc in each st around. Fo (48) (12 Rounds)
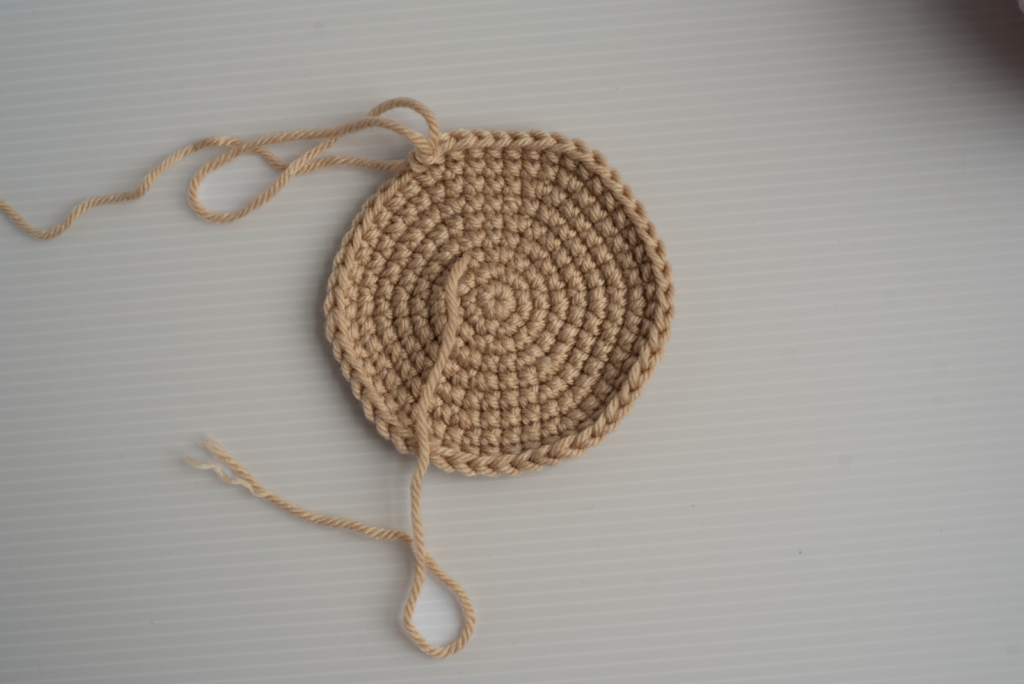
Head:
(Using color Egyptian Sandstone.)
Round 1: Mc 6 sc. (6)
Round 2: 2 sc in each st around. (12)
Round 3: *(2 sc, sc.) Repeat from * around. (18)
Round 4: * (Sc 2, 2 sc.) Repeat from * around. (24)
Round 5: * (2 sc, sc 3.) Repeat from * around. (30)
Round 6: * (Sc 4, 2 sc.) Repeat from * around. (36)
Round 7: * (2 sc, sc 5.) Repeat from * around. (42)
Round 8: * (Sc 6, 2 sc.) Repeat from * around. (48)
Round 9: Sc in each st around. (48)
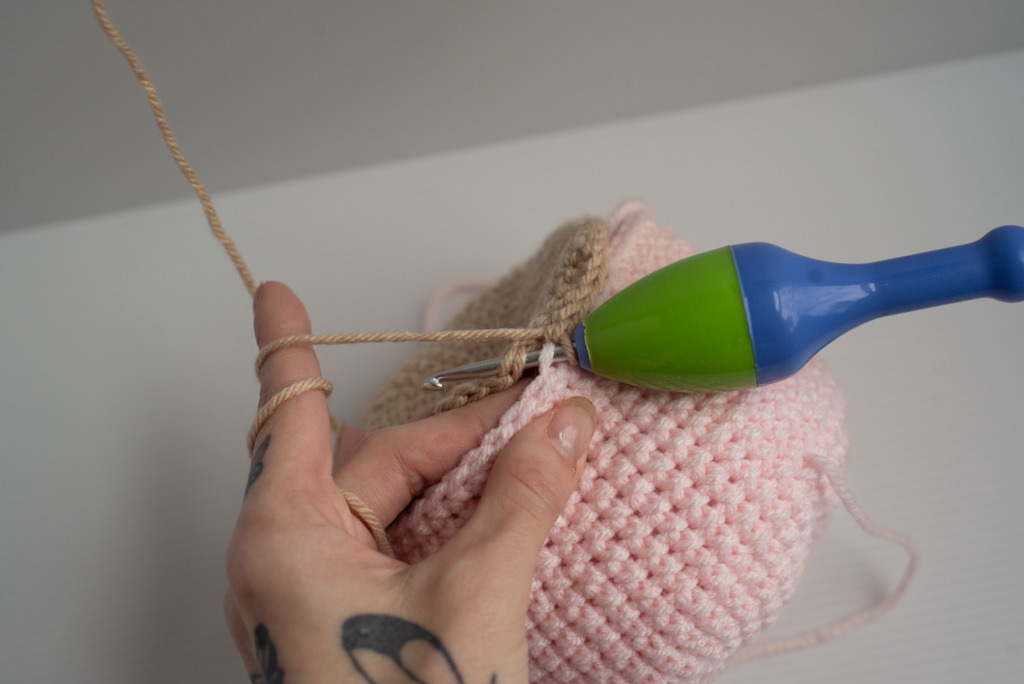
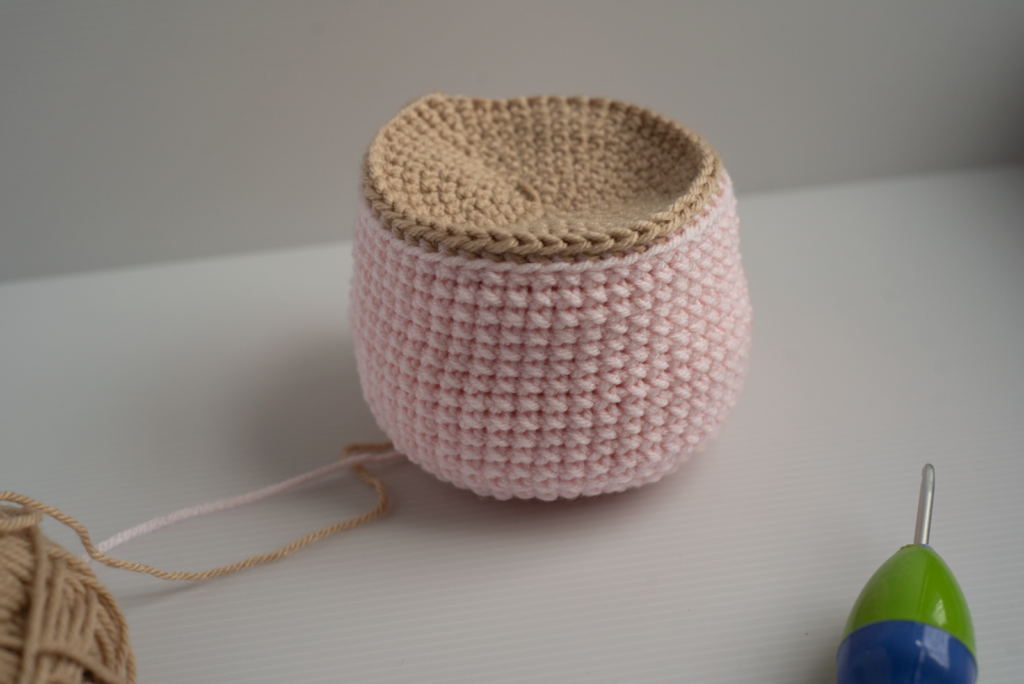
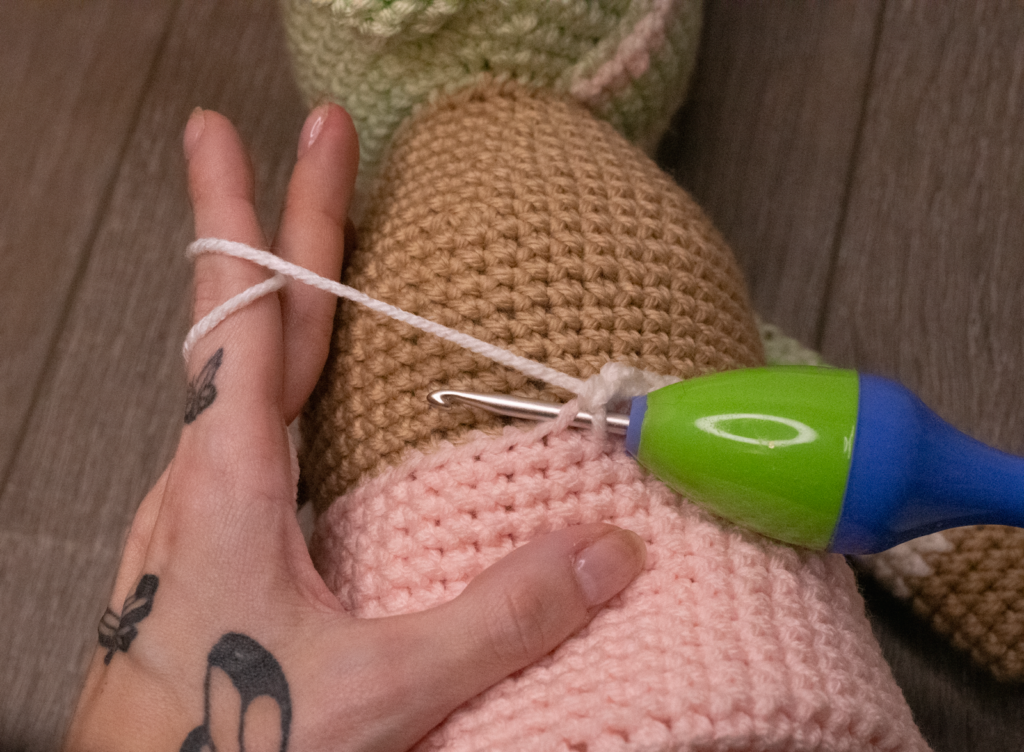
Round 10: Attach the base of the head inside the bottom end of the hat round 22. Sc both together in the bl st of the hat and through both sts of the head. Do this the whole way around. (48)
Round 11-20: Sc in each st around. (48) (10 Rounds)
Round 21: *( Sc 6, dec.) Repeat from * around. (42)
Round 23-23: Sc in each st around. (42) (2 Rounds)
Round 24: *( Sc 5, dec.) Repeat from * around. (36)
Round 25-26: Sc in each st around. (36) (2 Rounds)
Round 27: *(Sc 4, dec.) Repeat from * around. (30)
Round 28: Sc in each st around. Fo and leave a long tail for sewing. (30)
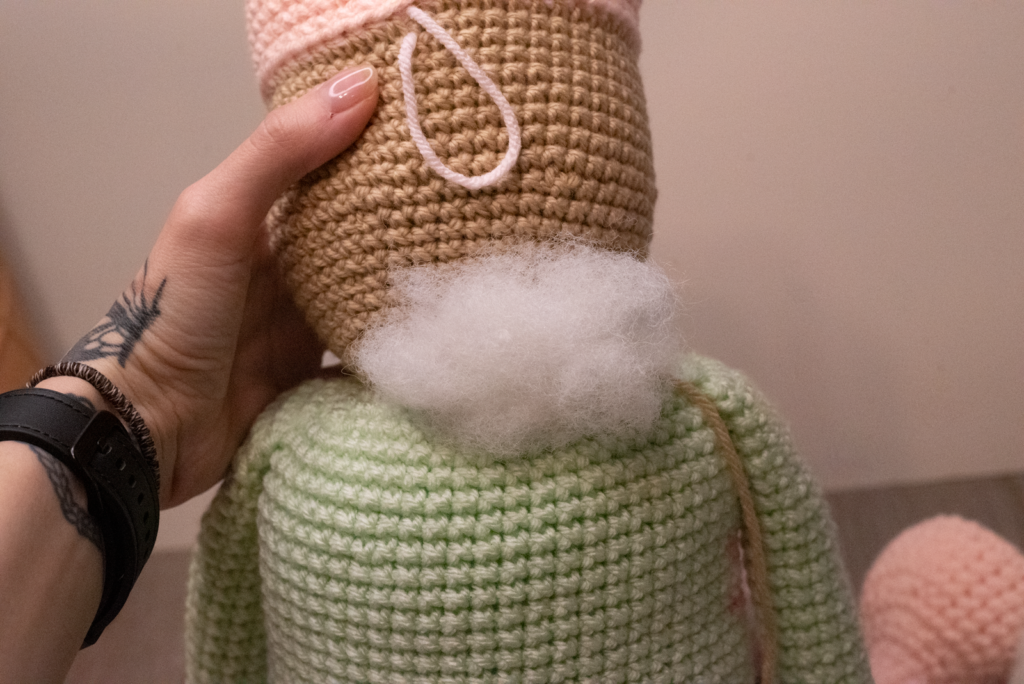
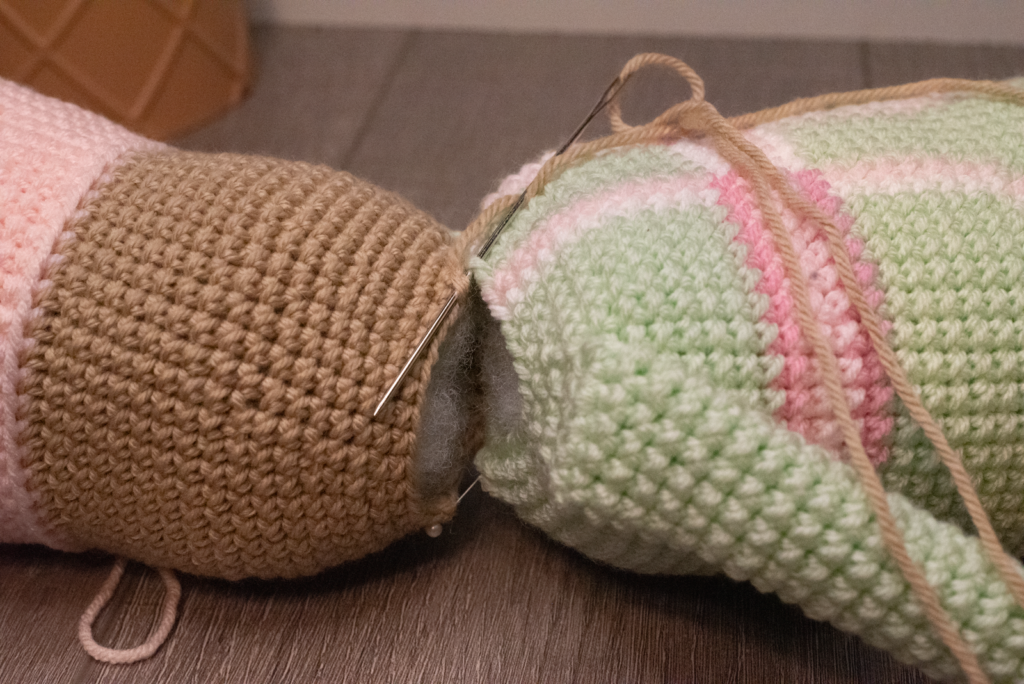
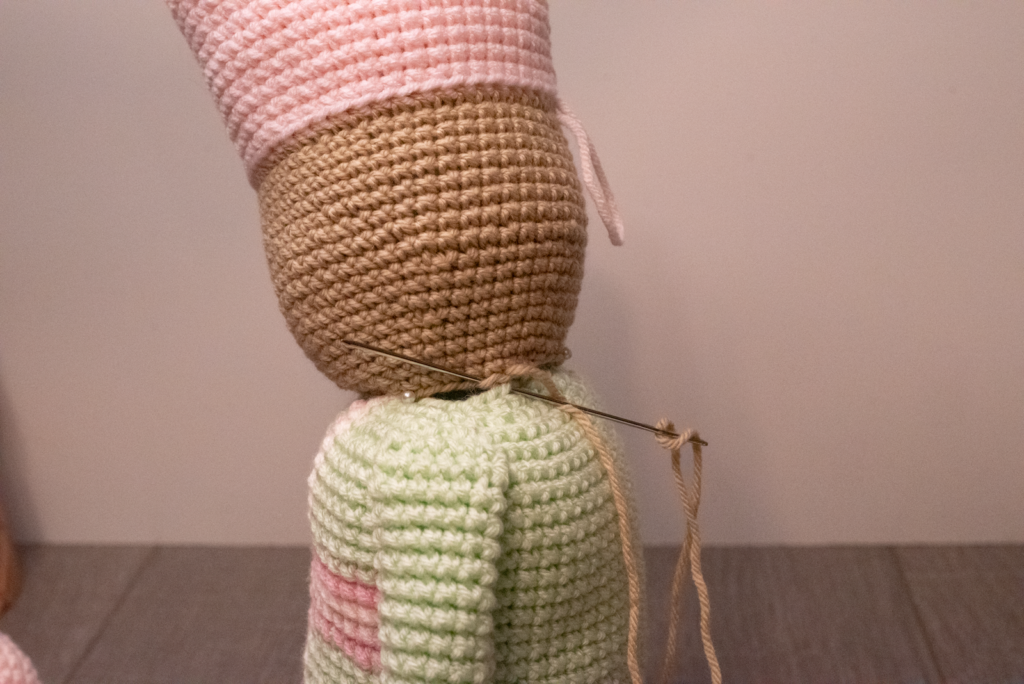
(Sew on to the body.)
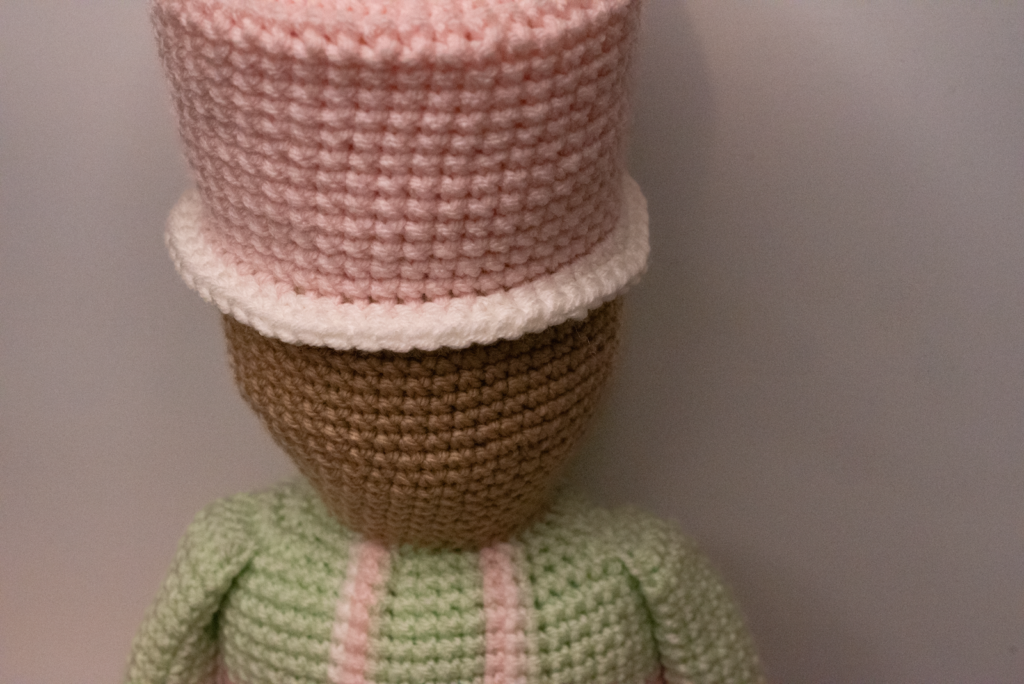
Hat Brim:
(Using color White.)
Round 1: Attaching White yarn to the fl of the bottom of the hat. *( sc 7, 2 sc.) Repeat from * around. (54)
Round 2: Sc in each st around. Fo and sew in the tail. (54)
Details:
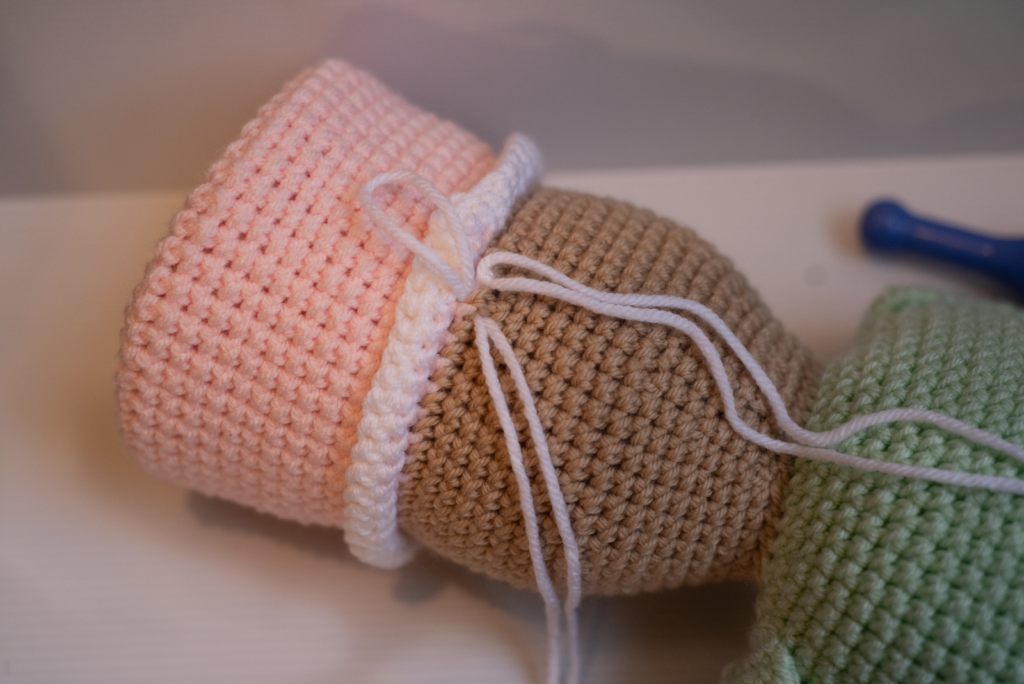
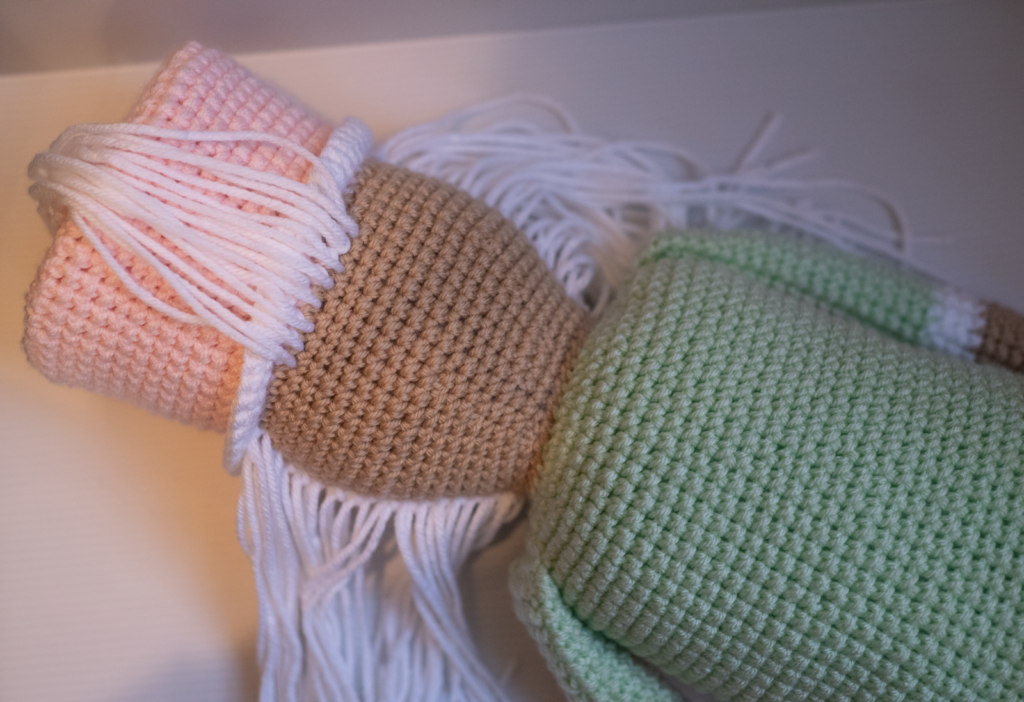
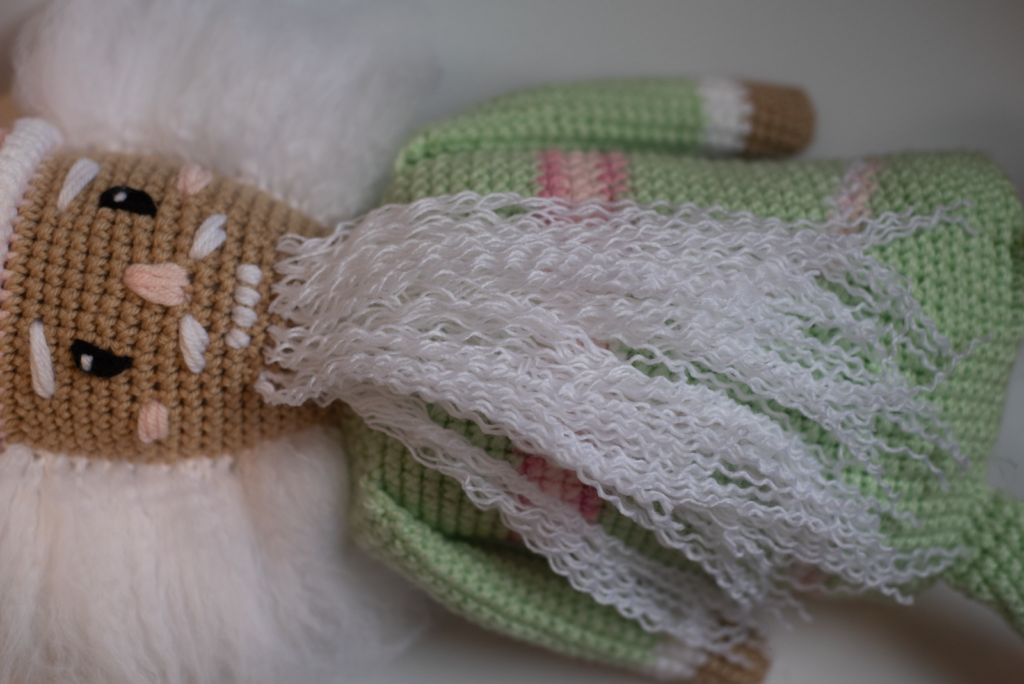
Hair and beard:
(Below are pictures on and instruction how to do the hair and beard.)
(Note to add when brushing out the hair you will lose a lot of fluff and that's normal. It's a trust the process.)
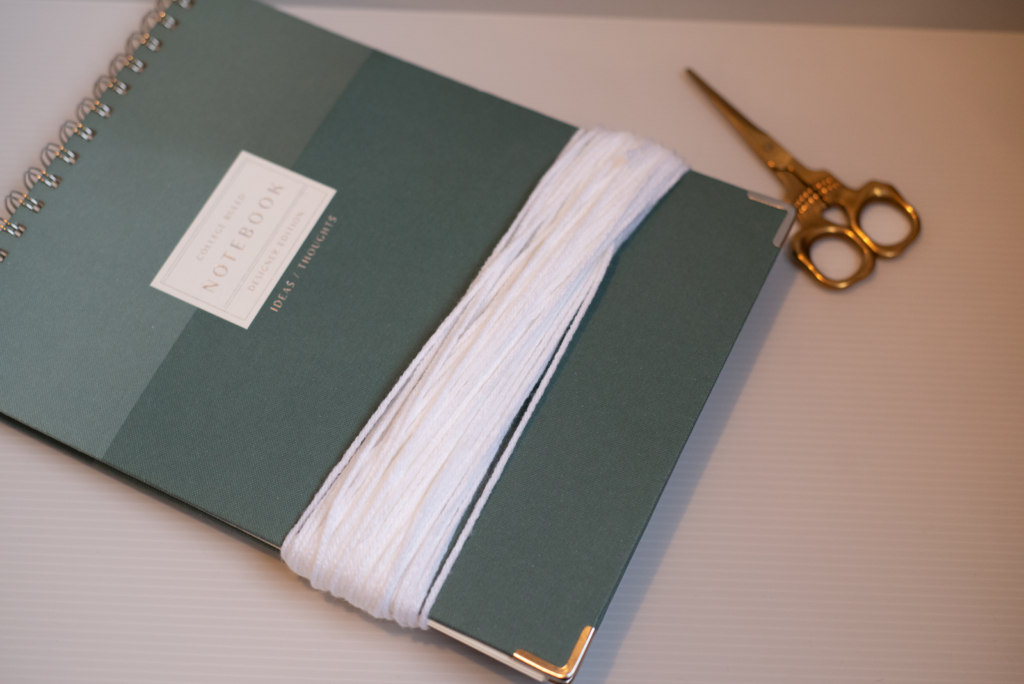
Grab a book that is at least 12 inches wide. This will serve as a perfect tool for your project. Start by taking your yarn. Wrap it around the book several times. This technique will help create multiple strands. Once you’ve wrapped the yarn to your desired fullness, carefully cut the yarn along one edge of the book. These will be used to create the hair of the nutcracker plushie.
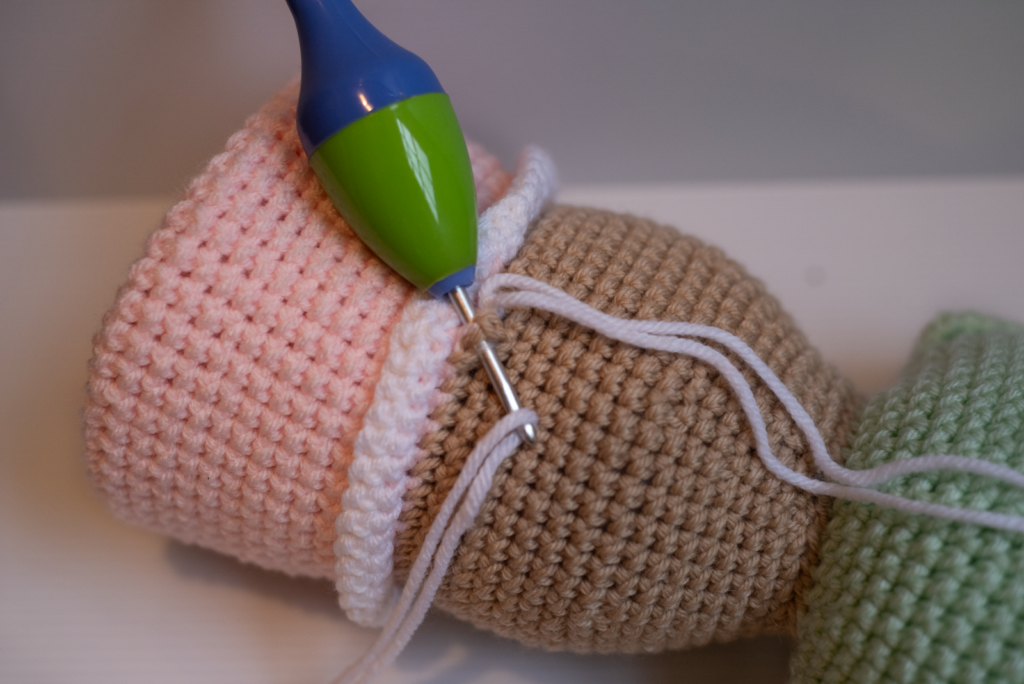
Once you have all your strands cut, start attaching them carefully to the back of the head and beard. Make sure each strand is placed securely. Make sure each strand is placed securely. The pictures shown below show the ideal pattern and style you should aim for. It’s essential to visualize the final outcome as you work. Add the hair all the way to the sides of the face. Center it with the arms for a balanced appearance. The beard is roughly about 7 stitches across below the position for the 4 teeth. This placement creates a natural flow from the facial details. I added the beard after creating the face. This method gave me a clearer perspective on how the two elements complemented each other. It made the overall design more cohesive. With patience and precision, these adjustments will greatly enhance the final look of your project.
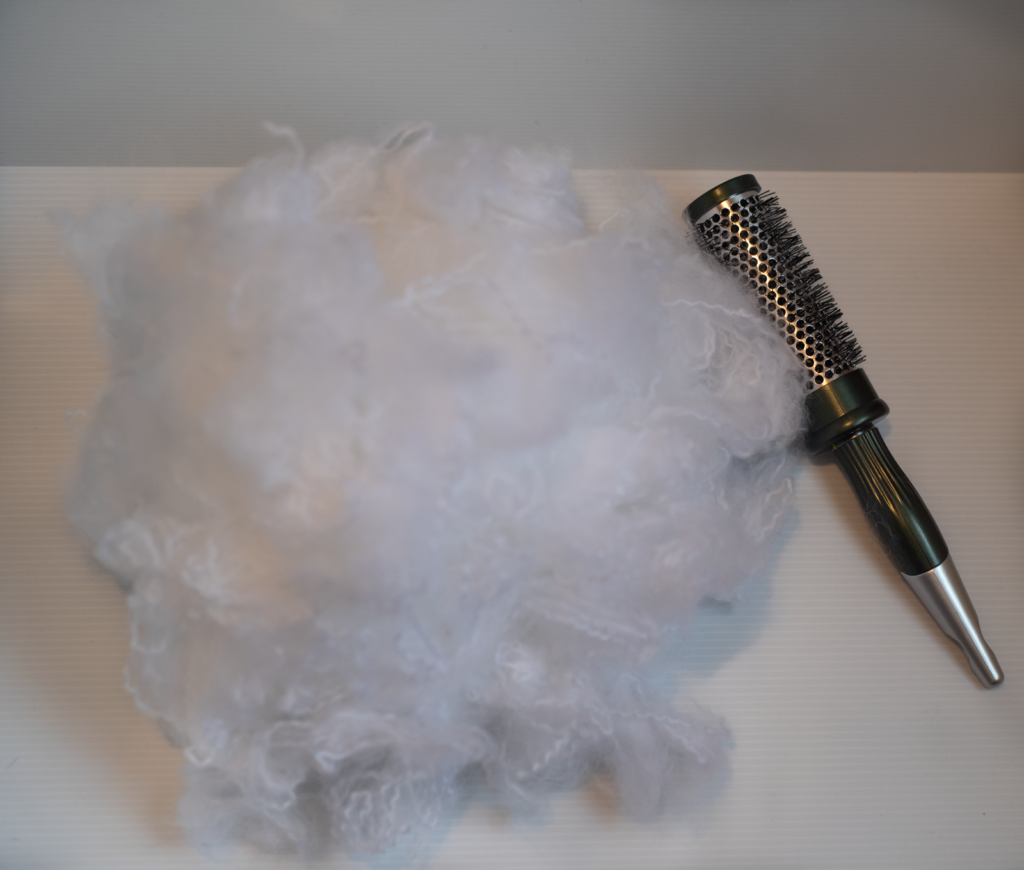
Now that everything is added, we are going to carefully untwist each strand into 4 small strands. Once everything is untwisted, use your wire dog brush or bristle brush. Start to gently comb through the strands. Start from the ends and work your way up. You will lose a lot of hair during this process. This is shown in the pictures. It is completely normal and expected. It’s important to remember that this shedding is part of the process and helps to achieve the overall look. Keep brushing until all the strands are fluffy and voluminous. Don’t hesitate to take breaks if needed to prevent strain on your wrists.


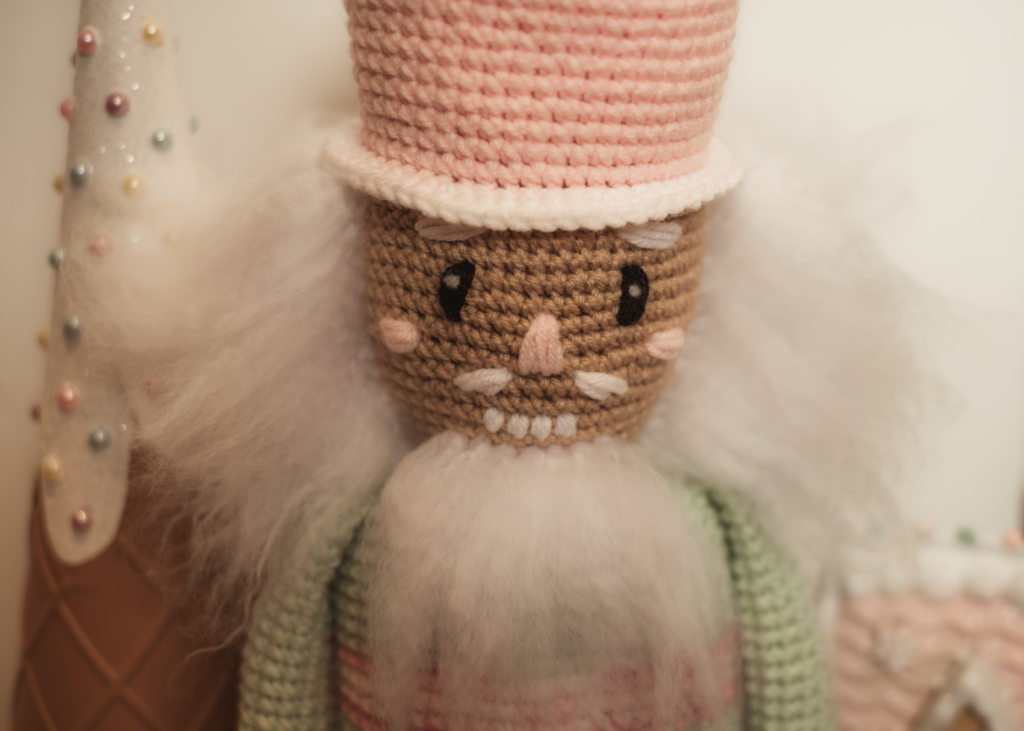
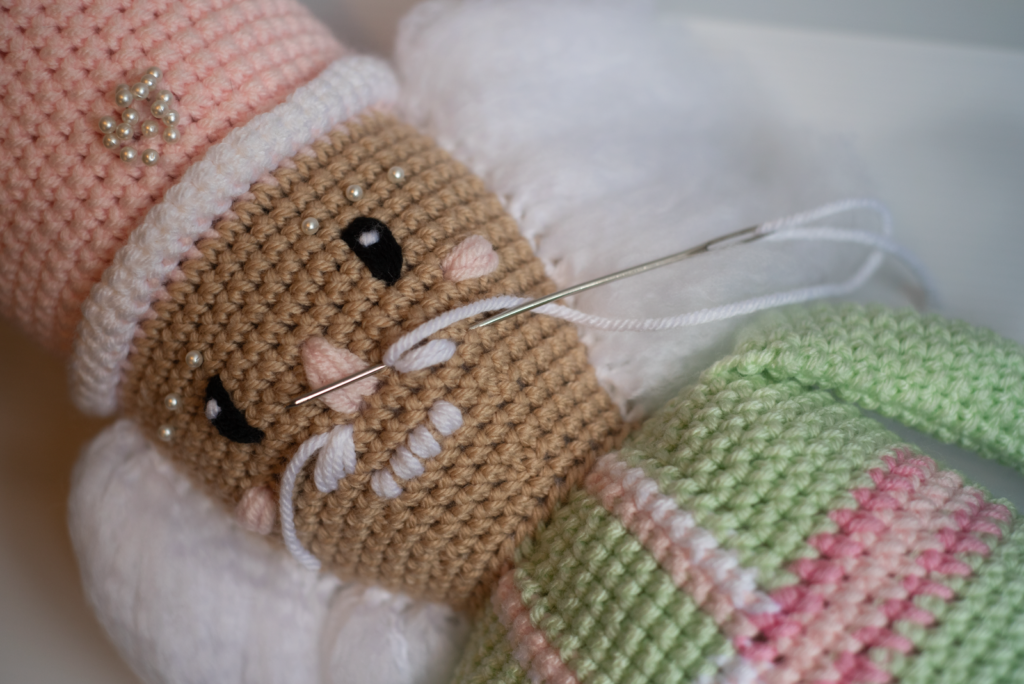
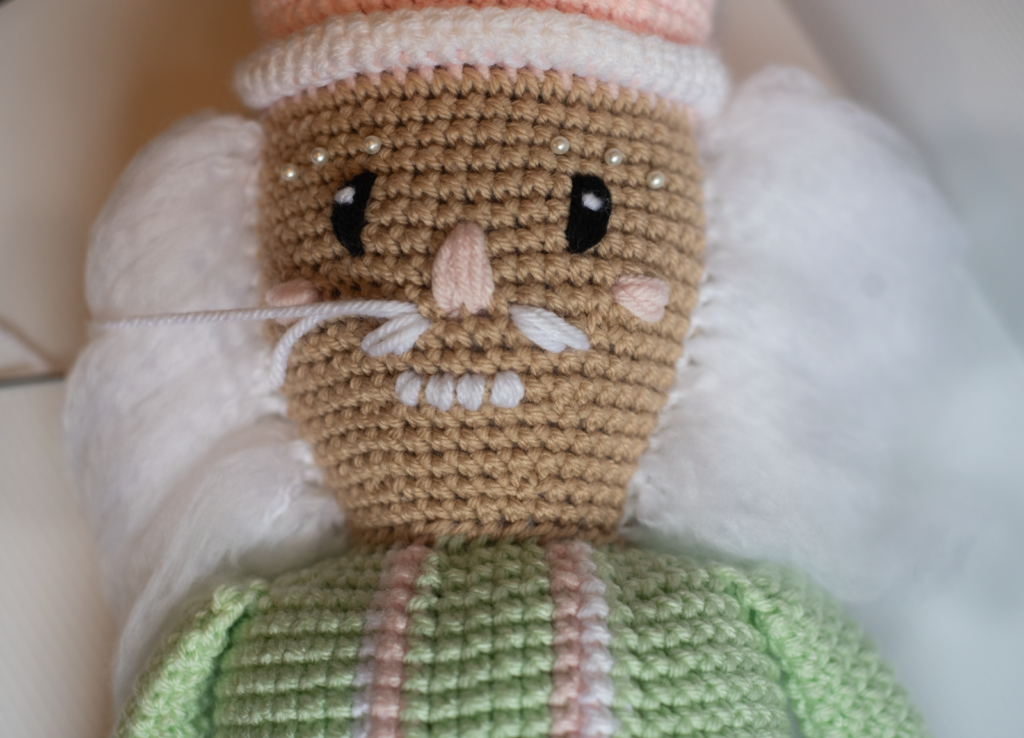
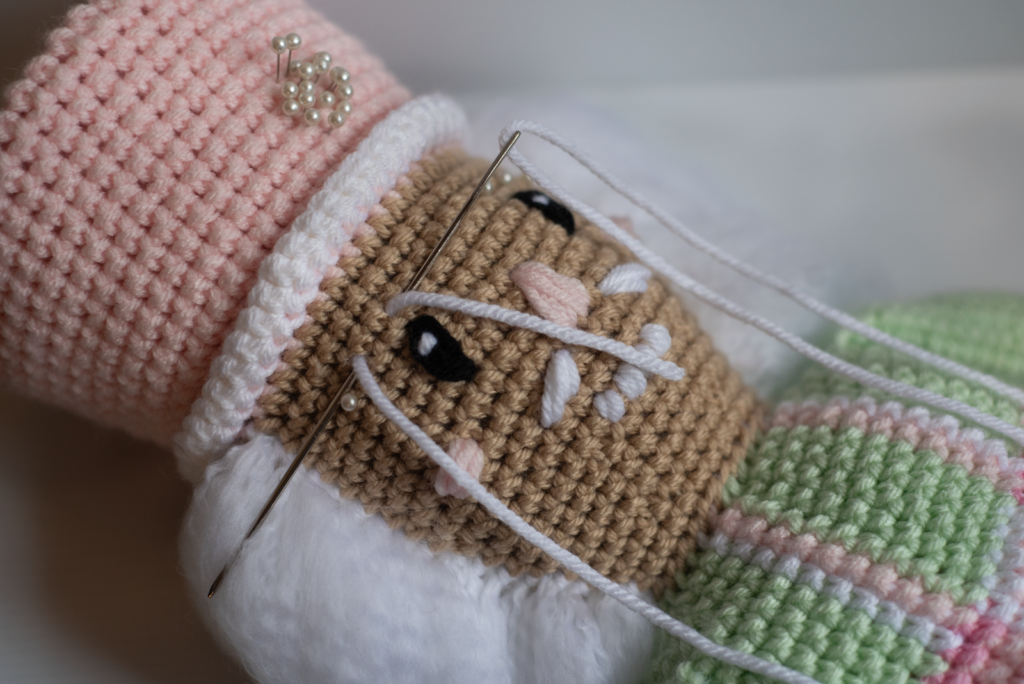
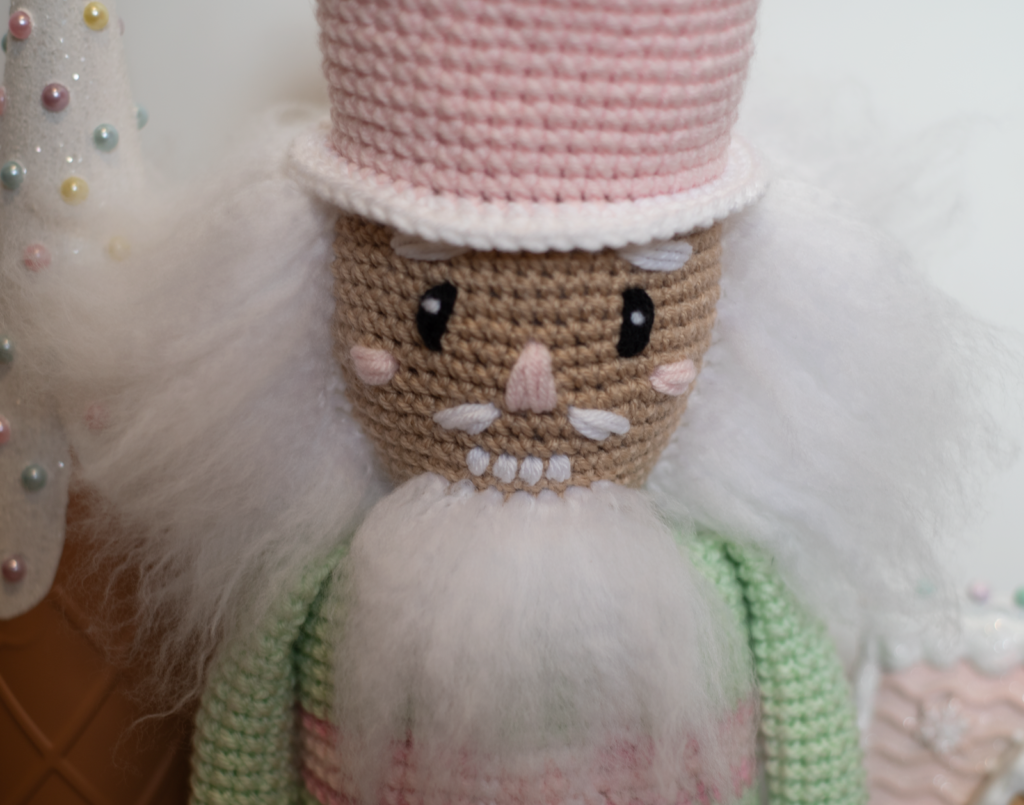
Face:
Follow the Instructions to create the face.
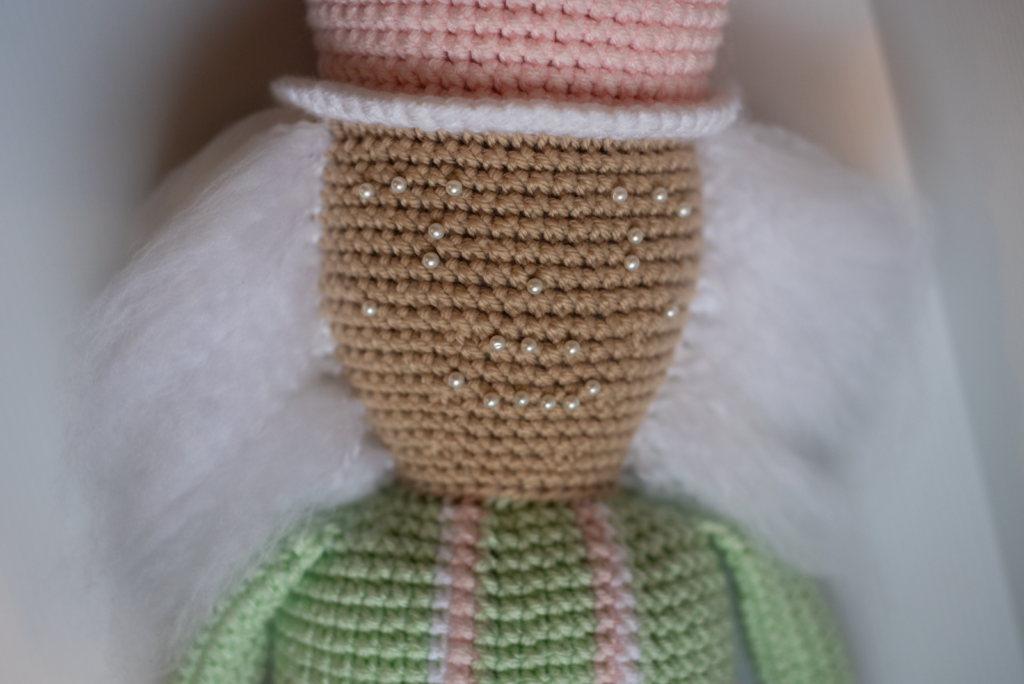
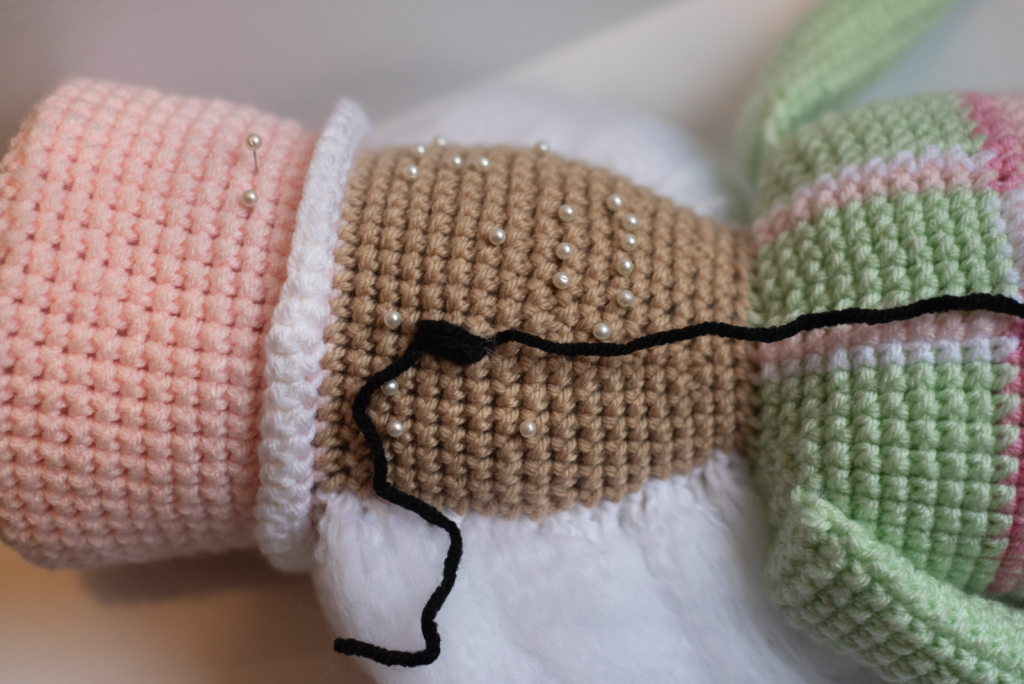
I added pins to map out placement where everything should go it was just a rough guide.
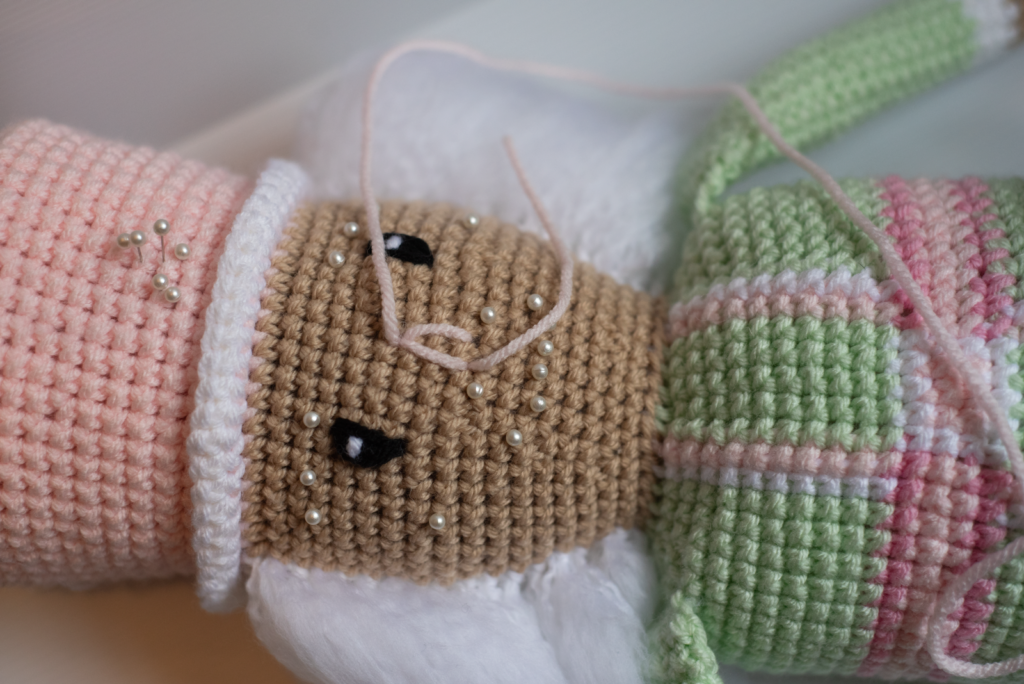
Add eyes approximately 9 stitches apart. Make them 3 stitches high. Insert the needle about 3 times. Then create a small white dot using 1 stitch.
Center the nose between the eyes in a V shape. Make it 2 stitches wide at the bottom and 1 stitch at the top. It should be 3 stitches high. Insert the needle about 2 times on each stitch.
Position check spots 1 to 2 stitches away from the eyes. Each spot should be 3 stitches long. Insert the needle about 4 times.
Add 4 teeth below the nose 3 rounds down. Inserting your needle twice for each of the 4 teeth.
Add a mustache between the nose and teeth by inserting a needle diagonally about four times.
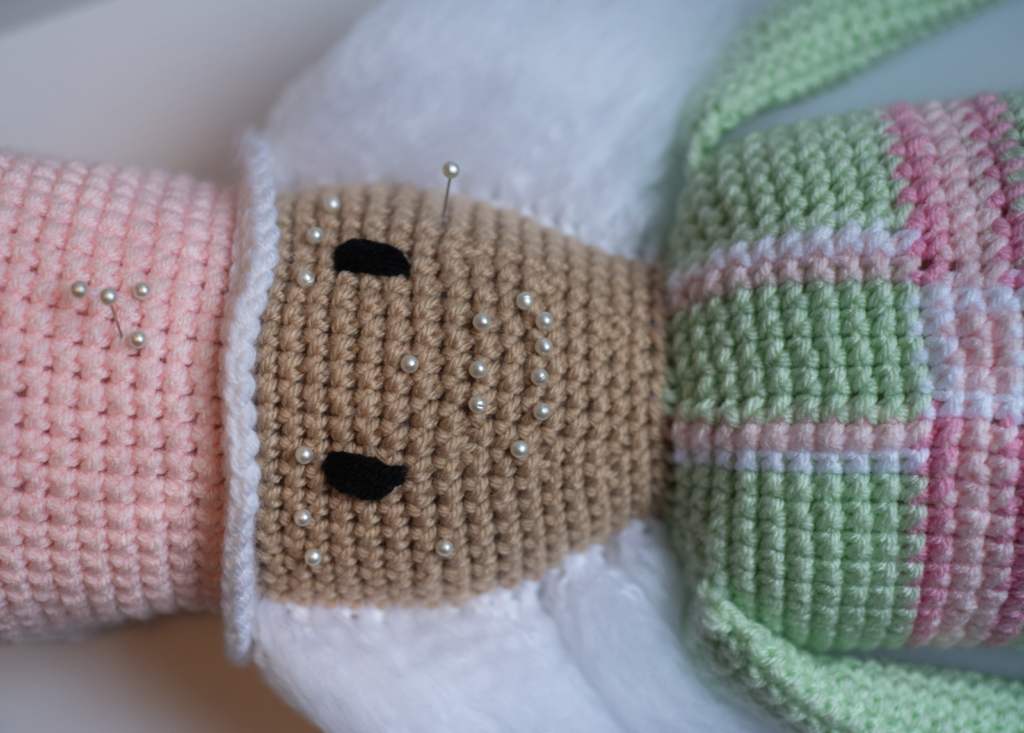
Now add your eyebrows above the eyes. Inserting your needle with a slight diagonal about 4 stitches long Insert your needle about 4 times.

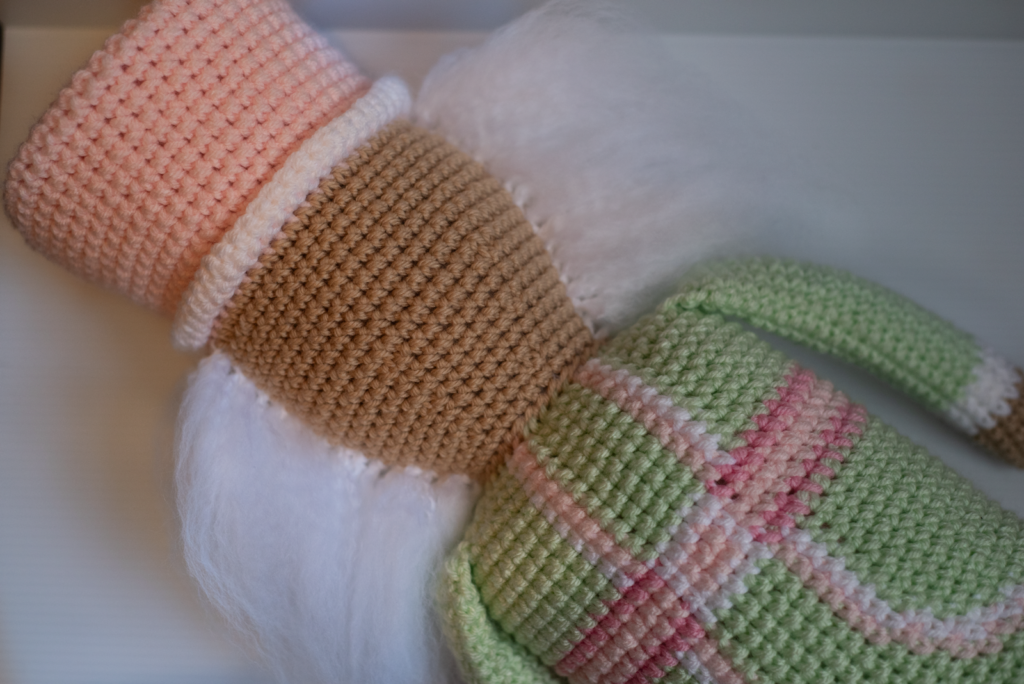
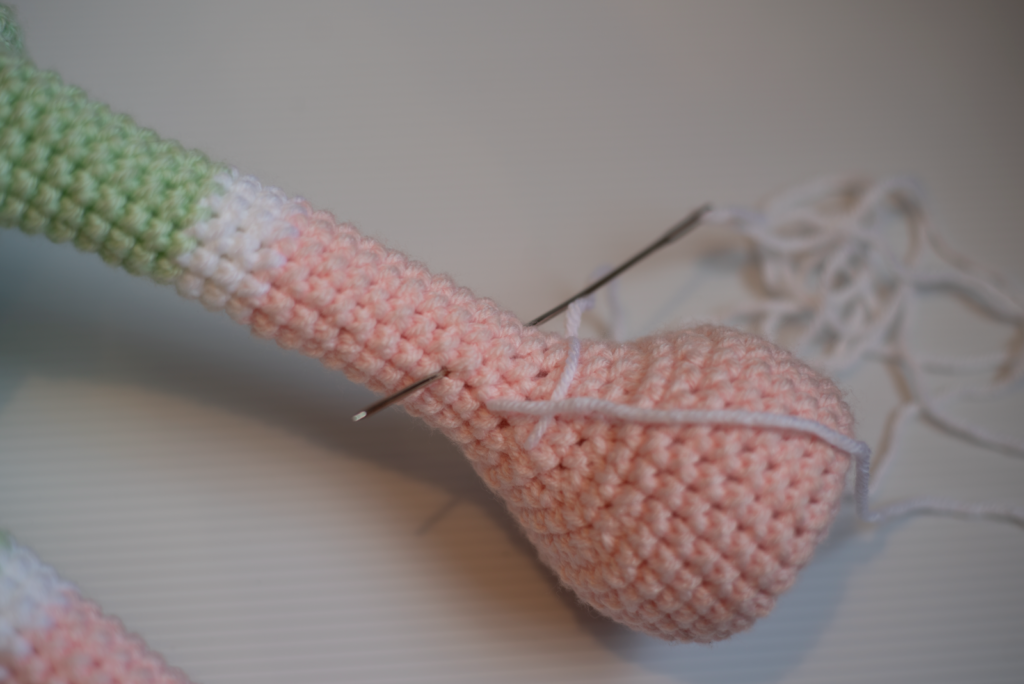
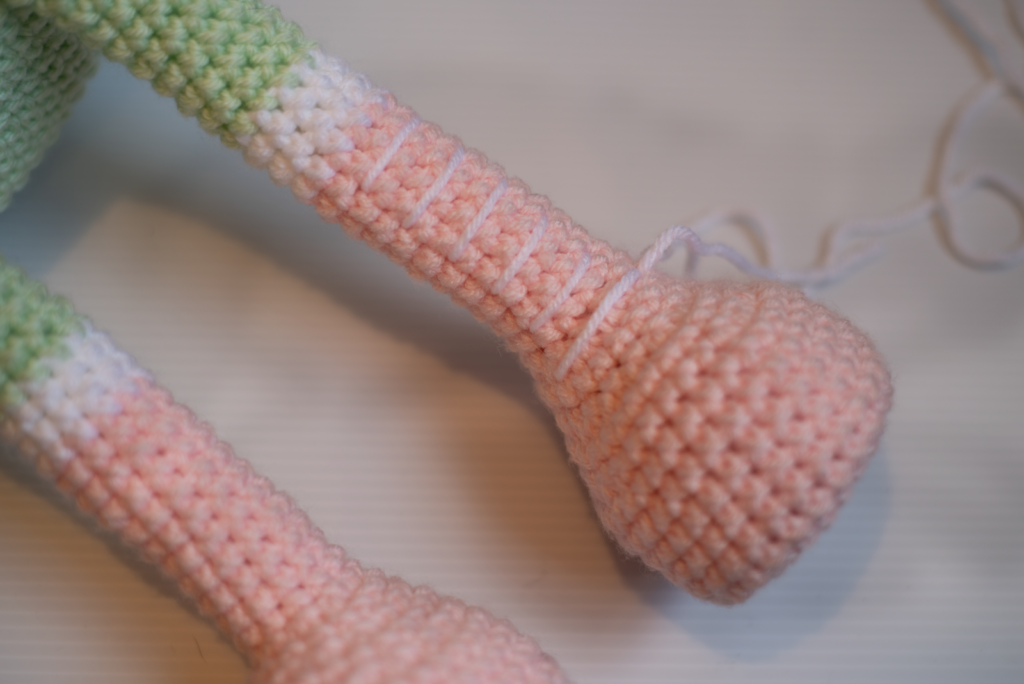
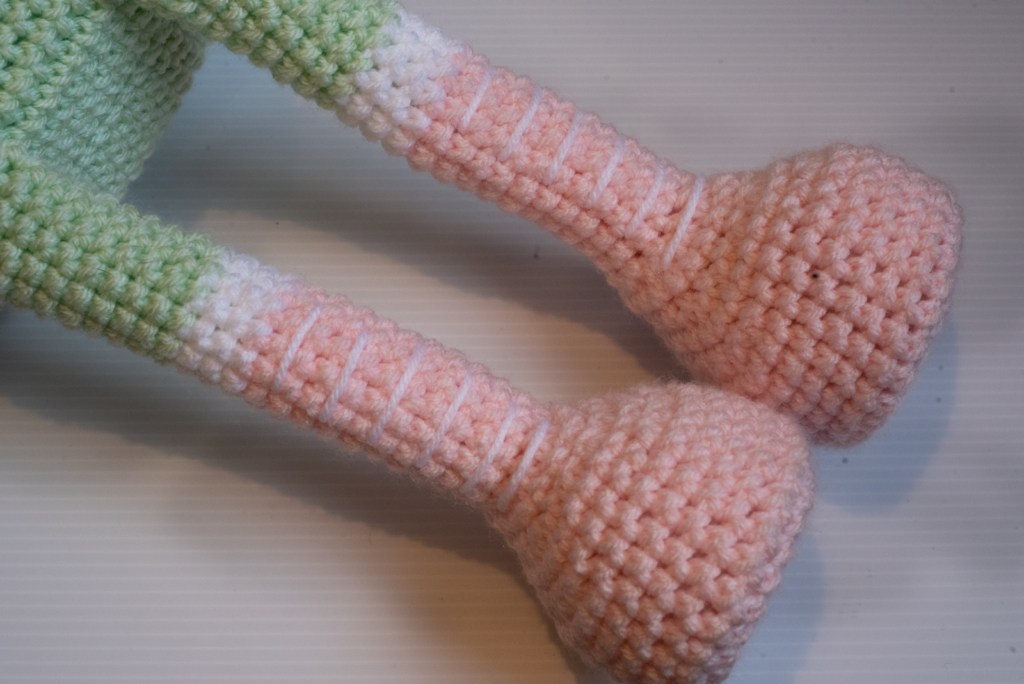
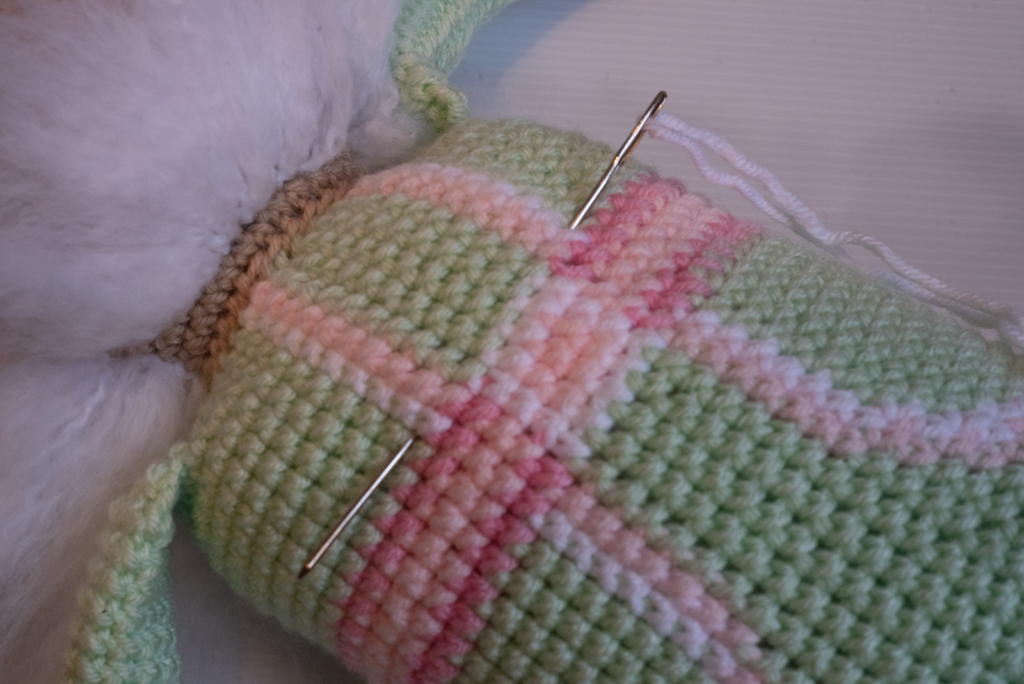
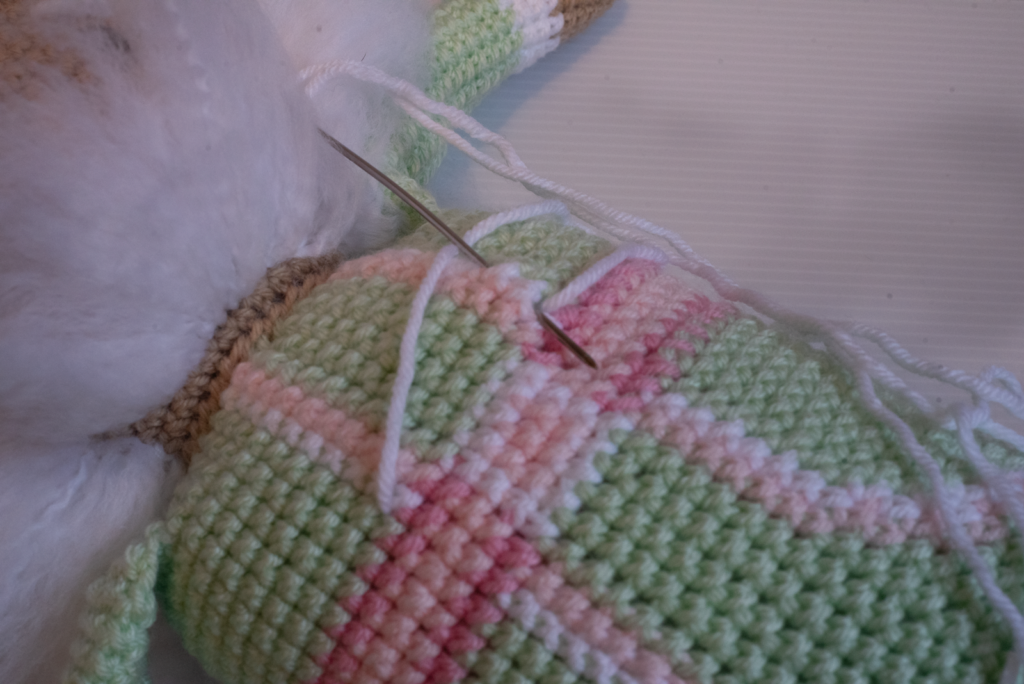
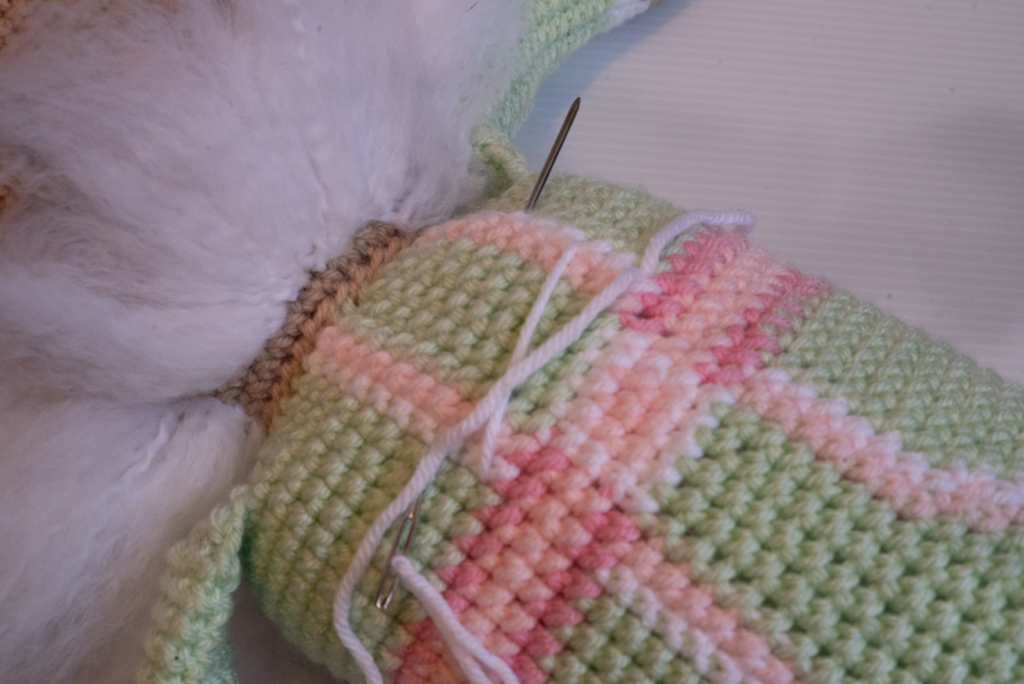
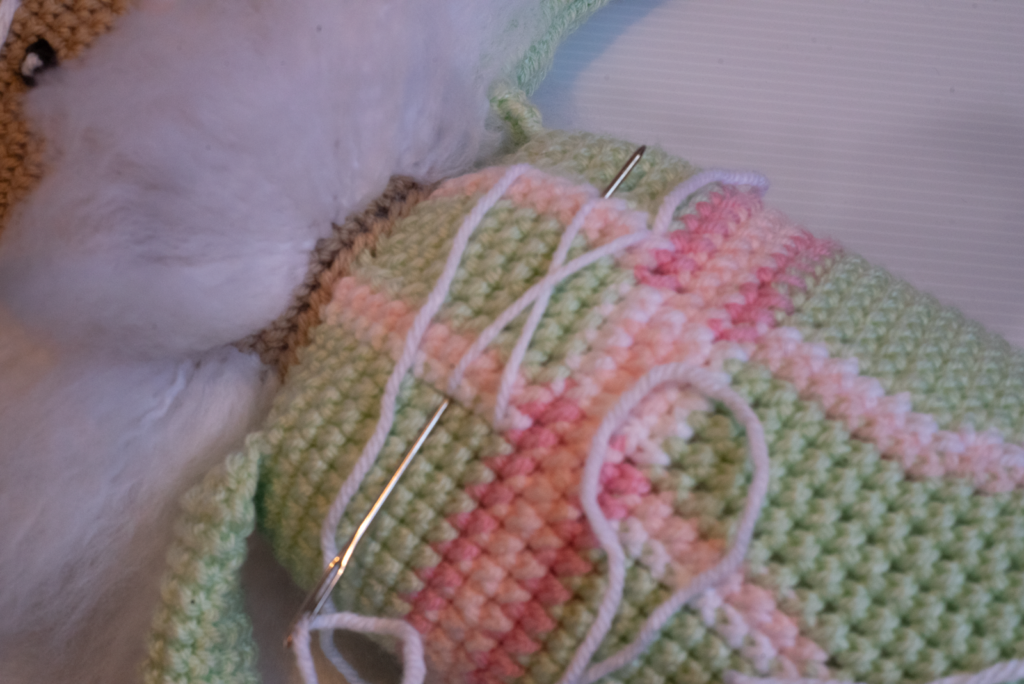
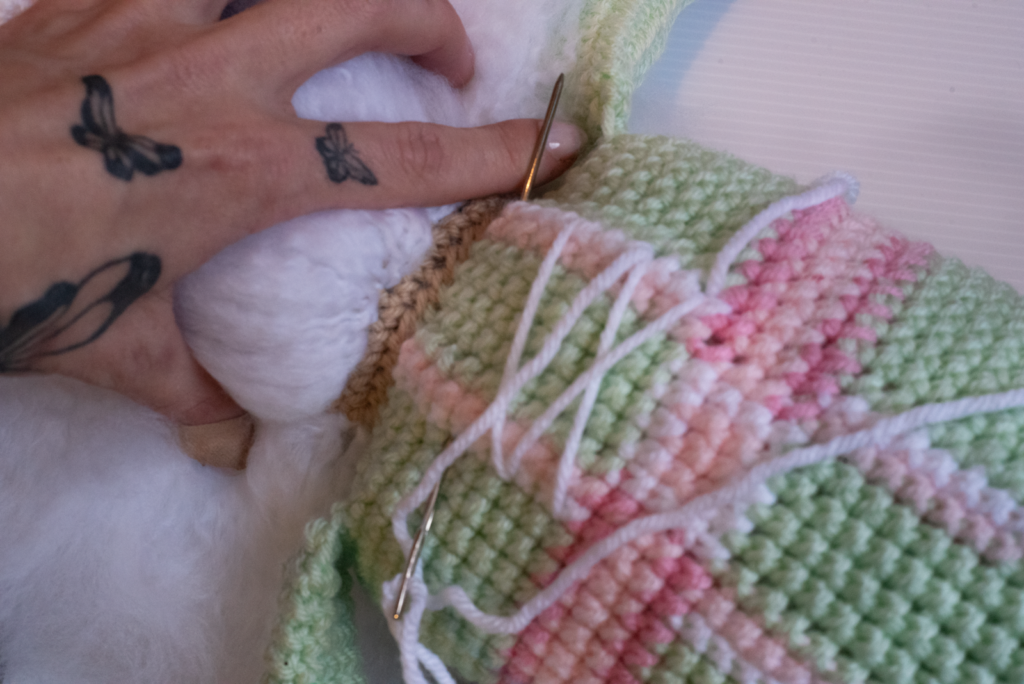
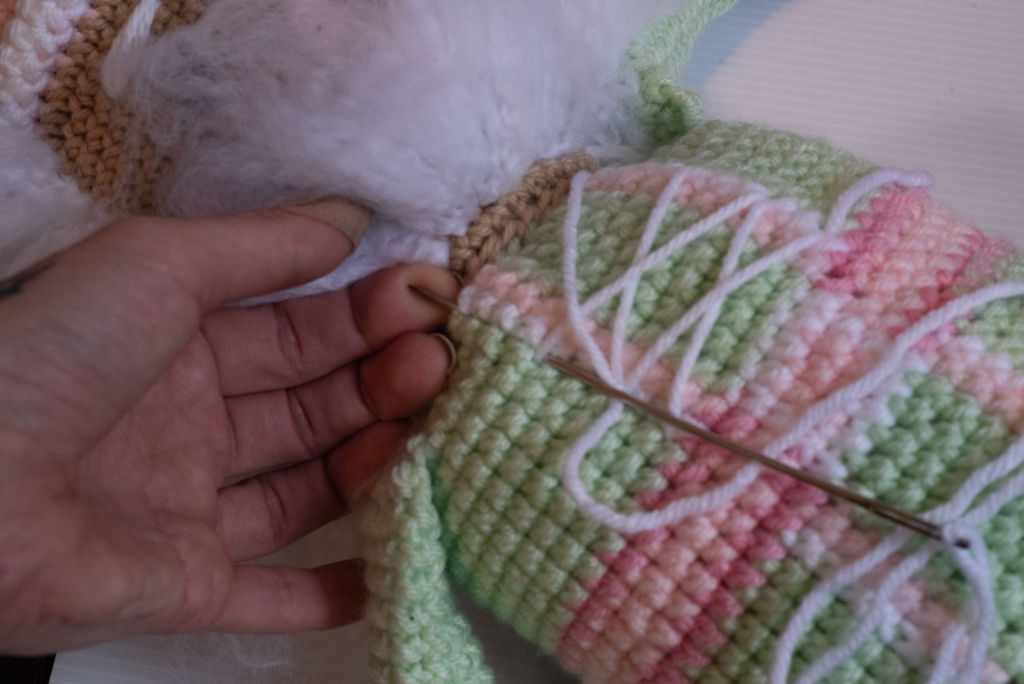
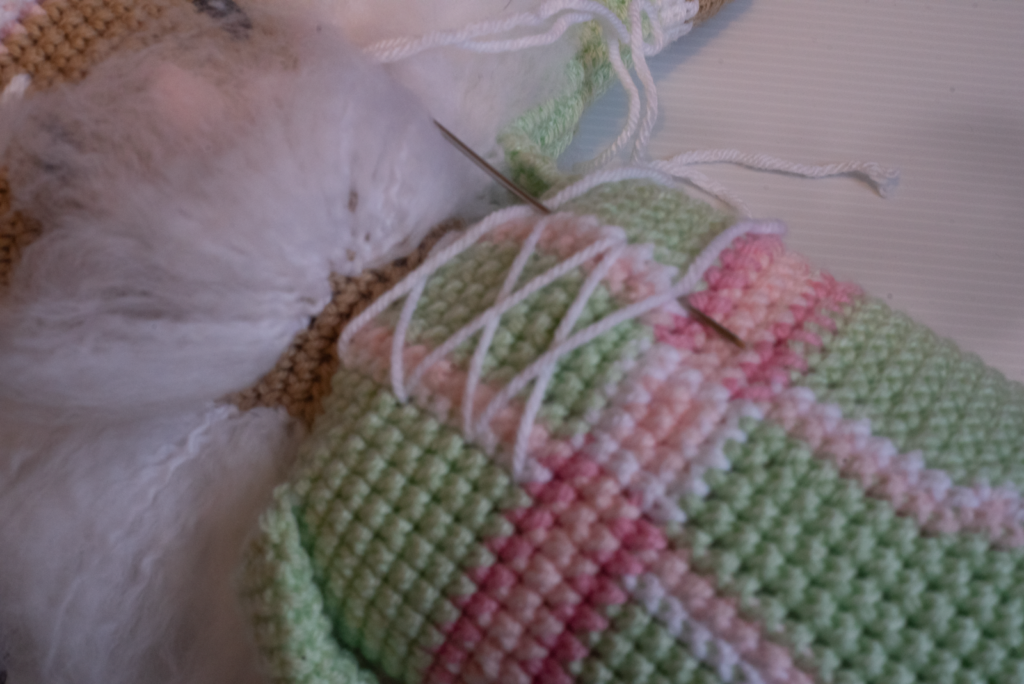
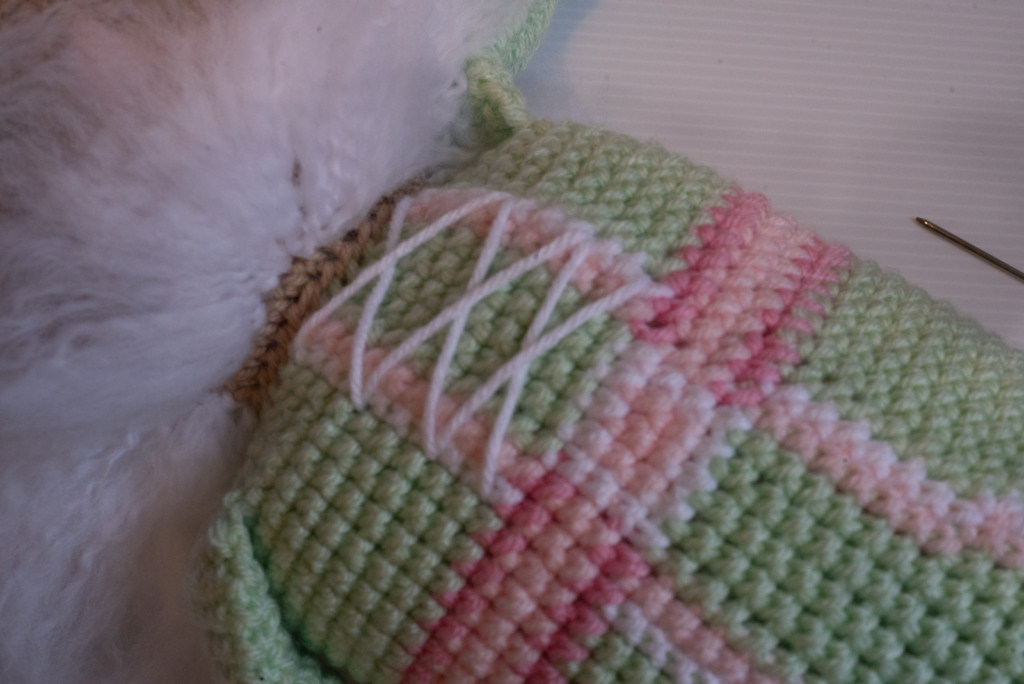
Boot and Chest:
Follow the instructions on how to add the details to the boots and the chest.
creating lines about 4 stitches apart and 1 or 2 stitches apart from each other. The bottom line is about 9 stitches. See pictures below.
The chest we are creating x the whole way up. See pictures.

You have Now Finished your Nutcracker plushie.
Pin It
Would love the support if you wouldn’t mind following me on my socials. Below are the many platforms I am on.
I truly hope you’ve loved this nutcracker plushie pattern! If you create your own crochet blue alien. I’d be thrilled if you shared it on my Facebook and Instagram. Don’t forget to like and follow to stay in the loop for exciting new patterns! And remember to use the hashtag #crochetbluealien when you share your lovely creations!
Copyright © 2020 Oh Another Craftyish Blog by Tawnya Myers, all rights reserved
Hey there! Just a heads up, I own all the copyrights to this pattern and the photos. Feel free to sell whatever you make with it! If you do sell it, I’d really appreciate it if you drop a link back to my post. Just remember, this is totally my work—I’ve put a ton of effort into creating these patterns. Happy Crocheting!