Unleash your creativity this holiday season to create your own easy beginner friendly Santa ornament! With a detailed step-by-step guide, you’ll dive into the joyful world of crochet and create something truly unique.
Christmas is coming so quickly, and I am not even ready one bit. I don’t really have any gifts started. We haven’t even set up our Christmas tree, which is something we usually have done by now. We go every year to chop our own tree down. The kids absolutely love this tradition. It’s become a cherished family tradition that we all look forward to. The excitement in their eyes as they spot the perfect tree is truly magical. I can’t wait to see their reactions when we finally decorate it together.
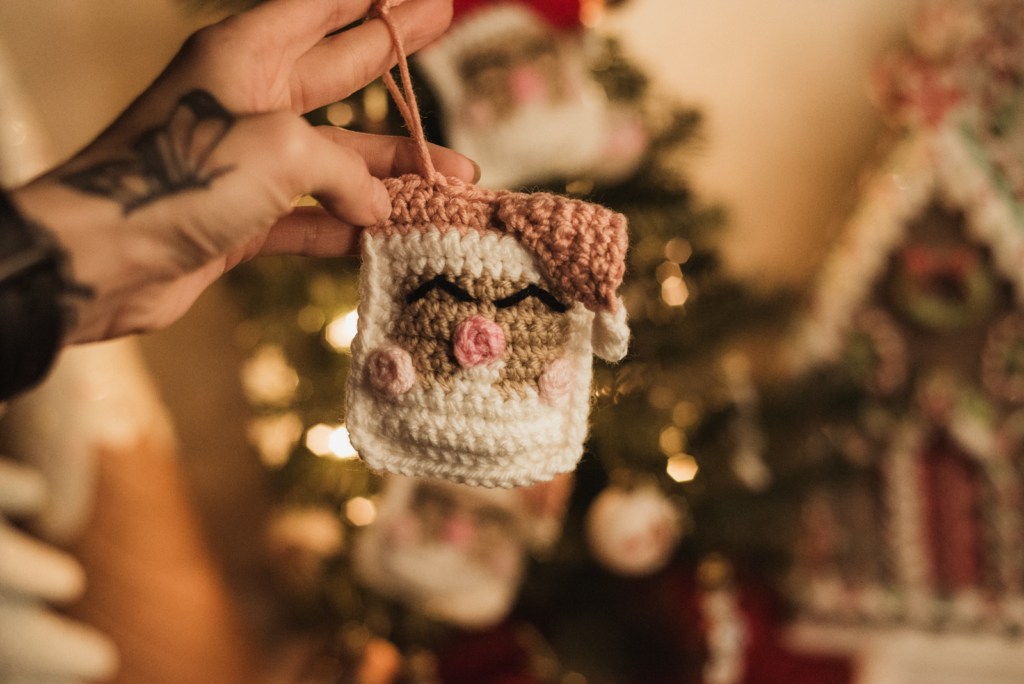
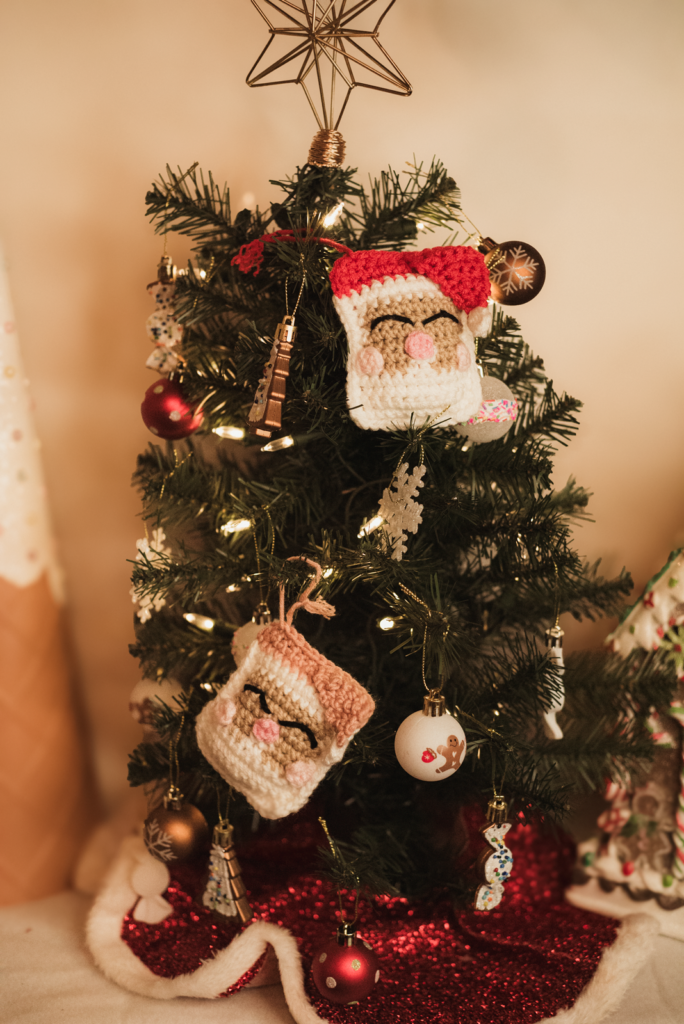
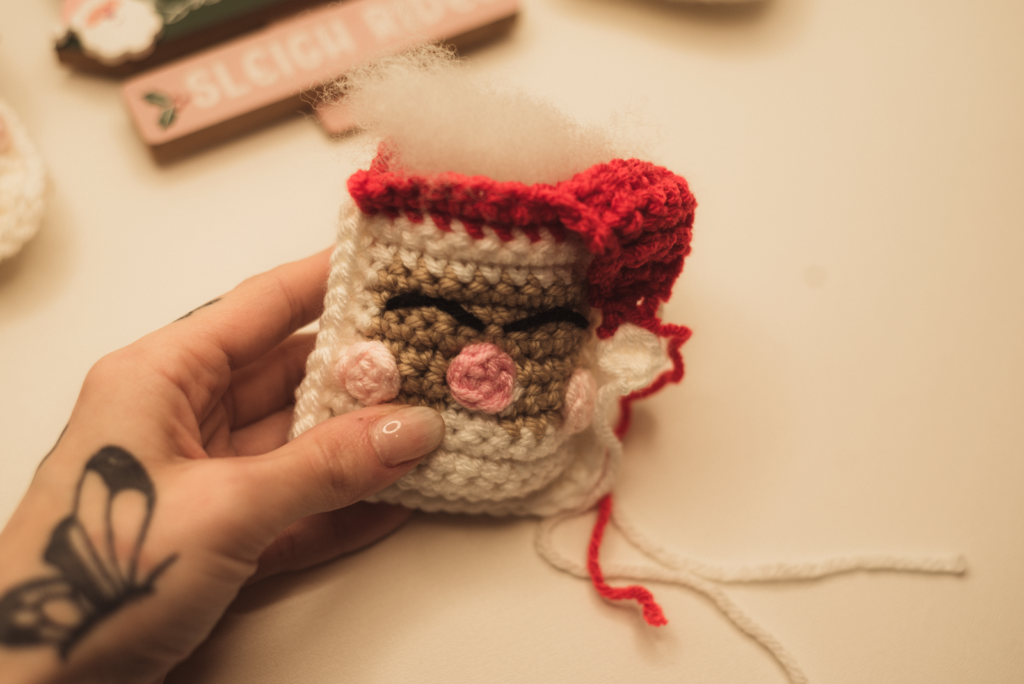
This Santa Ornament is super easy and beginner-friendly. It will look great on your tree. It brings a festive charm to your decorations. This delightful Santa ornament serves as a lovely addition to your holiday display. It can also double as a thoughtful gift card holder if you leave the top un-sewed. This makes it practical for the holiday season. Alternatively, it adds a little touch of whimsy to a gift tag, ensuring your presents stand out under the tree.
I would really appreciate your support if you enjoy all my free crochet patterns. Your help allows me to continue providing them. By following my platforms, you’ll stay updated on the latest patterns. You will also join a community of fellow crochet enthusiasts who share your passion. Your engagement means the world to me. It motivates me to keep creating and sharing new designs for everyone to enjoy. Thank you for your encouragement and support!
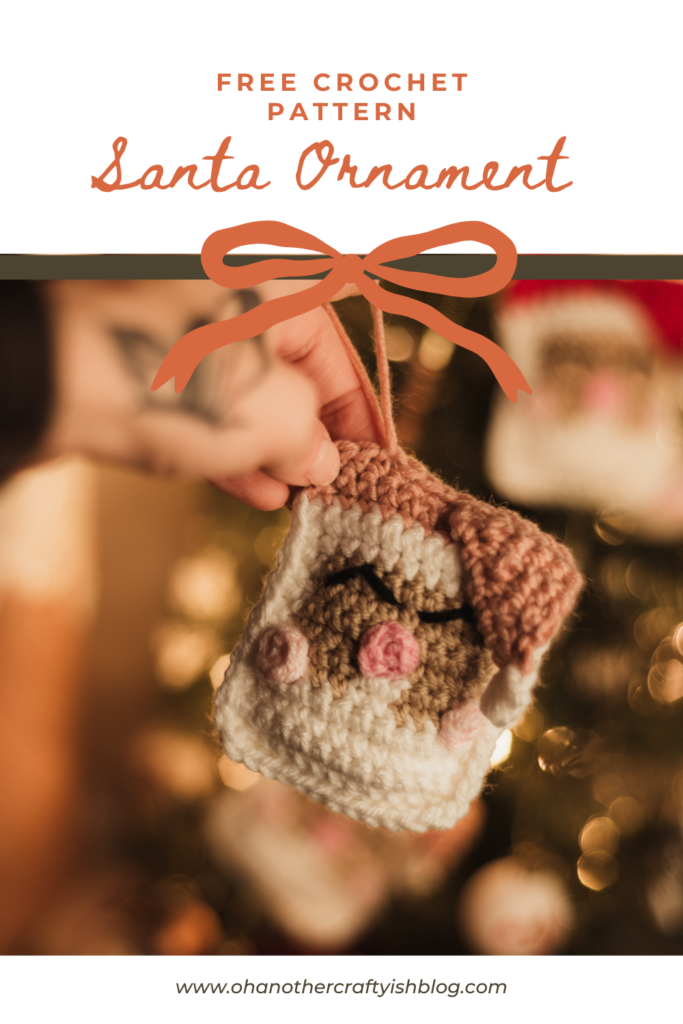
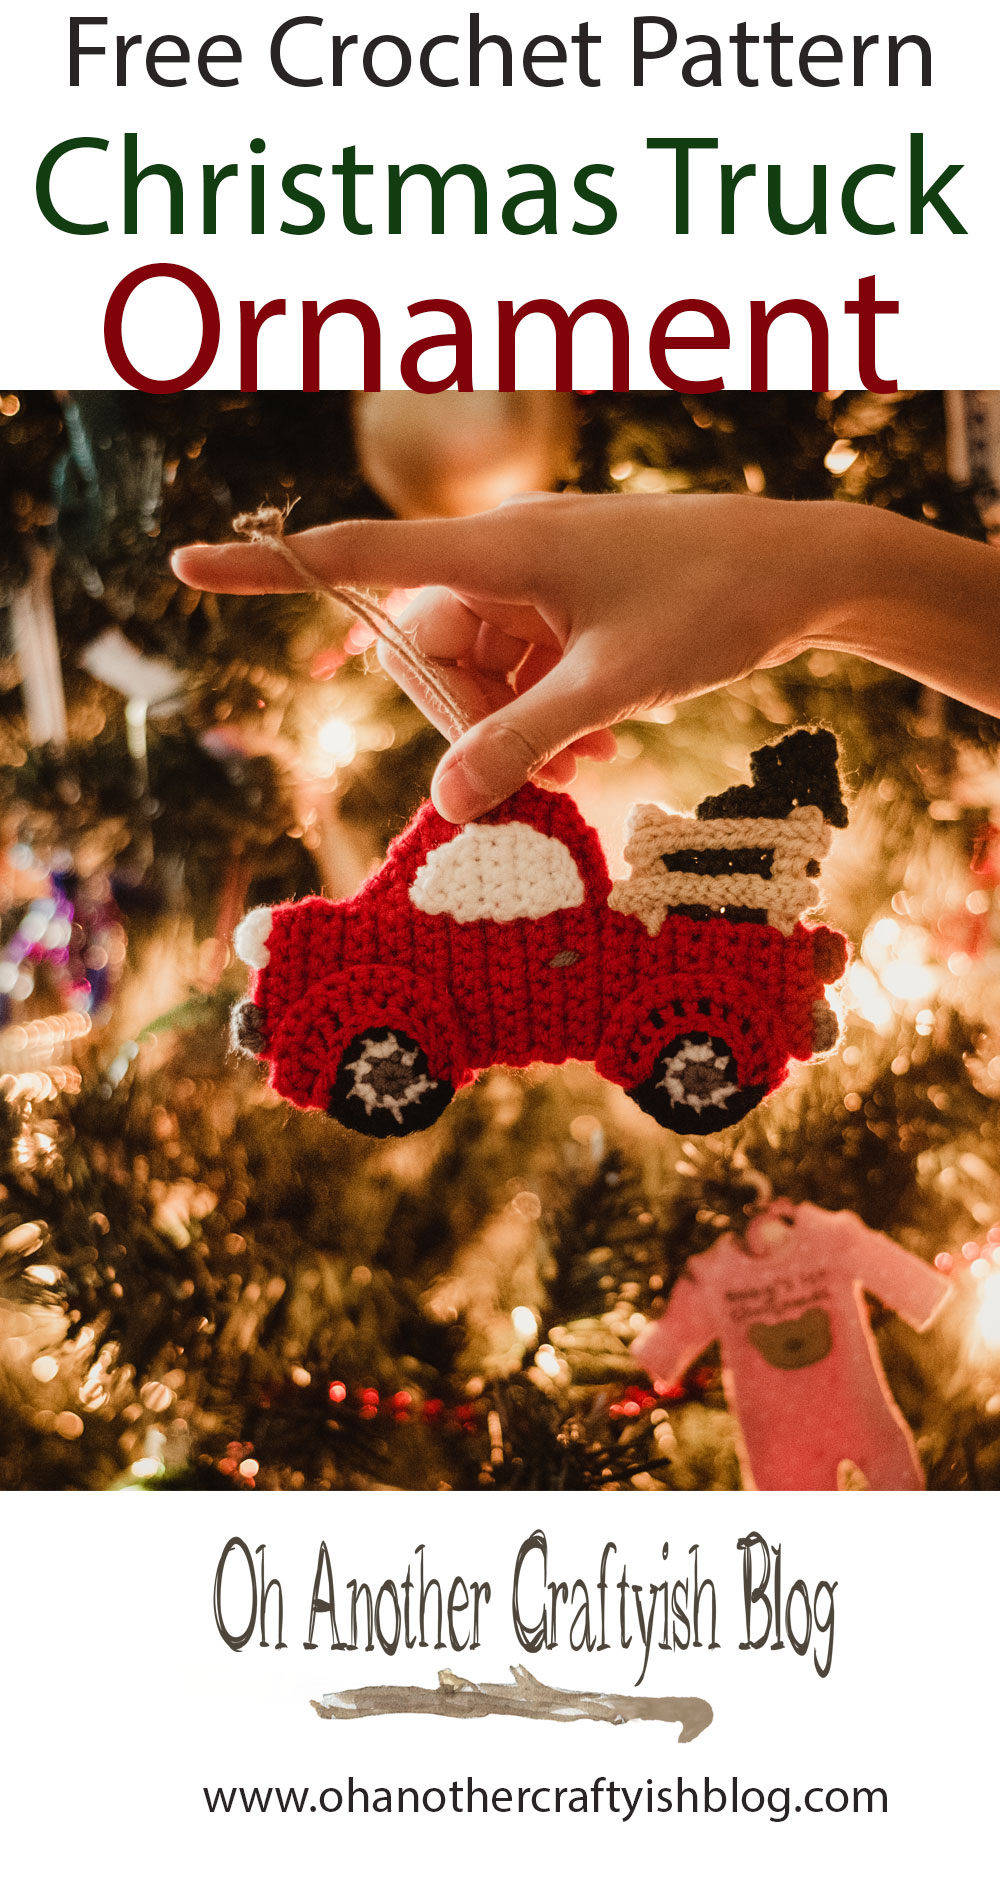
Pin it and save it for latter
Create your own Easy Santa Ornament below with step-by-step instructions.
Supplies:
- Hobby Lobby (I love this Yarn) weight 4/ Medium.
- Soft Pink
- white
- pink
- black
- or red
- yarn bee in color Egyptian sandstone and Blush pink
- 4 mm (G) Hook (or hook to obtain the gauge.)
- Tapestry Needle
- Polyfil
Abbreviations:
Mc= Magic Circle
Ch(s)= Chain(s)
St(s)= Stitch(es)
Slst= Slip Stitch
Sc= Single Crochet
Dec= Decrease (Two stitches together)
Dec x2= Decrease (A regular Decrease 2 times)
2 sc= Single Crochet 2 Single Crochet in the same stitch. (Increase)
Blo= Back Loop Only
Hdc= Half Double Crochet
Dc= Double Crochet
Tr= Treble Crochet
Fo= Finished Off
FL= Front Loop
BL= Back Loop
Notes:
Instructions is in each step.
Pattern:
Front:
(Colors White, Egyptian Sandstone, Blush Pink)
(When color changing I just traveled the yarn in the back. It will be hidden when Crocheting the Front and back together.)
(Starting in color white.)
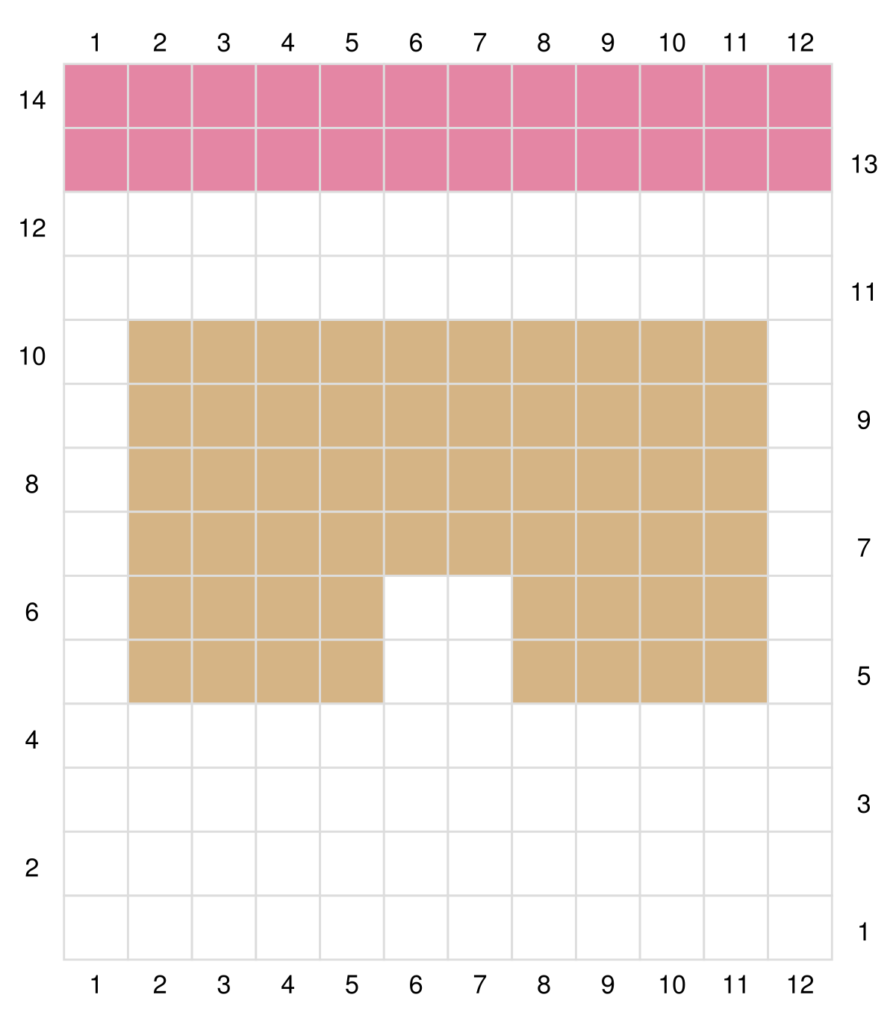
Row 1: (White) Ch 13. In the 2nd ch from the hook sc, sc the remaining 11 chs. Ch 1 turn. (12)
Row 2-4: Sc in each st across. Ch 1 turn. (12) (3 rounds)
Round 5-6: (White) Sc, (Egyptian sandstone) sc 4, (White) sc 2, (Egyptian sandstone) sc 4, (White) sc. Ch 1 turn. (12) (2 rounds)
Round 7-10: (White) Sc, (Egyptian sandstone), sc 10, (White) sc. Ch 1 turn. (12) (4 rounds)
Round 11-12: (White) Sc in each st across. Ch 1 turn. (12) (2 rounds)
Round 13-14: (Blush Pink) Sc in each st across. Ch 1 turn. (12) (2 rounds)
Round 15: (Blush Pink) In the Fl sc 6. Ch 1 turn. (6)
Round 16: (Blush Pink) Sc in each st across. Ch 1 turn (6)
Round 17: (Blush Pink) Sc 3, dec, sc. Ch 1 turn. (5)
Round 18: (Blush Pink) Sc in each st across. Ch 1 turn.(5)
Round 19: (Blush Pink) Sc 2, dec, sc. Ch 1 turn. (4)
Round 20: (Blush Pink) Sc in each st across. Ch 1 turn. (4)
Round 21: (Blush Pink) Sc, dec, sc. Ch 1 turn. (3)
Round 22: (Blush Pink) Dec, sc. Ch 1 turn. (2)
Round 23: (Blush Pink) Dec. Ch 1 and Fo.
Round 24: (White) Attach the white yarn and create 1 cluster.
Sew in any ends that need sewn in.
Back:
(Colors White and Blush Pink)
Row 1: (White) Ch 13. In the 2nd ch from the hook sc, sc the remaining 11 sts. Ch 1 turn. (12)
Row 2-12: (White) Sc in each st across. Ch 1 turn. (12) (11 rounds)
Row 13-14: (Blush Pink) Sc in each st across. Ch 1 turn. (12) (2 Rounds)
Checks:
(Make 2) (Color Soft Pink)
Round 1: Mc 4 sc slst to the 1st sc. (4)
Nose:
(Color Pink)
Round 1: Mc 4 sc slst to the 1st sc. (4)
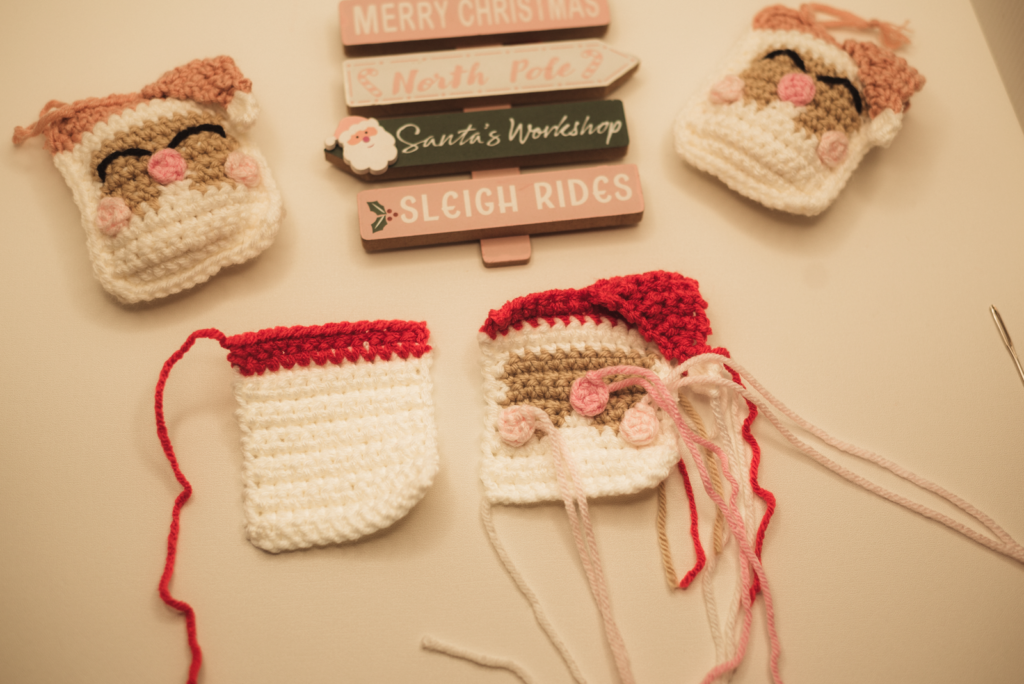
Assemble:
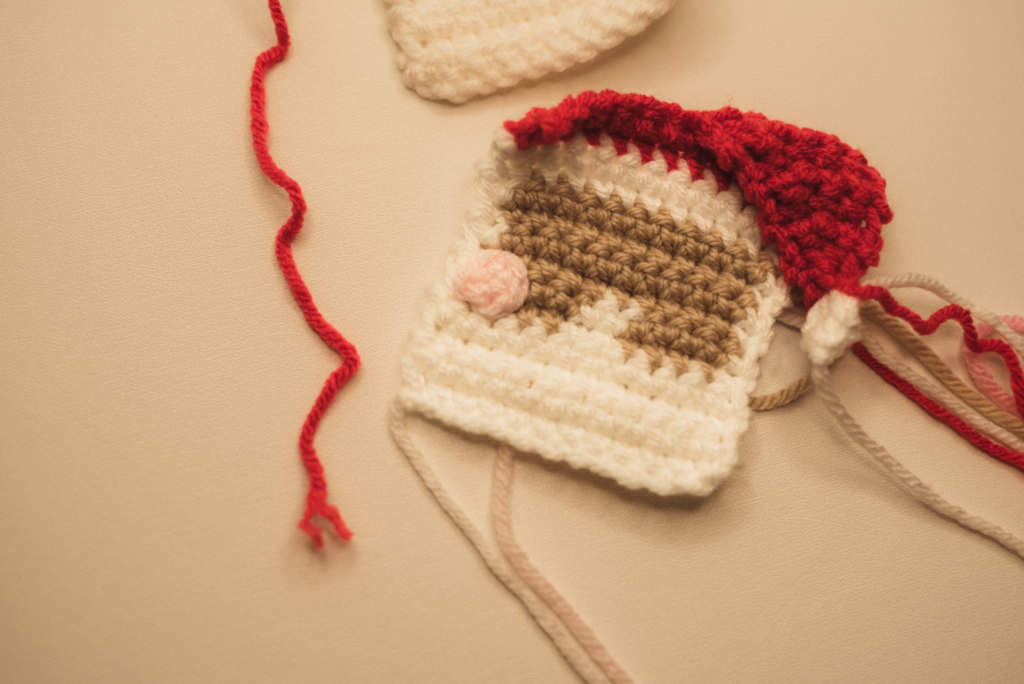
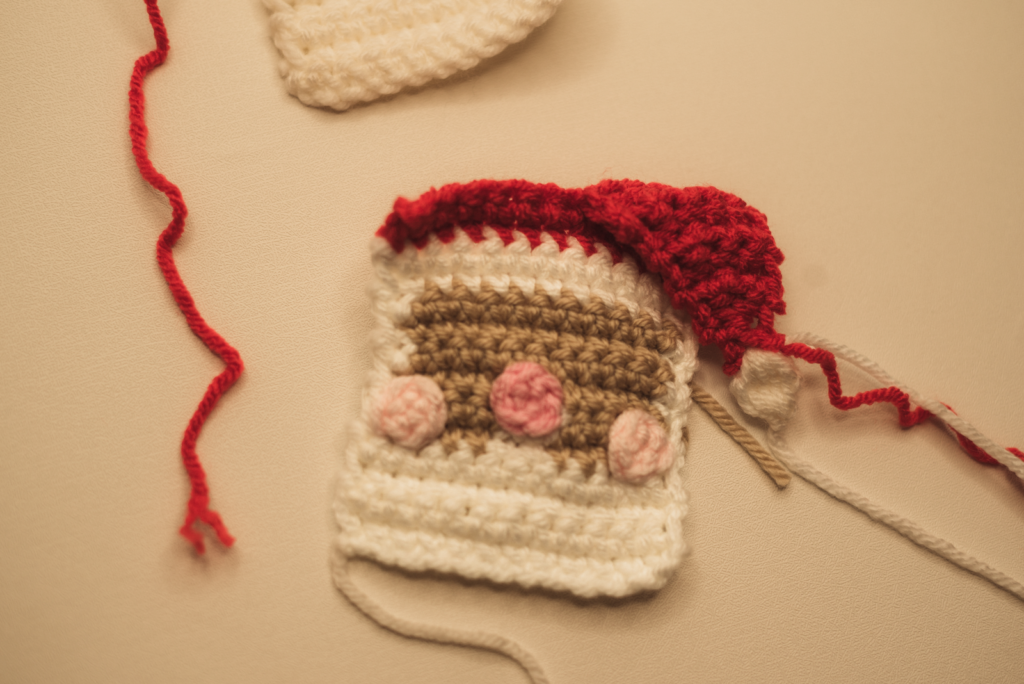
Attach your cheeks, ensuring 2 sts are left from the inner white part of the face of rows 5-6.
Now attach your nose right above the white part of the face to row 6-7.
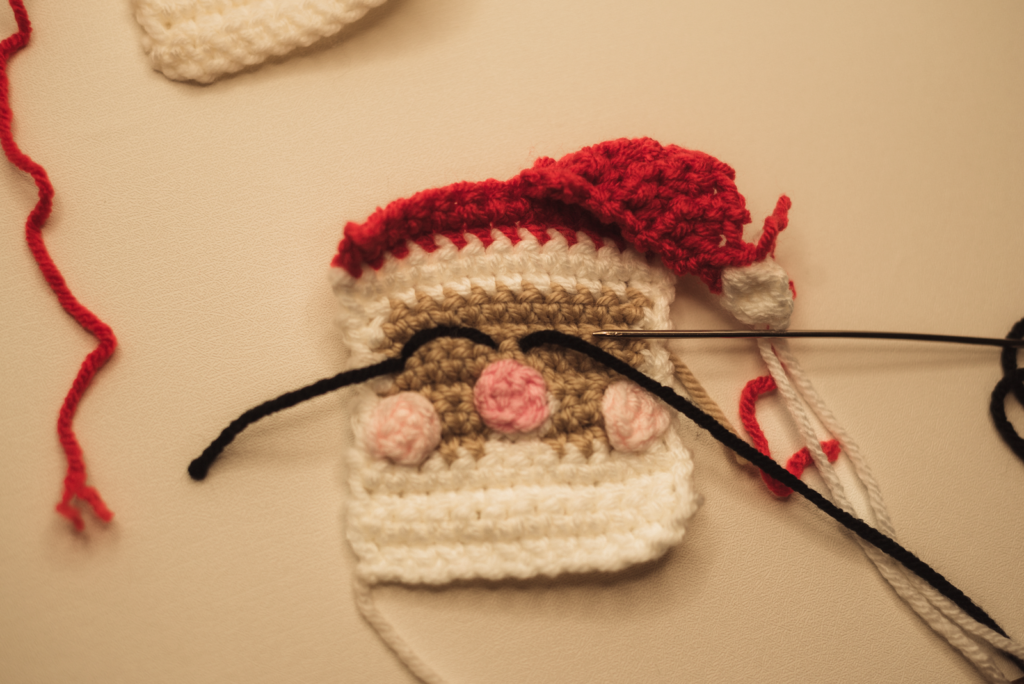
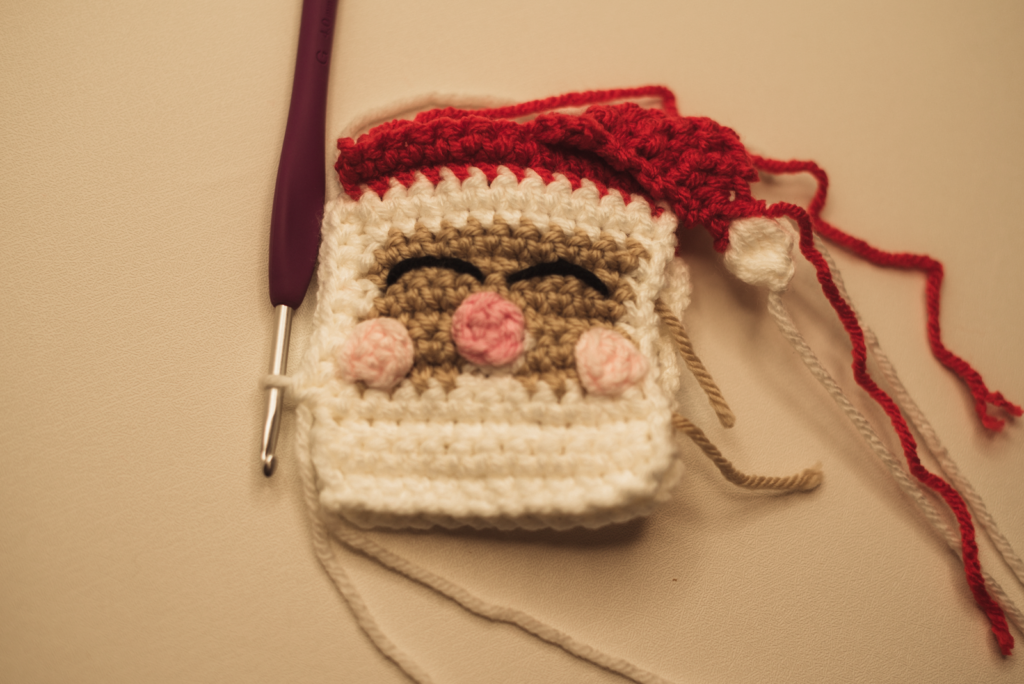
Add eyes to row 8. Space them 4 to 5 stitches apart. Create an arch by stitching over the yarn between the eyes on row 9. Repeat on the other side.
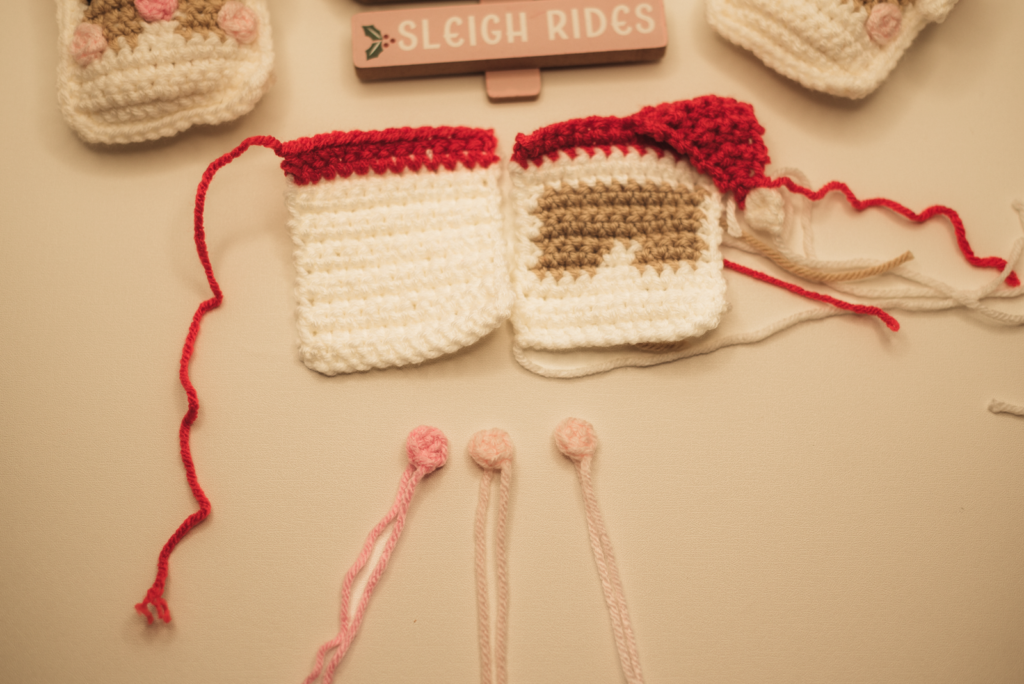
Align the from and the back together. We are now going to single crochet together starting on the left side in white. We are only Single crocheting the white parts together.
Now start to lightly stuff from the top.
Finish Single Crochet together in Blush pink 2 on the sides. You will have the back loops where the hat was, so single crochet in those back loops. Then crochet through both on the back panel. You will only have 6 back loops and finish the rest off normally. In the last slst to the top of the white, add some string to the 3rd stitch over. Tie it in a knot to finish off your ornament.

Pin it and save for latter
Would love the support if you wouldn’t mind following me on my socials. Below are the many platforms I am on.
I truly hope you’ve loved this Santa Ornament pattern! If you create your own crochet blue alien. I’d be thrilled if you shared it on my Facebook and Instagram. Don’t forget to like and follow to stay in the loop for exciting new patterns! And remember to use the hashtag #santaornament when you share your lovely creations!
Copyright © 2024 Oh Another Craftyish Blog by Tawnya Myers, all rights reserved
Hey there! Just a heads up, I own all the copyrights to this pattern and the photos. Feel free to sell whatever you make with it! If you do sell it, I’d really appreciate it if you drop a link back to my post. Just remember, this is totally my work—I’ve put a ton of effort into creating these patterns. Happy Crocheting!


This Santa ornament is so cute and festive! Adding it to my holiday list—I just need to finish my other WIPs first! 🎅🎄
Oh trust me I understand how many wips we can have ha-ha. When You do make it, I hope you enjoy it.